~ * ~
This article is written by Kim Kelley
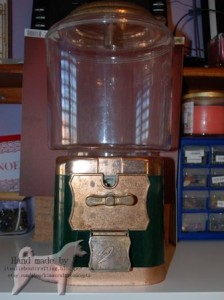
By now you have probably figured out that I love to reuse and repurpose products. Just seeing how you can change the look of something with a little paint and spackle makes me smile. So today I am going to show you two projects I created using gum machines that I found at an antique store.
I never knew that these dang machines could get so expensive! But from what I have been told there are some machines out there that are considered collector’s items. For me, I just like the look of them with something other than gum.
The first one I am going to show you is a snowman theme, using a plastic and metal machine that started out green and copper. Honestly, I should have looked the “ball” portion over better because it does have some scratches and as this one is plastic it is impossible to get all of the scratches out. If anyone has any ideas let me know!
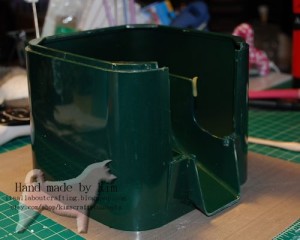
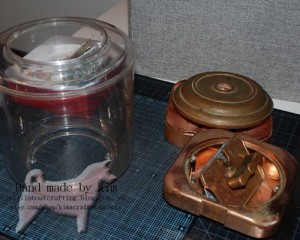
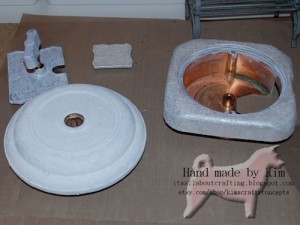
I first took the machine apart, cleaned each part and let them dry completely. Using gesso on the bottom base, base, collar and top I let them dry overnight.
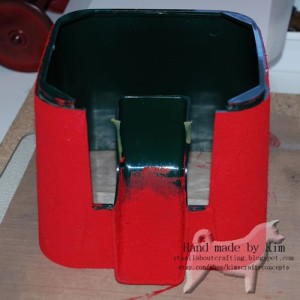
Using a mixture of red paint and Golden crackle paste (yes, crackle paste, weird I know, but it worked) I went over the base 3 times. Making sure the green was not going to show through. I found that Golden’s crackle paste does not really crackle, especially with paint added, but leaves it with an almost spongy,velvet look and feel to it.
For the pieces and parts I used a mixture of gloss gel, 2 types of iridescent paint and even a bit of iridescent glitter, sponging it on to create a lot of texture. I ended up with 3 coats of this as well.
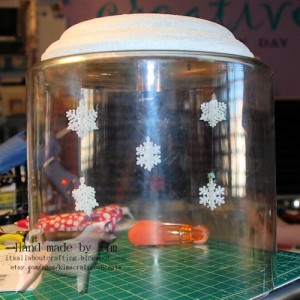
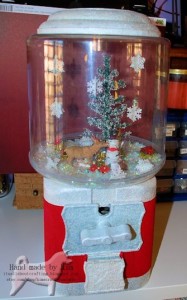
The ball of the machine, being plastic, actually comes apart and let me tell you it made it easier to put everything together! In the bottom of the opening of the ball I added a cardboard sheet to fill in the hole and started to created my scene. The snowman and tree came from Michael’s Lemax collection. I added a few wrapped presents and some poinsettias for added color. And then let the snow fall, even including some plastic flakes here and there.
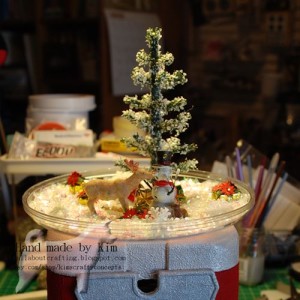 Scene (before top of “ball” was added)
I glued the ball together and then glued everything but the top together so it can be all together without the metal rods running through the ball. Creating this really put me in the mood for Christmas!
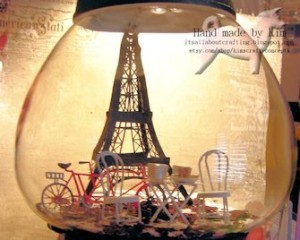
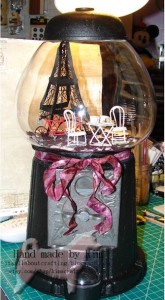
Here are 2 other pictures of a gumball machine I created in the theme of Paris.
Life is short, do something creative every day!
~*~*~*~*~*~*~*~*~*~*~*~*~*~*~*~*~*~*~*~*~*~*~*~*~
Kim Kelley is borderline obsessive about her crafting and her art. She loves mixed media art because you are free to go beyond your comfort zone, using your imagination and exploring an anything goes mind set. Kim loves to learn and explore new techniques and hopes that any art she creates leads someone to find their inner creative artist!
Sites: itsallaboutcrafting.blogspot.com and www.facebook.com/kimscraftyconcepts
~*~*~*~*~*~*~*~*~*~*~*~*~*~*~*~*~*~*~*~*~*~*~*~*~
.
.


We would love to hear from you