This article is written by Debbie Davis from In Art Therapy
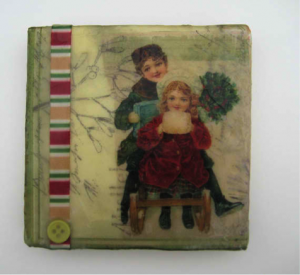
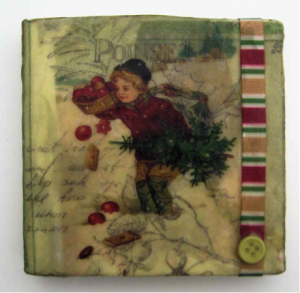
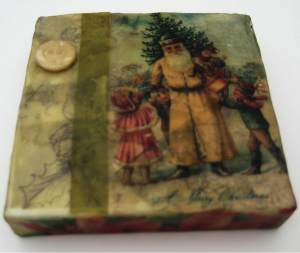
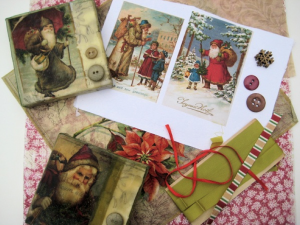
I love creating collages using beeswax as the decoupage medium. For these collages I used 4 x 4 inch canvases, some paper napkins with Christmas designs, vintage images along with some buttons and ribbon for added texture.
Here’s how to create a beeswax collage:
- Gather the items you would like to you use in your collage such as papers, napkins, buttons, ribbons, etc. If using decorative napkins, remove any layers of white paper from the back of the napkins by lightly tearing a corner and rubbing until you are able to peel back and remove the layers. I like to save the white layers to use for cleaning up in other projects.
- Melt beeswax in a small crockpot. You will not be able to use the crock pot for anything else after you have melted the wax in it.
- Using a cheap, natural bristle brush, paint a layer of wax onto the canvas top and sides.
- Next add a napkin to the top of the canvas and paint over it with beeswax. You can wrap the napkin around the sides of the canvas or use pieces of napkins or other papers torn or cut to fit the sides. Once you have coated the napkins in wax, use a hot mini iron to smooth out the wax and remove any air bubbles. This also fuses the wax layers together.
- I wanted the design/words from the napkins to show through my Christmas images so I printed the images onto tissue paper (see instructions below). The thinner the paper, the better the images/papers underneath each layer will show through. Place the printed image on the canvas and paint on more wax.
- You can now continue adding whatever embellishments you would like to add to the collage. For the buttons, I added a puddle of wax and pressed them into it. Be careful not to burn your fingers on the hot wax.
Printing on Tissue Paper using an Ink Jet Printer
Using a heavier printer paper, such as card stock, rub a glue stick around the edges. Next lay a piece of tissue paper onto the cardstock and smooth down into the glued edges. Trim off any excess tissue paper. Once the glue has dried, place the paper in your printer and print your image onto the tissue paper. This may take some practice. I jammed a few papers when I first started printing on tissue! Remove the image by cutting or tearing around the edges.
~*~*~*~*~*~*~*~*~*~*~*~*~*~*~*~*~*~*~*~*~*~*~
My name is Debbie and I live in Morton, Illinois, USA. I’m happily married and have a wonderful family that includes a daughter, son, son-in-law and 2 of the sweetest grandchildren ever!
What I love most about mixed media art is that you don’t have to be an expert at anything to create beautiful art. It is a great way to recycle found objects. Art is such a wonderful stress reliever. I just wish I had more time to play!
I have a shop on Etsy called Artful Explorations where I place some of the art I have created for sale. Having been inspired by others who are willing to share their techniques and ideas, I decided to start a blog called In Art Therapy and hope you will visit me there.


Thanks for sharing this. I am about to start a collage and have been wondering whether I need to do something to “fix” an inkjet print before using it in beeswax collage. I have a good inkjet printer for printing photos. Does the resolution make a difference? I saw on the web that for making inkjet images to transfer it’s best to use a low resolution image.
These are adorable Debbie! Makes me so happy to see other artist who also enjoy doing vintage inspired art.
Keep at it, love!