Michelle G Brown | Mixed Media Art

Mixed Media Art Classes ~ March to June 2025

art and craft classes for adults

Classes are running at the Mixed Media Art Studio – Melbourne, Australia – focussing on art journaling and gel printing, in our wonderful, fully air-conditioned studio space and in a supportive atmosphere! So if you have thought about starting a new hobby or want to build on what you already know – or have tried and feel like you don’t know what you are doing – then these are the classes for YOU!

There are classes schedule for week days, evenings and weekends! Something to suit everyone!

Click on the session date to book you class NOW! Each class limited to 6 places.


Gel Printing Fundamentals Classes

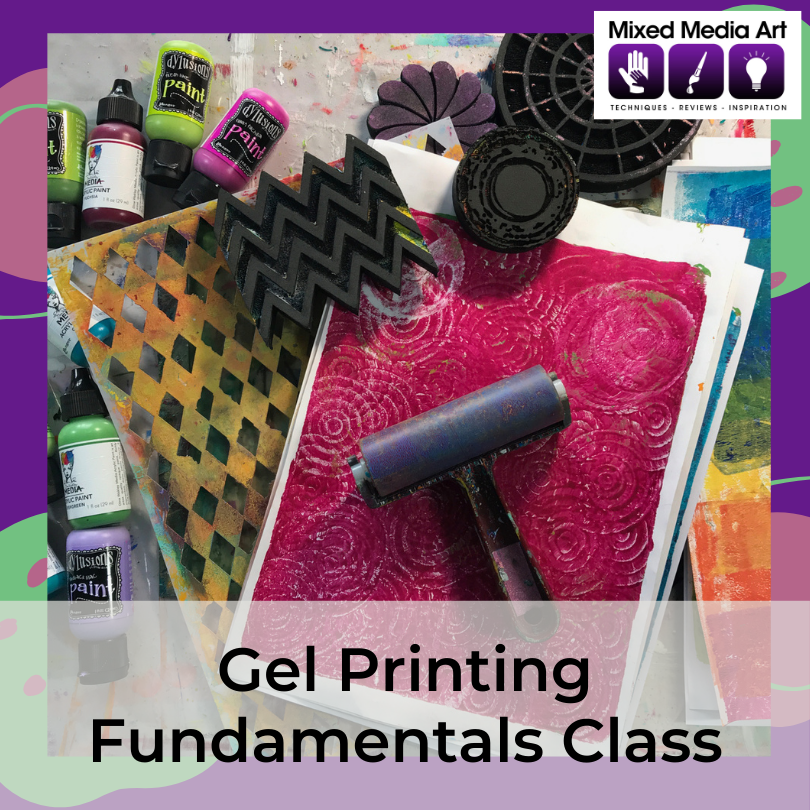
Gel Printing Fundamentals with Michelle is a fun class to get you hands on with creating your own colourful painted papers using monoprinting. The class is run at the light-filled Mixed Media Arts Studio, in Mt Waverley, Melbourne, Victoria, Australia.

Choose from the following sessions:
[click on your preferred date to book!]


Mixed Media Art Journal Fundamentals Classes

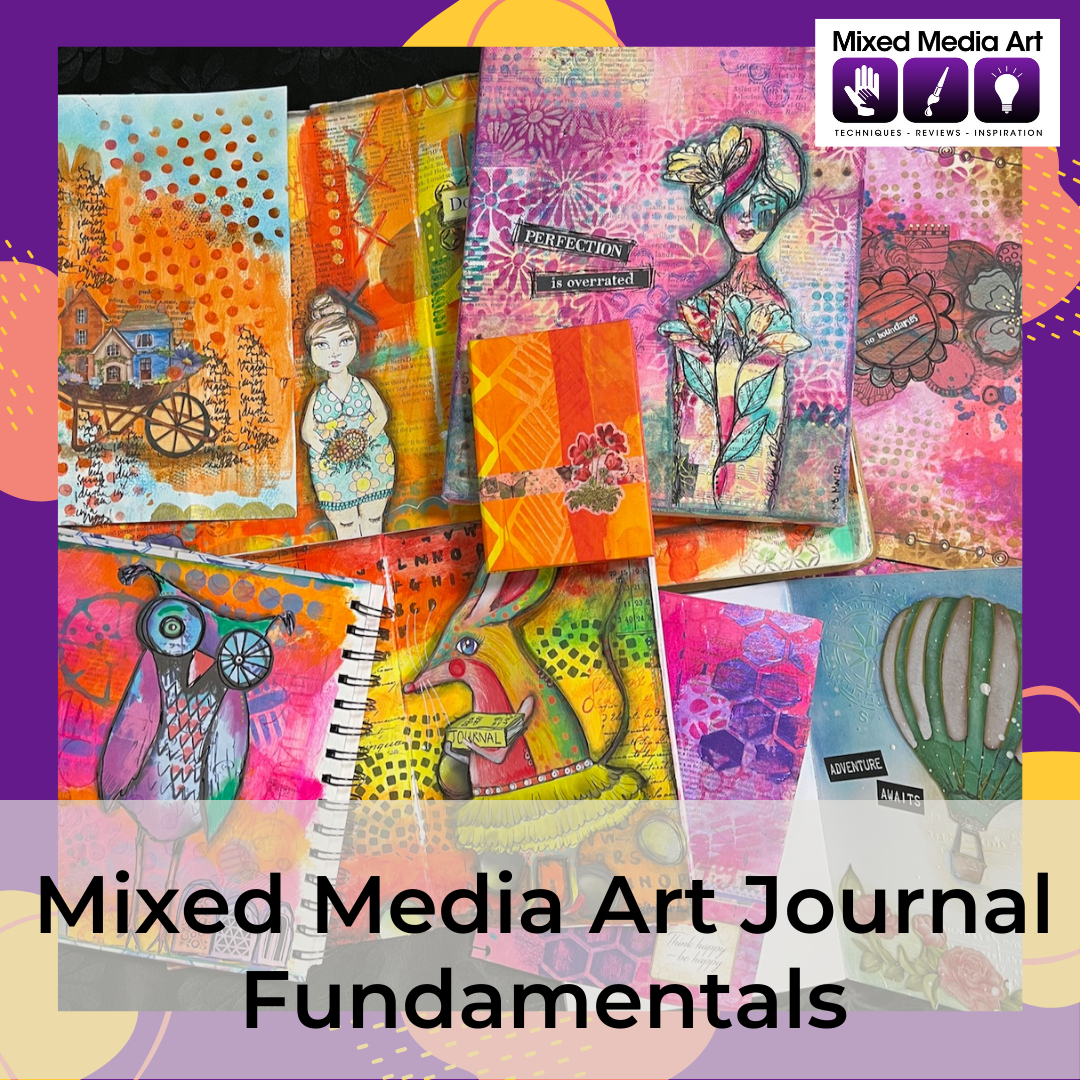
Get hands on and learn the fundamentals of mixed media art journaling in this fun class. Based on the Mixed Media Art Fundamentals series on YouTube, Michelle will run through the basics to get you started plus her 5 steps to art journaling so you can learn the rules before breaking them as you experiment with your own style!

Choose from the following sessions:
[click on your preferred date to book!]


Junk Journal Class

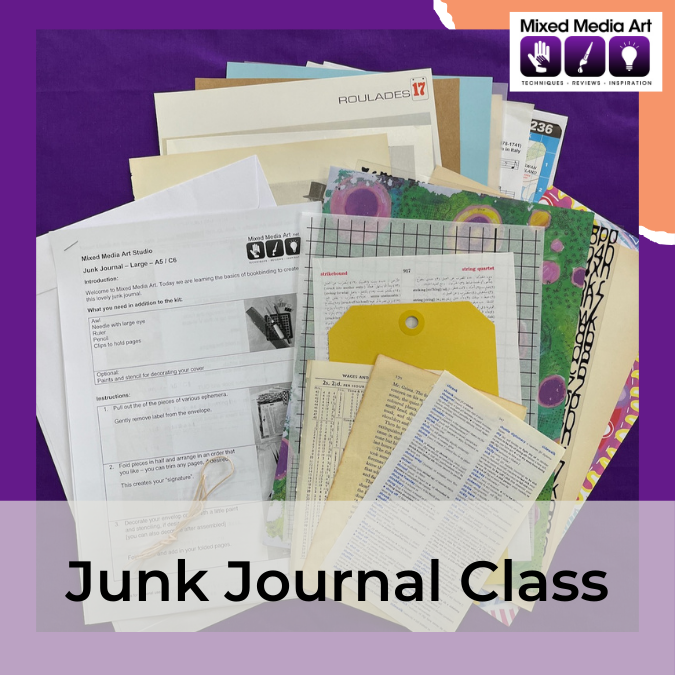
Join Michelle in this class to turn random ephemera into a fantastic junk journal. You will learn the basics of bookbinding as well as having lots of fun to create this little book to decorate with all of your favourite mixed media art techniques and products.

SAVE THE DATES:
[click on your preferred date to book!]


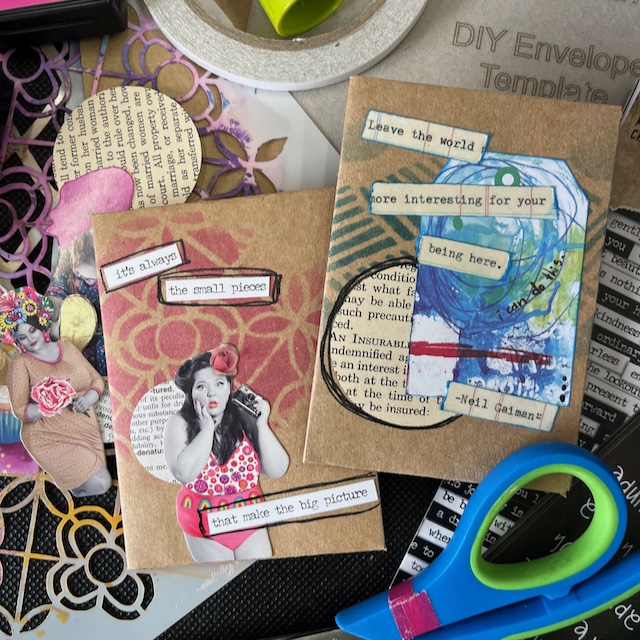
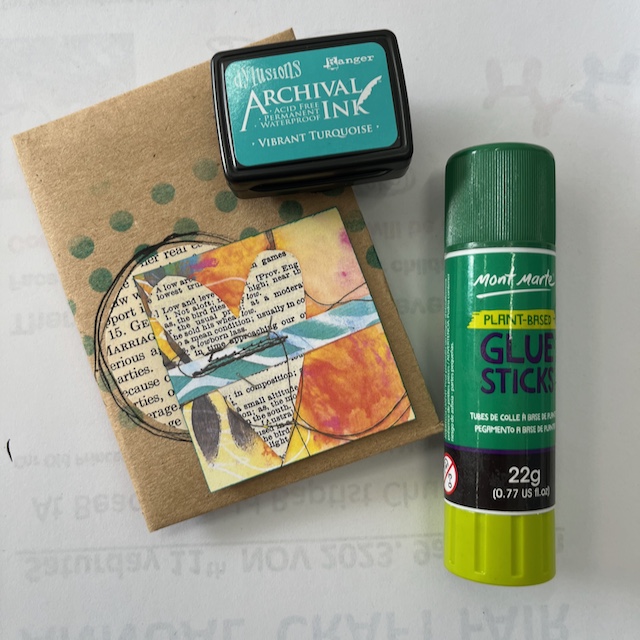
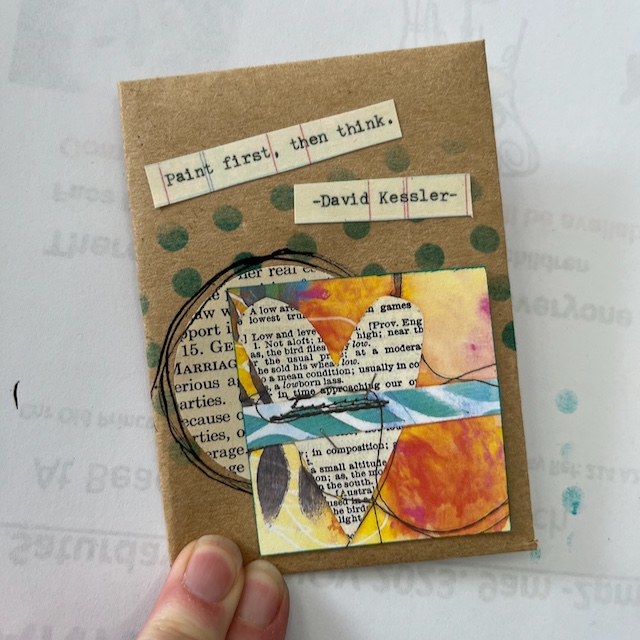
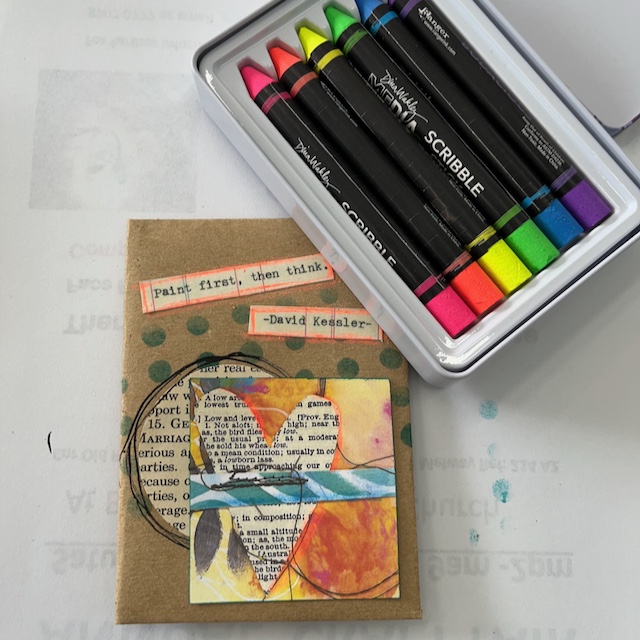
Collage Clusters Class

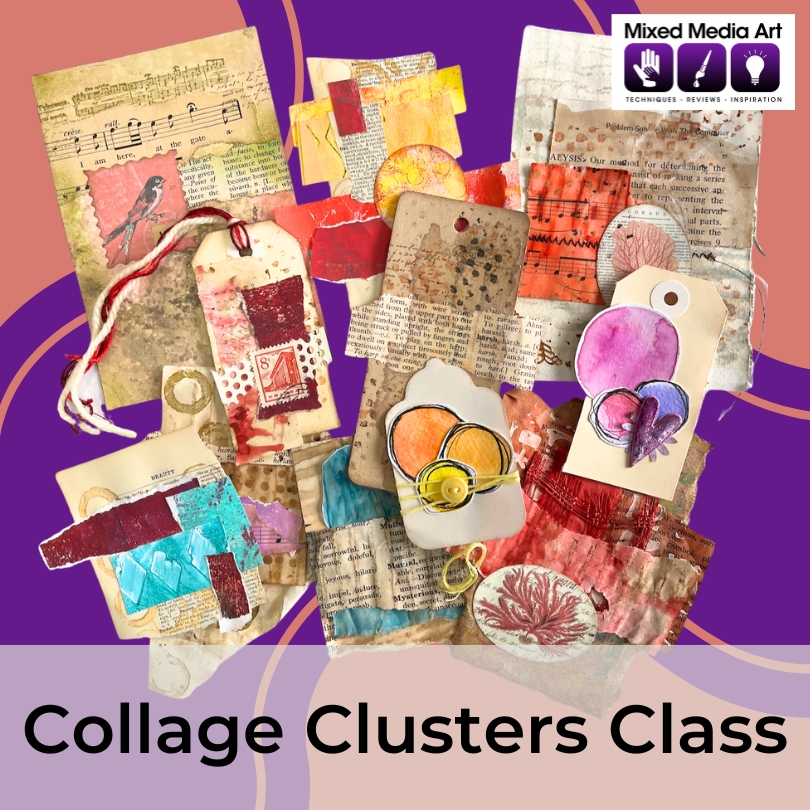
Join this NEW class with Michelle as we use some of our collage and papers stash to create these fun and breezy collage clusters. Details to come!

SAVE THE DATES:

  • Friday 12 May, 1pm
  • Saturday 13 May, 1pm

Mixed Media Art Journaling Soiree

Take your art journaling to the next level with our Art Journaling Soirees! These Thursday evenings, held on the dates below, 7 – 9pm, will be a delightful weekly retreat, where you can come along, relax and create in our wonderful Mixed Media Art Studio. Each session will include a short lesson where we will cover a range of topics and products, then the rest of the evening is free for your to play, make your own art and grab a cuppa, along with the other like-minded crafters.

SAVE THE DATES:
[click on your preferred date to book!]

See us in 2025

As we prepare to launch into a crafty 2025, FIRST we add in the papercraft shows into our calendars! Then we add the classes!
We will be running FREE Make & Take projects at every show, to give YOU a chance to get hands-on, learn a few new mixed media art techniques and take a little project home with you. Plus we will continue to focus on art journaling, junk journaling, gel printing and everything you need for your mixed media and papercraft projects!

Come and see us at these papercraft shows in 2025

From Picture to Page Papercrafts show Bendigo, Vic – Fri 28 & Sat 29 March
From Picture to Page Papercrafts show Pakenham, Vic – Sat 17 & Sun 18 May
Paperific Expo Ascot Vale, Vic – Fri 29, Sat 30 & Sun 31 August
From Picture to Page Papercrafts show Sandown, Vic – Fri 10 & Sat 11 October
The Papercraft Show Hawkesbury, NSW – Thu 30 & Fri 31 Oct & Sat 1 Nov

MIXED MEDIA ATC FOLDER

Introduction:

Create this cute little ATC folder with our envelope template and kraft paper, then decorate with a few mixed media techniques.

What you need:

Mixed media ATC folder instructions:

Trace and cut out envelope
Fold, with big flap on top
Fold in half and punch half circle
Glue down short flap
Add a little glue to the sides
of the front flap; keep to the edges.
Fold in side flaps and
add front flap on top.
Folder assembled
Ready to decorate
Using your favourite stencil, stencil across
the middle third of your folder,
using the ink of your choice
Punch circle from ephemera.
Glue to front as shown and draw
scribble circles with black marker
Add focal image
[You may need to trim and edge with ink,
if you prefer]
Add quote
Add highlights with Scribble Sticks
Your ATC Folder is finished
.

Ideas and alternatives:

  1. Make 3 and joint together into a booklet
  2. Use different paper for the folder: use old scrapbooking papers

Making LOTs of ATCs

Artist Trading Cards (ATCs) are wonderful little pieces of art that are traded between crafters. For a crafting show, ATCs are often traded between other attendees as a memento of the occasion. Sometimes there may be a theme to guide the participants. The challenge of making lots of ATCs for these shows is to keep the design simple and one you can easily replicate many times.

What is an ATC?

Artist Trading Cards are small pieces of art made with the intent to be traded between fellow crafters. There are all manner of groups on the internet that have swaps and challenges based around these cards.

An ATC must be the set size of 2 1/2″ by 3 1/2″ . They are usually in portrait orientation but don’t have to be. Besides the size, there are no other rules to ATCs – you can make them from cardboard or fabric or any other thin material. And you can decorate them with paints or stamping or collage or quilting or any other craft you like.

The back of the ATC is to contain your details, like a business card would. Your name and e-mail address (or postal address, if you wish) is  a minimum. Sometimes the title of the ATC, or theme or occasion, and it’s number or edition is also included.

There is one other rule regarding ATCs – I have been always told that ATCs are only ever for trading and never to be bought or sold. Some crafters will create what are called ACEOs (Art Card, Editions and Originals), which are ATCs to sell. I believe that is against the spirit in which ATCs are created.

Key points to making lots of ATCs

– Start with large sheets of card (12″ x 12″ or A4) which can easily be decorated to make the background and then cut to size
– Stamping allows you to reproduce the same image many times
– Consider embellishments like punches or cutter dies that can create lots of the same in a short amount of time and for little cost
– They don’t all have to be exactly the same; if making cards to a theme, you can still alter the colour or type of some elements
– Instead of written your details on the back of many ATCs, use your computer to type out your main details (name and e-mail address) then cut and stick these to the back of your ATC. You can then sign it.

How I make lots of ATCs
1. Use walnut ink or tea or coffee stain to antique many sheets of card for the background. Use the same method to antique sheets of text from an old book or conference proceedings (if the sheets curl, place them under a heavy book to flatten, after they are dry)


2. Using a large background stamp, cover the background card (lots of small stamps will also create the same effect)

3. Cut background card into 2 1/2″ by 3 1/2″ piece

4. Cut the text pages into 3 1/2″ strips. Then tear them into smaller strips at about 1/3 of ATC width. Use a brown or sepia ink to sponge the torn edge of each piece.

5. Glue text strip to backgrounds using a glue stick

6. Add image or embellishments: I cut these T’s using  a puzzles cutter.

7. To finish the ATC, edge the entire card, using the inked directly onto the edges and stamp “time” using alphabet stamps in a lighter colour.

8. Don’t forget to add your details onto the back. This can be done by hand, using a ATC template stamp or using your computer.

The final part of ATCs is to go and swap them freely. I will always remember one of my first craft shows I ever attended and I didn’t know anything about this swapping thing. Many ladies were very generous and happy to give me an ATC when I had nothing to give in return. And this is the spirit in which I attend craft shows today.

If you are a little shy, place your ATCs in a plastic bag and use a safety pin to attach them to your carry bag or jacket, then anyone else who has ATCs can see you have some and you can start a conversation. Some craft shows will have a time and place that people can meet up to swap.

And remember the spirit of ATCs – if you are going to a show where you are going to meet people you know, you can make some special ATCs for those people, but keep them separate, so they are easy to find and you don’t accidentally hurt someone elses feelings. I have heard of occasions of some people refusing to swap their ATCs when they see the other persons ATCs and it didn’t meet their standard. Thankfully these incidents are few and between but remember that we all had to start somewhere, so be generous with your ATCs.

Happy Creating,
Michelle

.

.

.