Michelle G Brown | Mixed Media Art

MMA Studio is having an OPEN DAY

Hello crafty peeps!

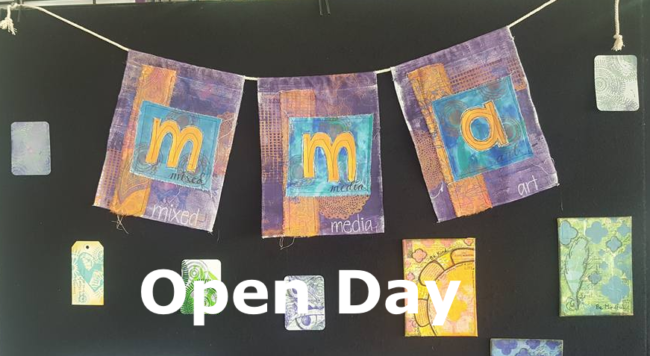
MMA Studio Open day FB banner

For all of the mixed media artists in Melbourne and across Victoria, we are having a Studio Open Day on Friday 3 December 10am to 8pm and Saturday 4 December, 10am to 4pm.

We will have all day demonstrations and a handful of workstations set up for make and take project and areas to try different mixed media techniques.

You can find us at 135/45 Gilby Road, Mount Waverley, Victoria Australia, just of the Monash Freeway, Forster Road exit. Details instructions to find us are here!

Mixed Media Techniques on Display

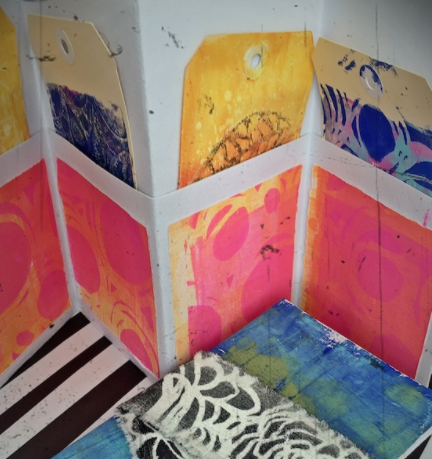
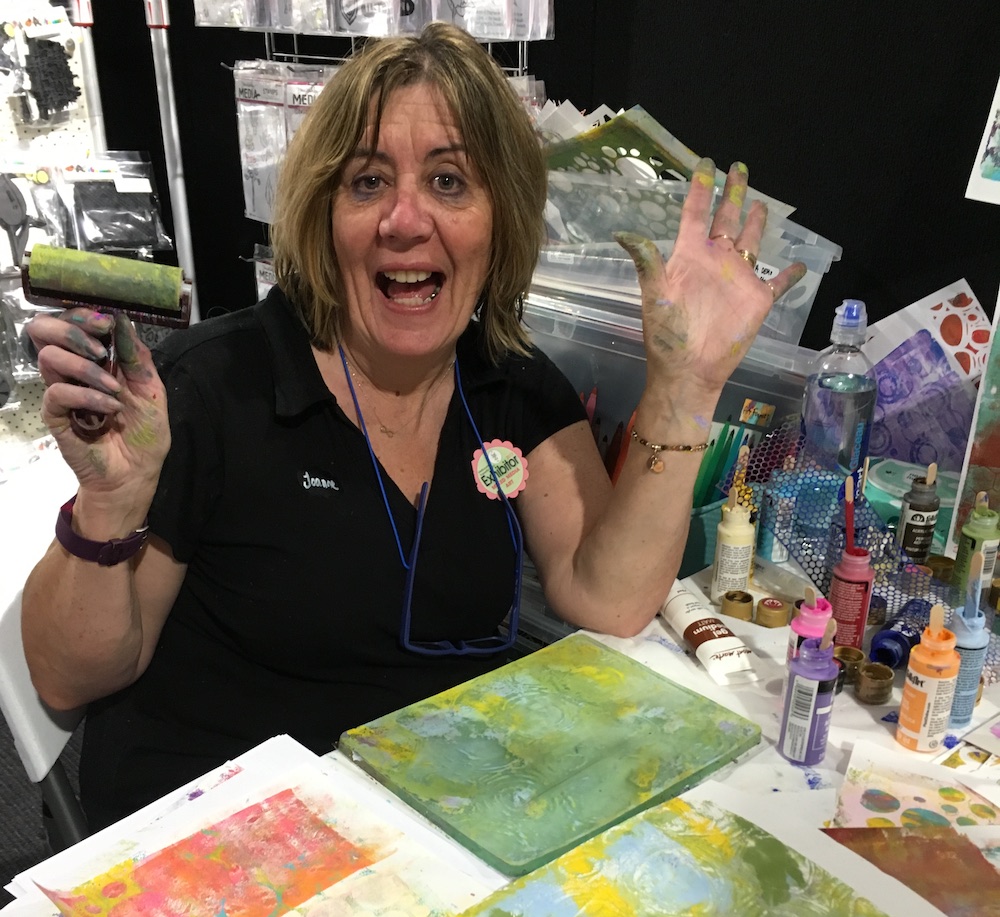
Gel plate printing

Mixed Media art Paperific class 2017 thumb

Art by Marlene collection

Art Journaling
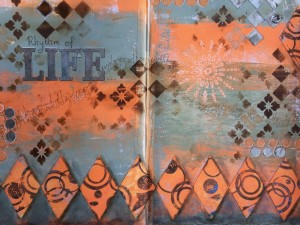
art jounraling with gel prints and handmade art journal

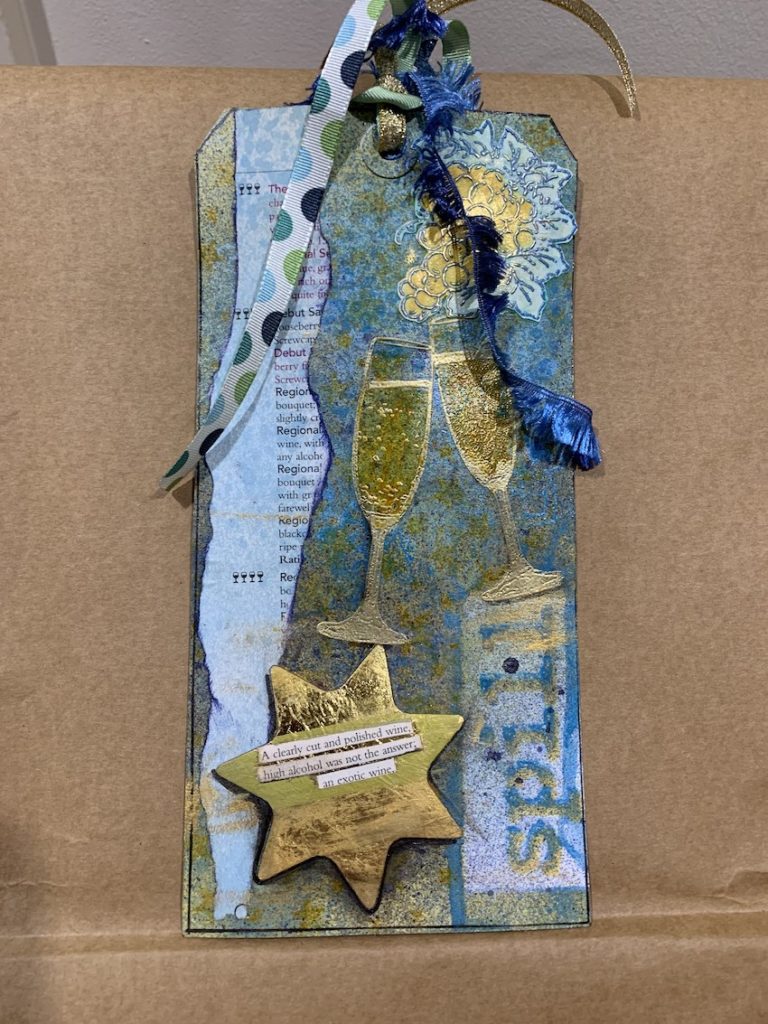
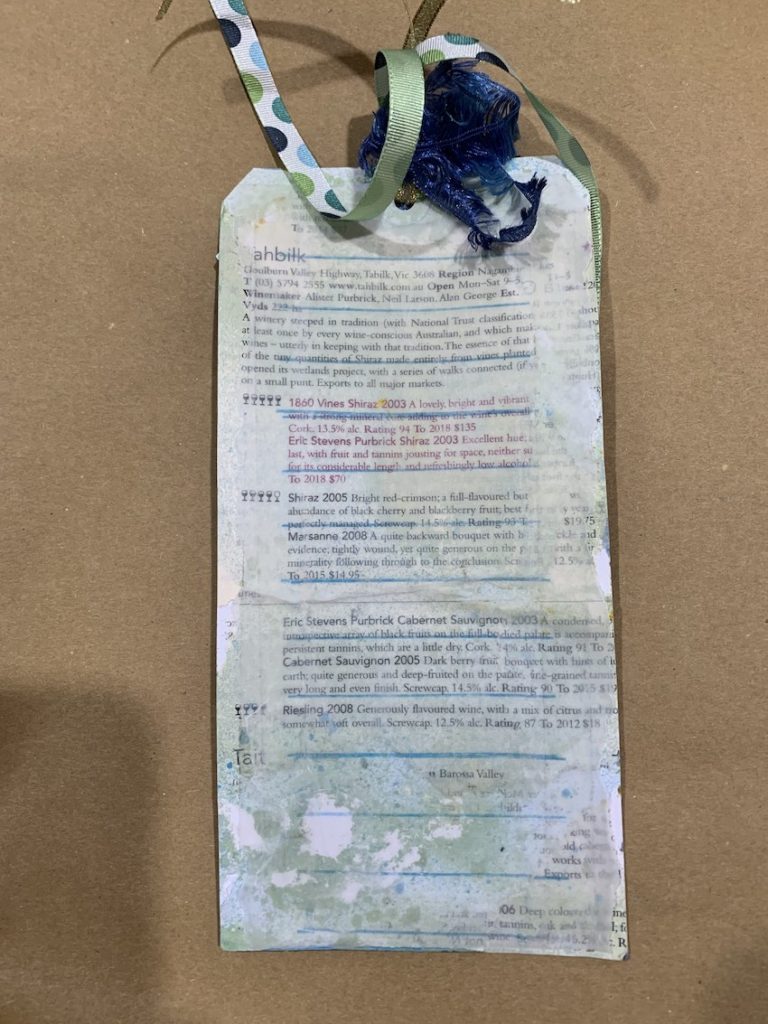
Mixed media tag – Wine

This project was created by Lisa Toffoletti with products supplied by Mixed Media Art, as part of the Mixed Media Art Design Team 2021.

Materials list & craft supplies:

Creating your tag

Back of tag

Using double sided tape adhere book paper. Spray with Aloe gloss spray, stamp lines stamp with Manganese Archival ink and attach tracing paper with double sided tape.

Front of tag

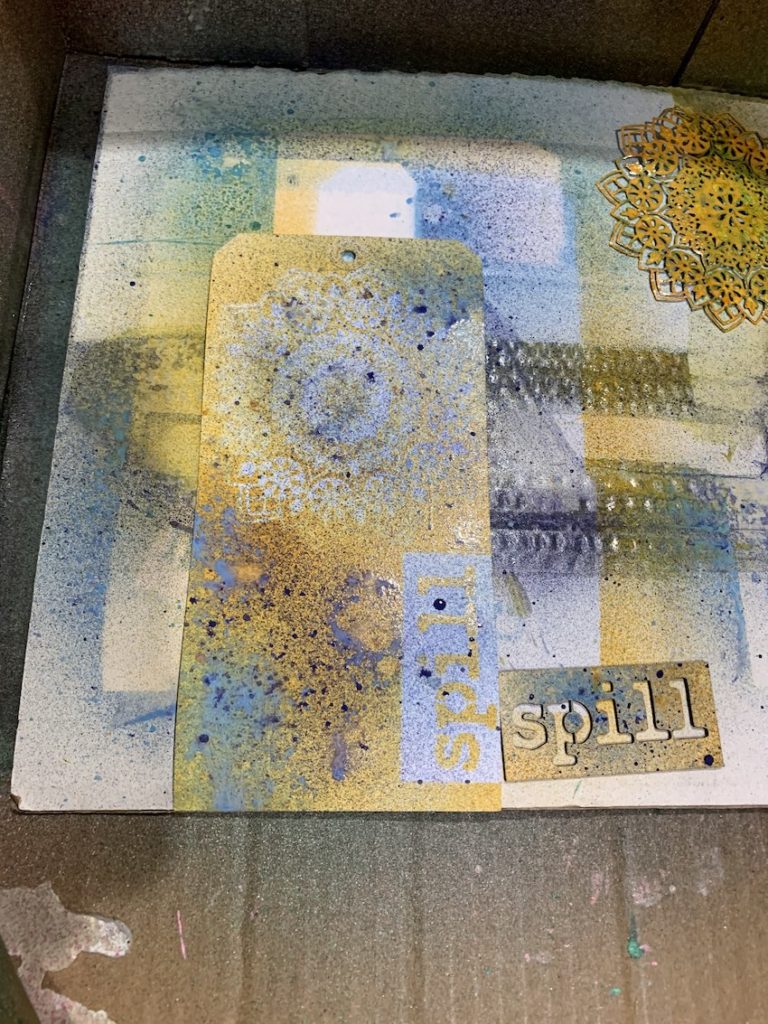
Spray with gloss sprays, use chipboard words as stencil and Stars stencil. Stamp the glasses stamp on the front with versa mark ink pad, heat emboss with gold embossing powder.

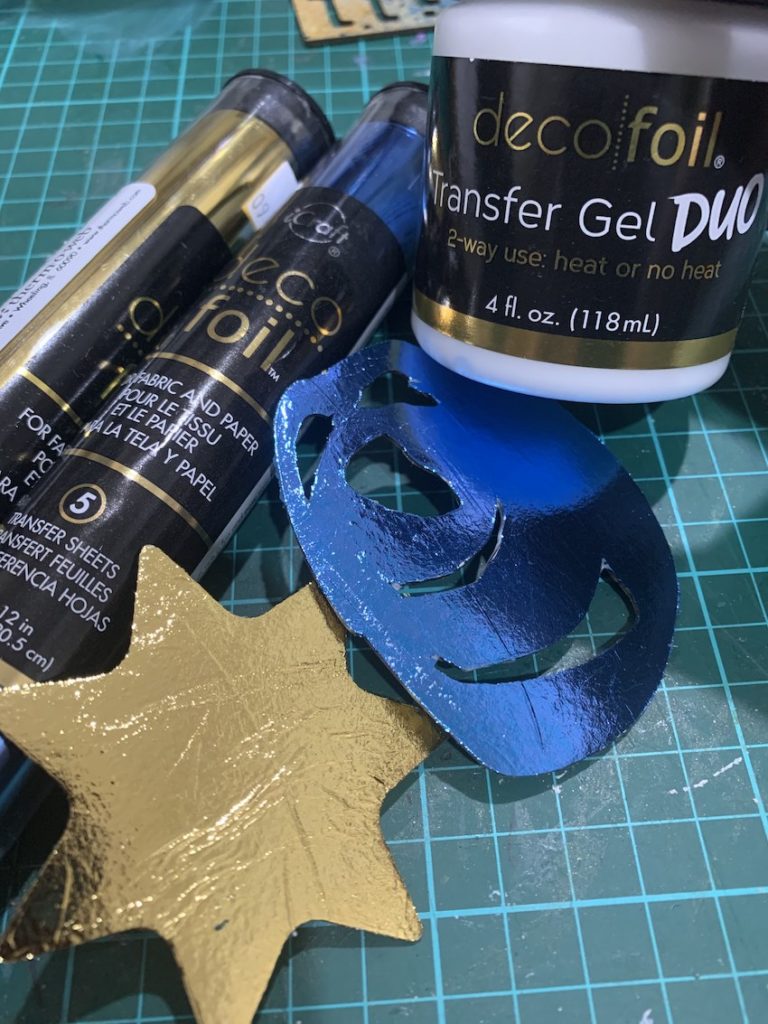
Using a chipboard star shape, cover the star with Deco foil Transfer Gel Duo, allow to dry clear, cover in gold foil, run through the Big shot and peel off foil, star will be covered in gold foil.

Cut out book paper words attach to the foiled chipboard.

On Digital Paper stamp grapes with versa mark ink pad, heat emboss with blue embossing powder, colour and cut out. Spray a strip of book paper with Sky spray gloss and ink edges in Cobalt Archival ink. Adhere the grapes and star with gel medium to the front of the tag. Smudge some metallic lustre over the front. Attach ribbon. Highlight with Fude ball pen where desired.


Lisa Toffoletti has always dedicated a space in her life for art and craft, from a child making greeting cards using pressed flowers to art in many forms including small papercraft projects, scrap booking and card making, to create things that have a purpose and are useful.

Lisa is married with three children, whilst raising the children as a stay-at home-mum she worked for the family upholstery business and lives in the outer eastern suburbs of Melbourne. She many other interests and hobbies including gardening, reading, photography, tracing her family tree and spending time with family.
To view Lisa’s creations, log onto Facebook at Handmade Greeting cards by Lisa T

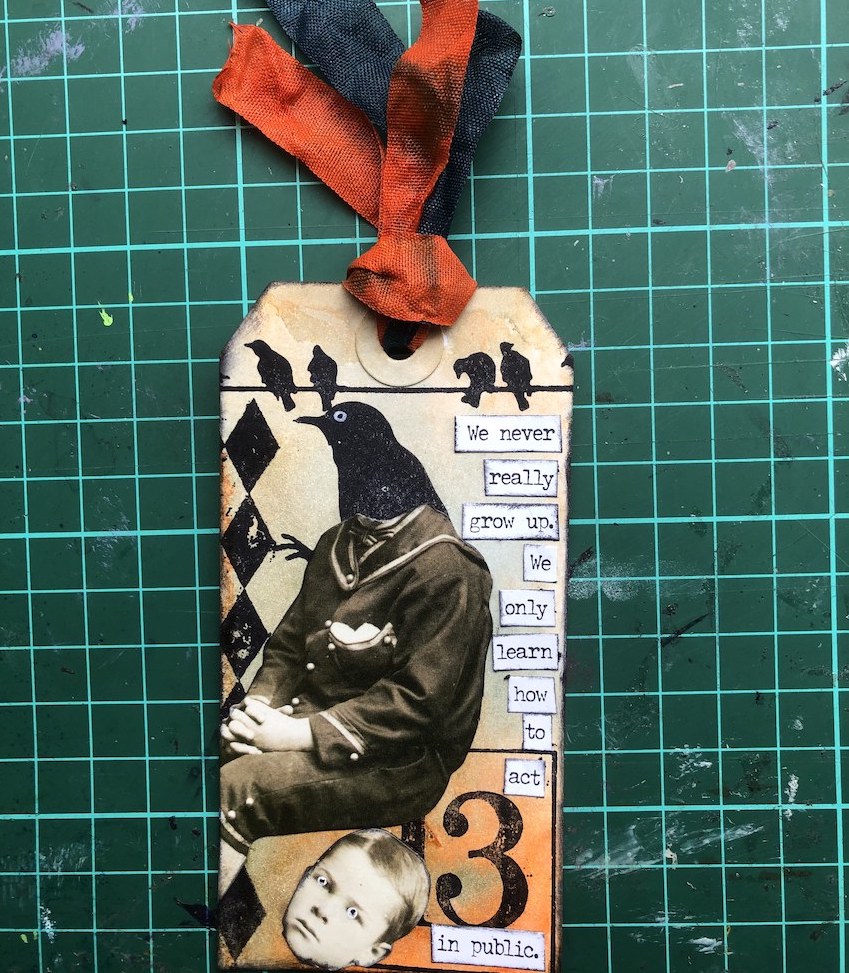
Halloween Tag

This project was created by Joanne Hughes with products supplied by Mixed Media Art, as part of the Mixed Media Art Design Team 2021.

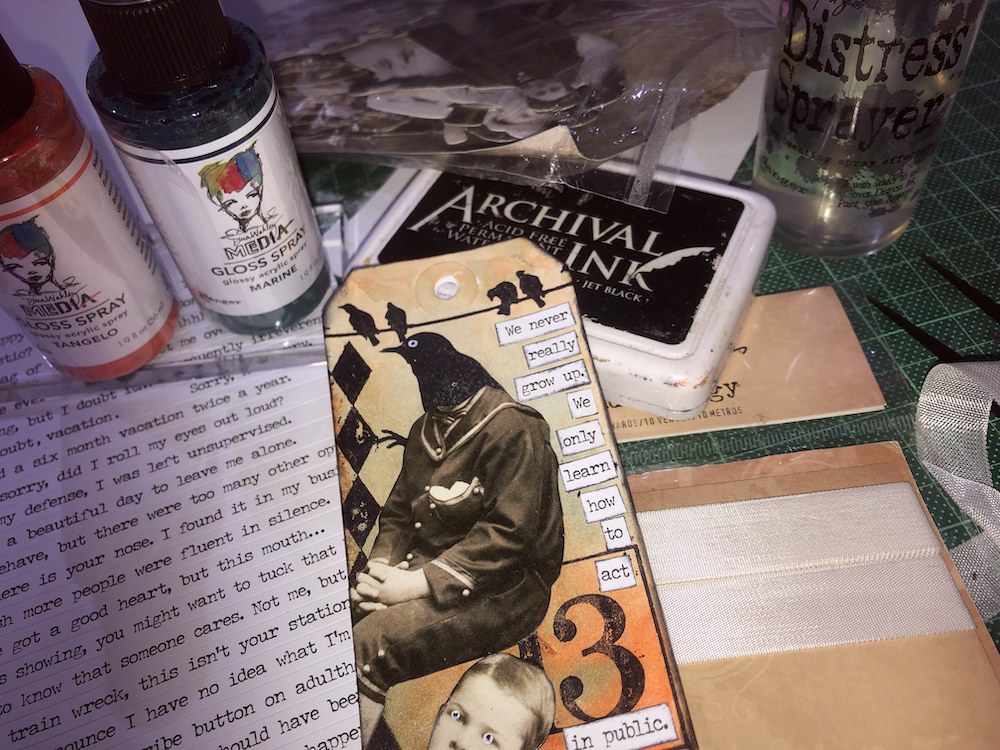
Materials List

To create your tag

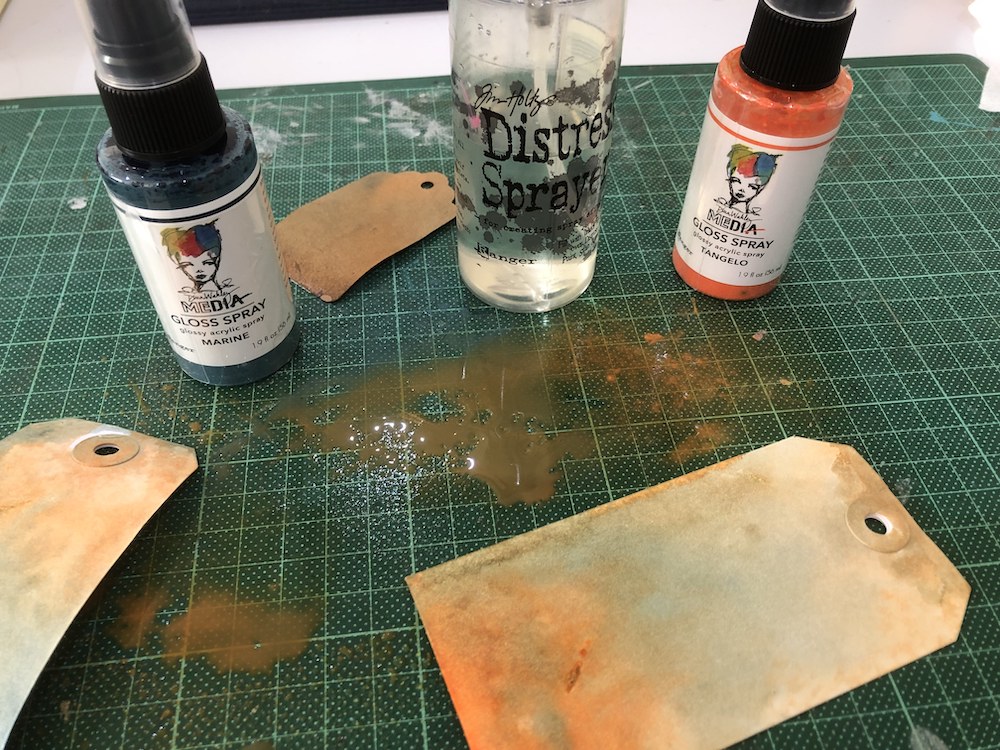
Begin by spraying gloss sprays onto your craft mat and lightly spritz with water.  Swipe tag through until you are happy with coverage.  Use yours fingers to move colour around if necessary, especially around the hole.

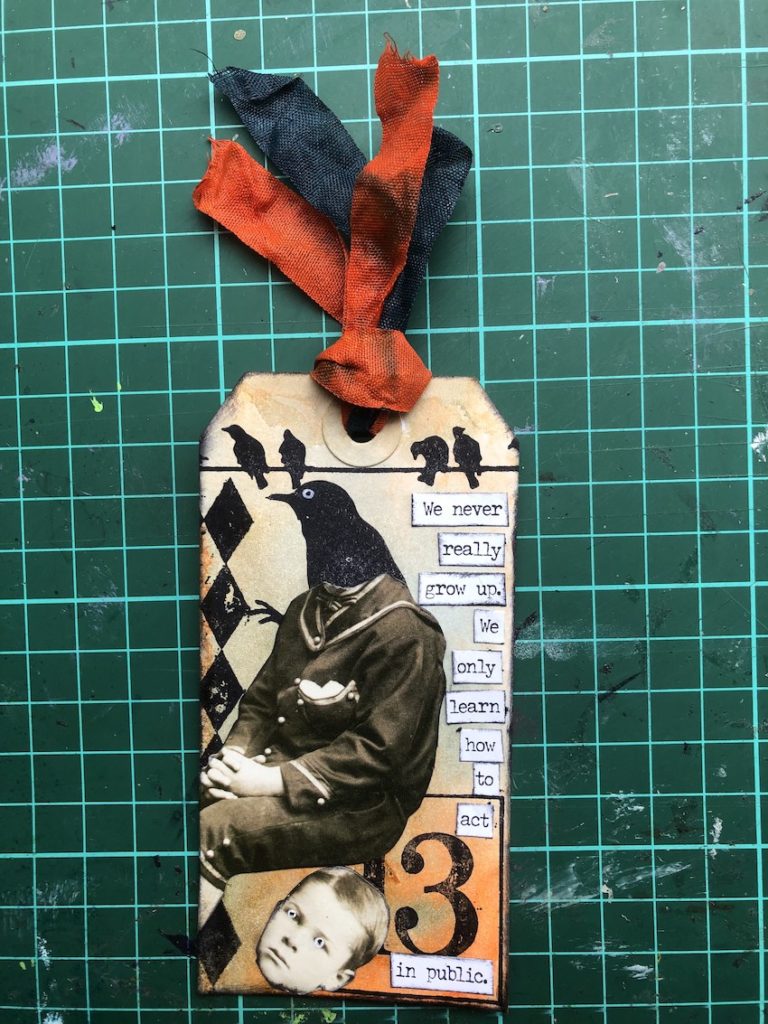
Select a suitable person from the Paper Dolls pack and cut the head off to use as a seat!  Cover the white edges of the doll with black ink.  I use Ranger Archival Jet Black but a marker or paint will do.

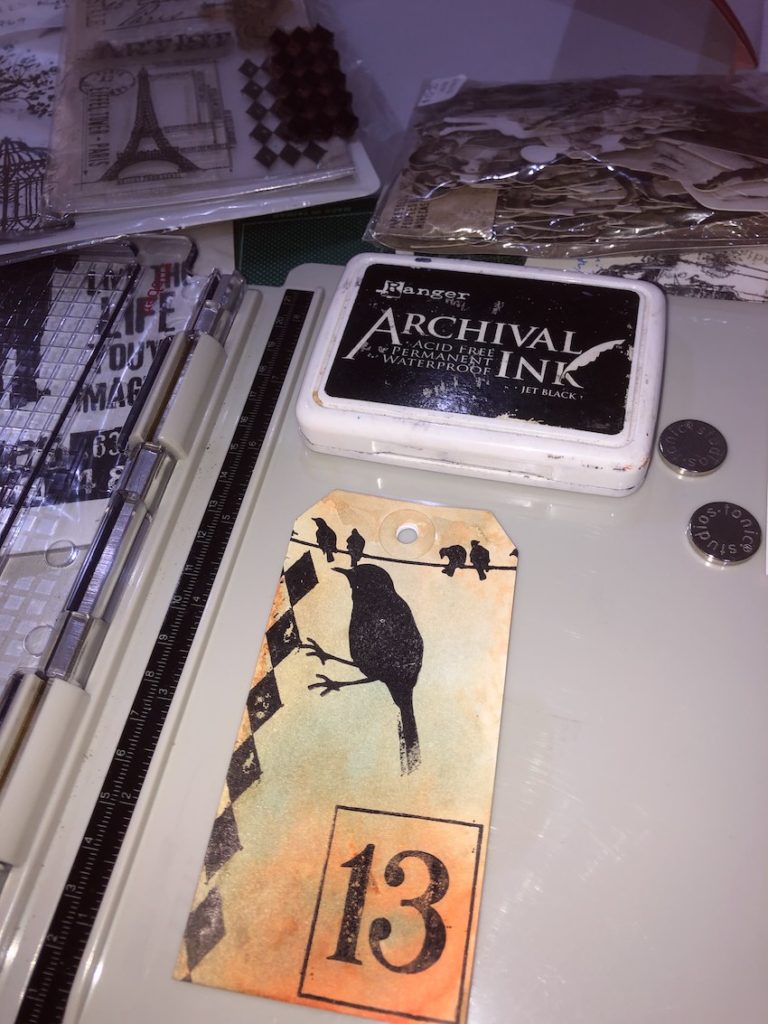
Using the Jet Black Archival Ink, stamp the bird in a position to replace the head of your chosen doll.  Keep in mind the positioning of the head too!

Stamp the diamonds, 13 and birds around the tag using photo as a guide.  Ink the tag edges with black.

Choose, cut out and ink the edges of an appropriate Small Talk Sticker to match your doll and  position around the tag.  I found these stickers were sticky enough not to need glue, even after handling to ink edges.

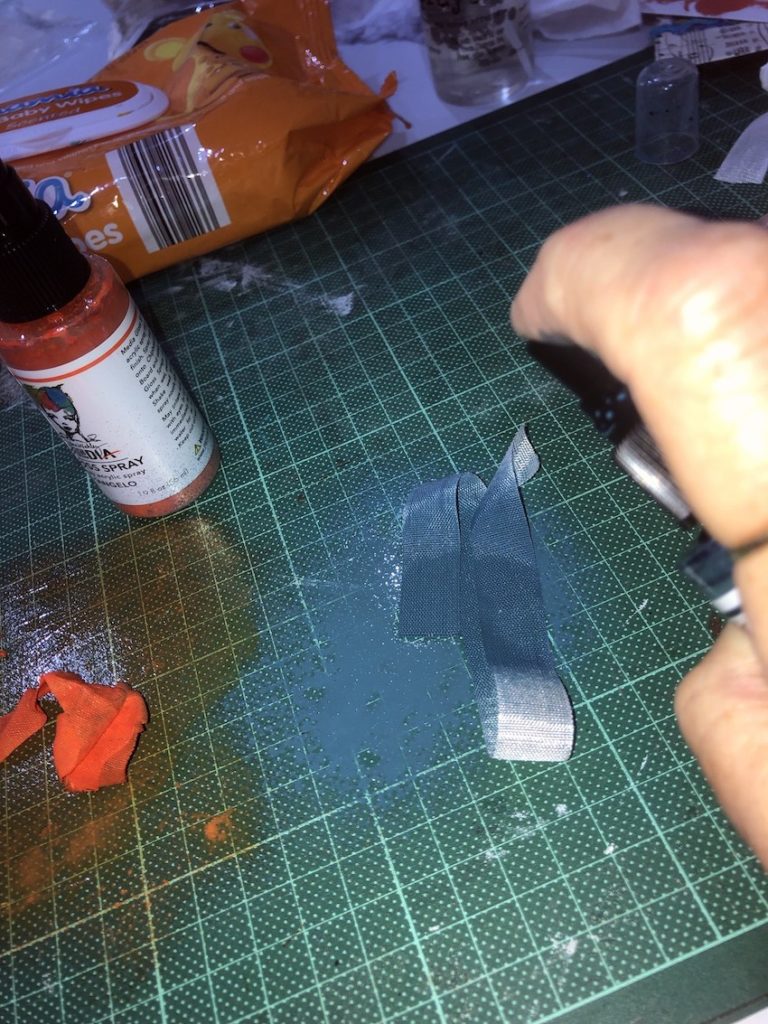
Lastly spray the gloss spray direct to the crinkle ribbon and note the vibrancy of the colours!  The acrylic paint dries quickly and makes the ribbon stiff and easy to handle. 

Finish by tying the ribbon through the hole on the top of the tag. 
Use white and black pens to emphasise the eyes of the doll and bird.


Joanne Hughes loves to share her knowledge and ideas with anyone who will listen,  and has worked with Michelle and Mixed Media Art at the Picture to Page shows for many years, demonstrating and behind the make’N’take table.  She is thrilled and honoured to kick start the Mixed Media Art Design Team 2021.  There is a story behind each of her pieces and she is only too happy to share with you.

Joanne is mum to three adult children and lives in the same house she and her husband bought in 1982 and has been craft making in various forms for as long as she can remember – from macrame in the 70’s to considering herself a Mixed Media Artist, Joanne is a “Jill” of all trades, focussing on her love of stationery and everything that goes with it – paper, pens, inks, paints and stickers, along with the tools and techniques of the creative process.  When she is not making a book, she is thinking of the next one, be it a journal, letter journal, hand made or altered book.  She is a hands on crafter, loving messy play with glues, inks and paints.

Art by Marlene Acrylic Paints Review

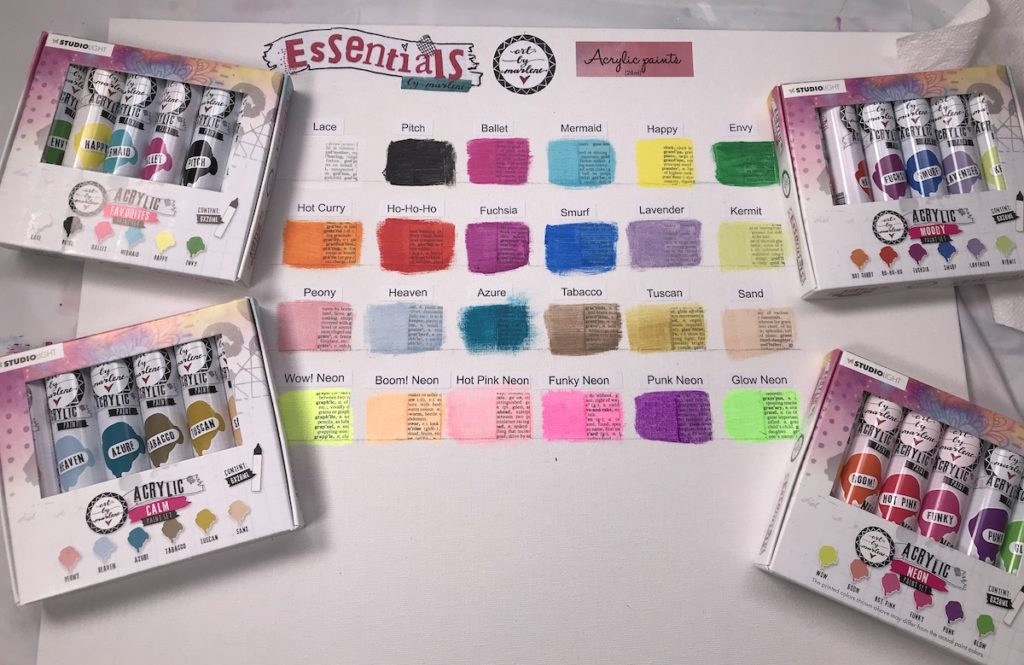
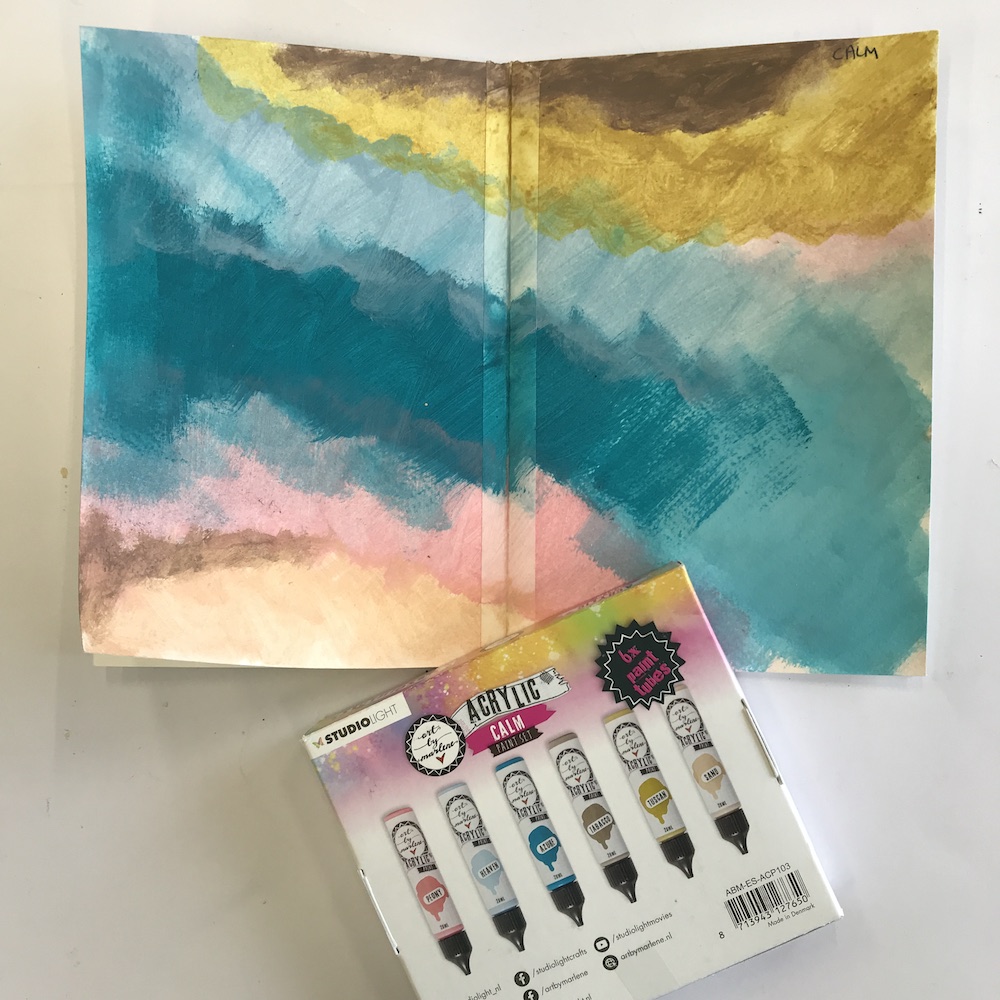
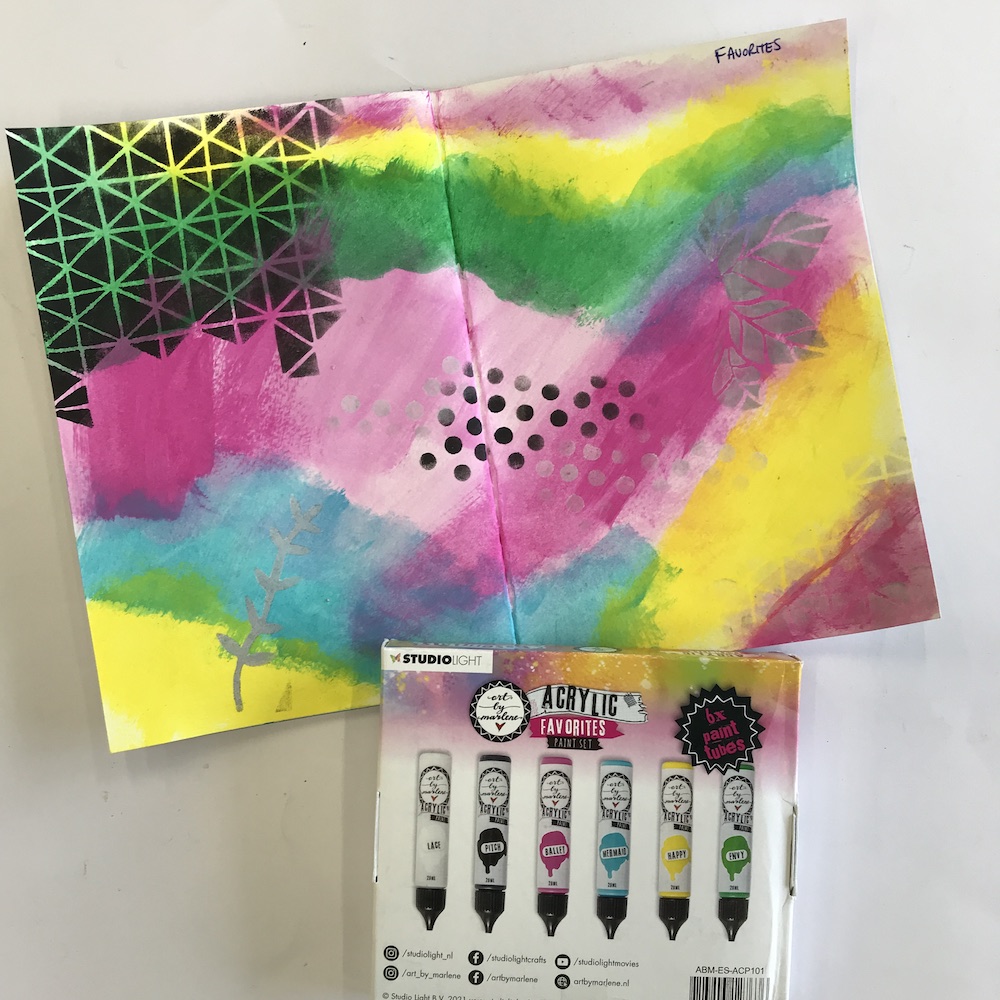
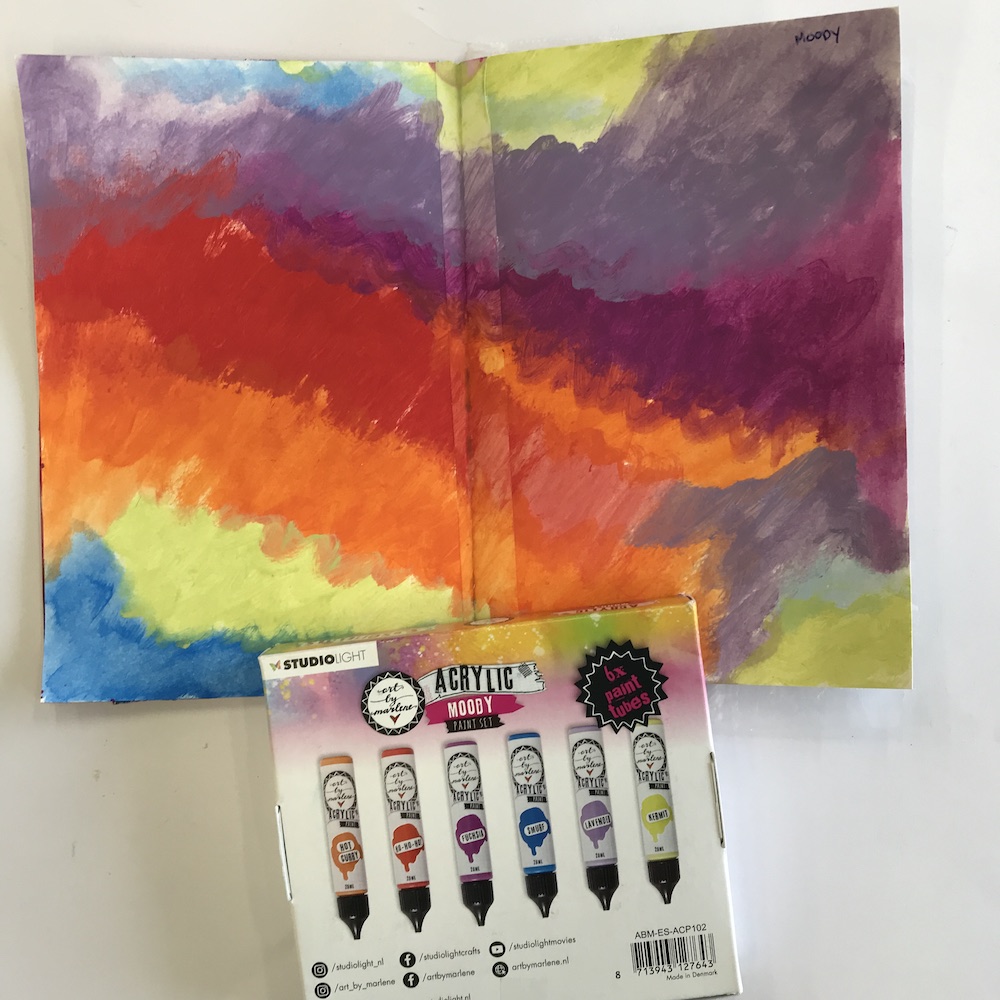
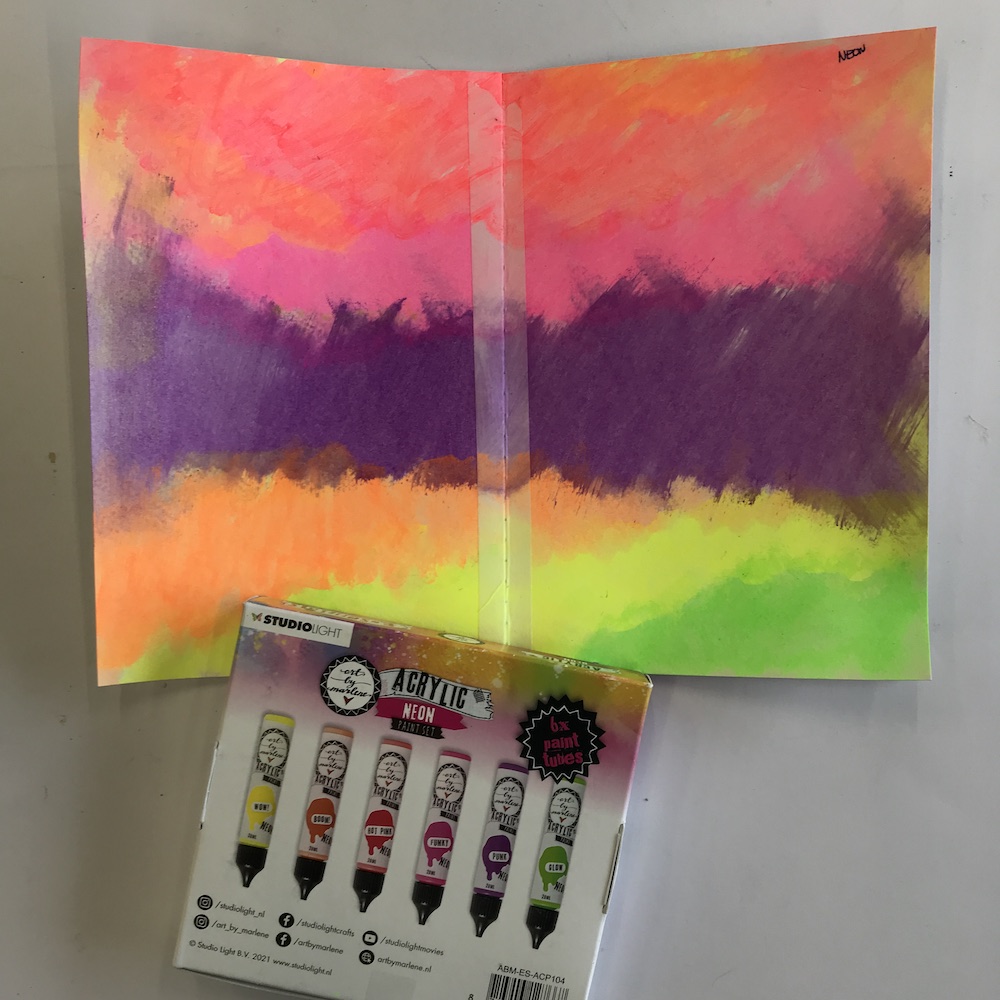
Art by Marlene and Studio Light have released a new range of acrylic paints! And they have just arrived at the Mixed Media Art Studio, Melbourne, Australia. Michelle takes you through the colours in each of the 4 sets, and then swatches each colour onto a display board, showing you the colour and transparency of each paint. Colour swatching your new paints is a great way to get to know your craft supplies, and helps creating layers in your mixed media canvas or art journal.

Materials List

Art by Marlene Studio Lights acrylic paint melbourne australia

You can see the full range of craft supplies and art journals at Mixed Media Art Studio online store