Michelle G Brown | Mixed Media Art

Classes back at MMA Studio

With restrictions easing across Victoria, we are cautiously excited to be opening classes again at Mixed Media Art Studio in Mount Waverley, Melbourne, from June 2020.

Find the details for classes here:
Art Journaling Sojourn – 6 week course [Starting 16 July]

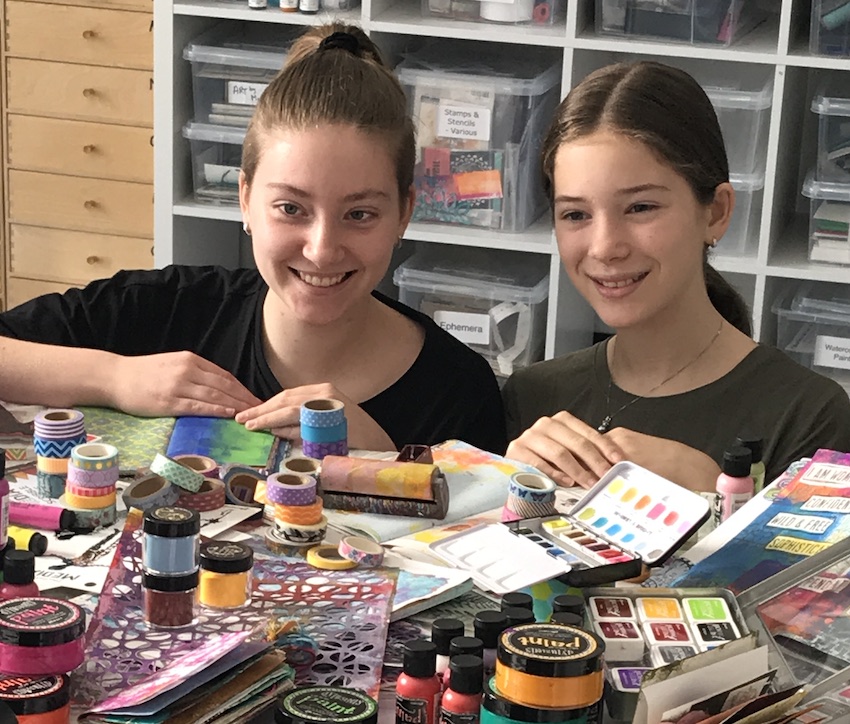
New classes for teens!

We are excited to be scheduling our first art classes for teens – with two sessions available over the July school holidays!
Junk Journal for Teens class details

New classes scheduled soon:
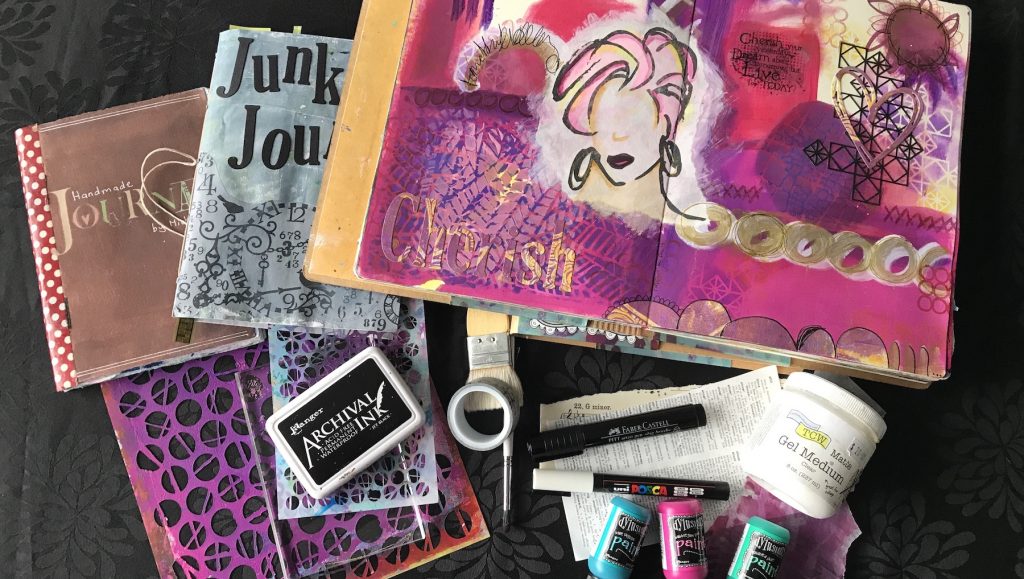
Classes will be limited to 6 to ensure we can be safe and enjoy the small group vibe within a fantastic, well lit studio, fully heated and air-conditioned,

Read our Hygiene Policy here
P2PCrafts Presents Mixed Media Art

Mixed Media Art was featured in P2PCrafts Presents online crafting videos. Michelle chats about the beginnings of the Mixed Media Art website and how it turned into the online store of today!

Materials List:

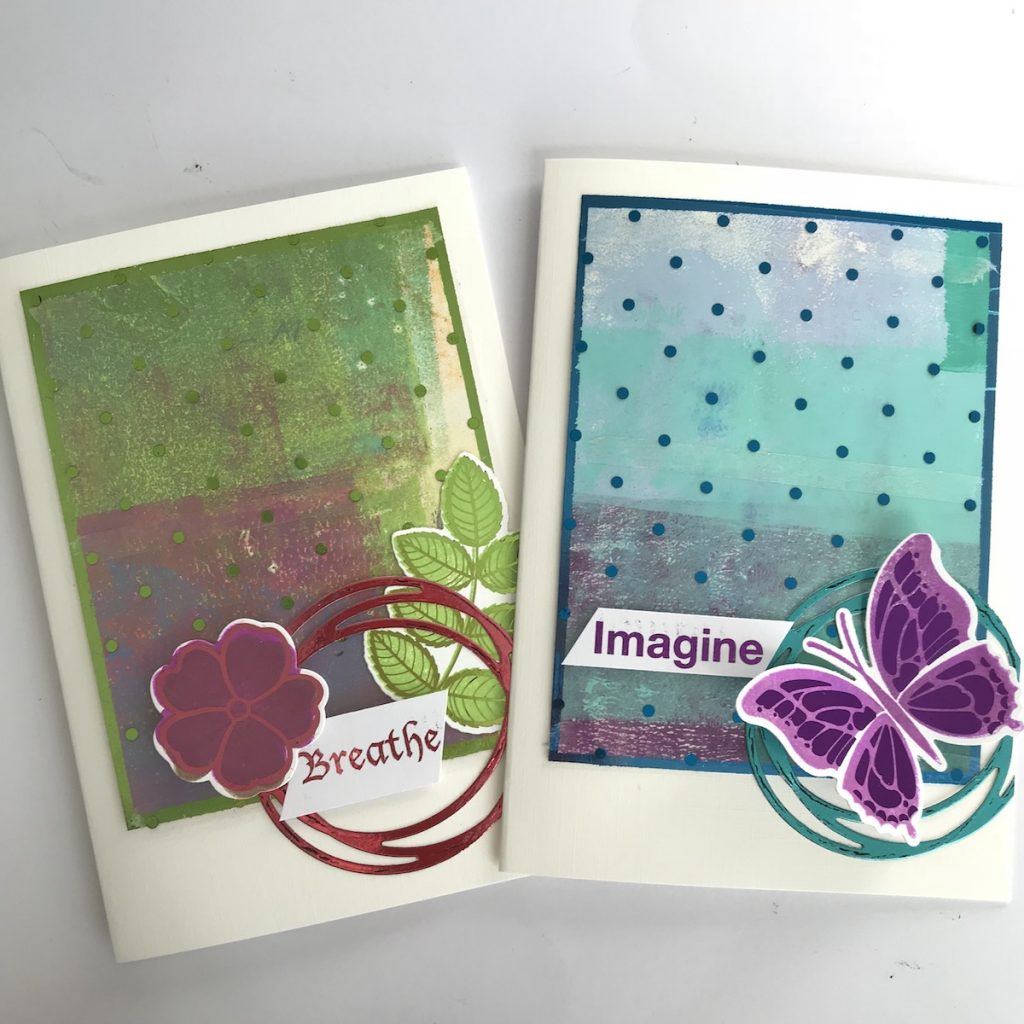
Foil Five Ways cards by Michelle Brown

Altered Steampunk Bird

~ * ~

This article is written by Barbara Rankin 

Barbara shows you how to take a wooden bird, a simple coffee filter, some jewelry findings, and die cuts, then combine them with ColourArte Silks Acrylic Glazes and other mixed media, to alter this sweet little steampunk-style home décor piece.  These techniques can be used for any project and will help you have a better understanding of how to apply them in your art.

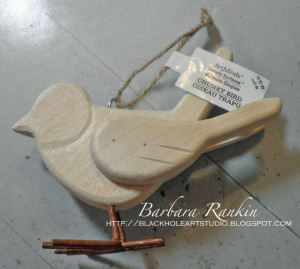
This little wooden bird is going to take on a new life in Steampunk world.  I found this little guy by Art Minds in my local craft store.

bare wood bird

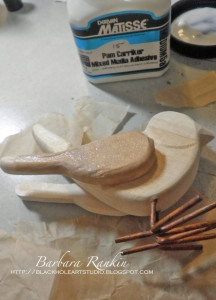
Remove the screw eye first.  Tear a coffee filter into strips and adhere to bird with Mixed Media Adhesive.

coffee filter adhered to bird’s wing

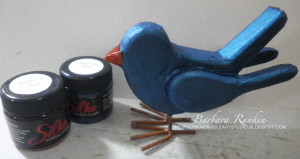
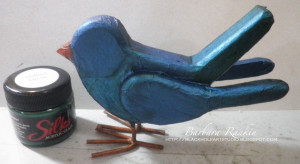
Paint bird with ColourArte Silks Bolivian Blue and beak with Silks Harvest Sol (mixed with a bit of Silks Mango Mama)acrylic glazes. [www.colourarte.com]

painted bird with Silks paint jars

Add a wash of ColourArteSilks Mallard Green to the breast, tail and wing feathers for a bit of highlight.  It is subtle but effective.

birdand Silks paint jars

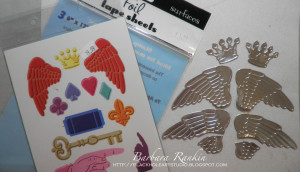
Adhere a 6” x 7” piece of Ranger foil tape to a sheetof silver metallic cardstock. Die cut four wings and two crowns with the Cuttlebug Cut N’ Boss folder. I also cut out two hearts, not shown in photo. Trim lower portion of one of the wings for each side, as shown.

photo of metal foil covered cardstock and diecuts

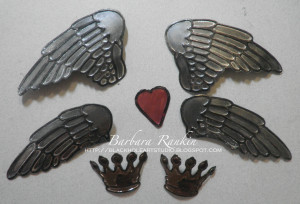
Apply DecoArt Metallic Lustre Iced Espresso to crowns and Black Shimmer to wings.  Add ColourArte Silks Rusty Mauve to one heart, thenhit high spots with black archival ink (Noir Black Palette Hybrid ink used).  Add metal bling to crowns and shape crowns and wings with fingers.

photo of painted metal foil covered cardstock and diecuts

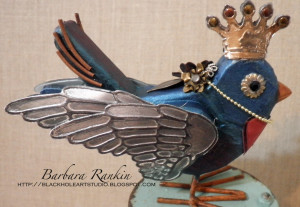
Begin adding embellishments to the bird.  Adhere two wings to each of the bird’s wings, layering one over the other.  Join the two crown pieces, shape and adhere to the bird’s head.  Add jewelry finding with black gemstone on each side of head for eyes.  Add curved tubular beads to each side of the bird’s tail feathers.

adhereddie cut wings, crown, eyes, flowers

Glue tiny bead chain with “Seeds” charm around bird’s neck, gluing bead chain together on top.  Cover the glued join with Tim Holtz’s Ideaology metal flowers and leaves.

photo of bead chain with “Seeds” charm around neck and metal flowers

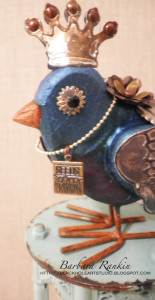
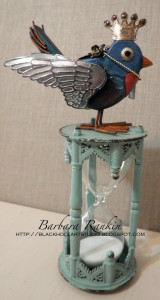
Here are two side views of the finished altered bird.  Isn’t he adorable!

right facing bird finished

~*~*~*~*~*~*~*~*~*~*~*~*~*~*~*~*~*~*~*~*~*~*~*~*~

Barbara is a mixed media artist who loves to teach.  She loves to learn new techniques and to share her knowledge with other artists.   She is a contributing artist in a book:  Make it in Minutes: Mini Albums, and has been published in several paper and online magazines.  She is currently on fourdesign teams, ColourArte, Sin City Stamps,Altered Pages, and Gina’s Designs.  She has served as a design team member for The Robin’s Nest and Creative Paperclay®, as well as guest designer for Craftwell USA, Unruly Paper Arts, and Gina’s Designs.

She lives in the Memphis, Tennessee area with her very supportive husband of 32 years, and her two Yorkies, Chloe and Zoe.

You can see more of Barbara’s work on her blog at Black Hole Art Studio or via Facebook – Black Hole Art Studio

~*~*~*~*~*~*~*~*~*~*~*~*~*~*~*~*~*~*~*~*~*~*~*~*~

.

.

Turn your Gel Prints into stickers!

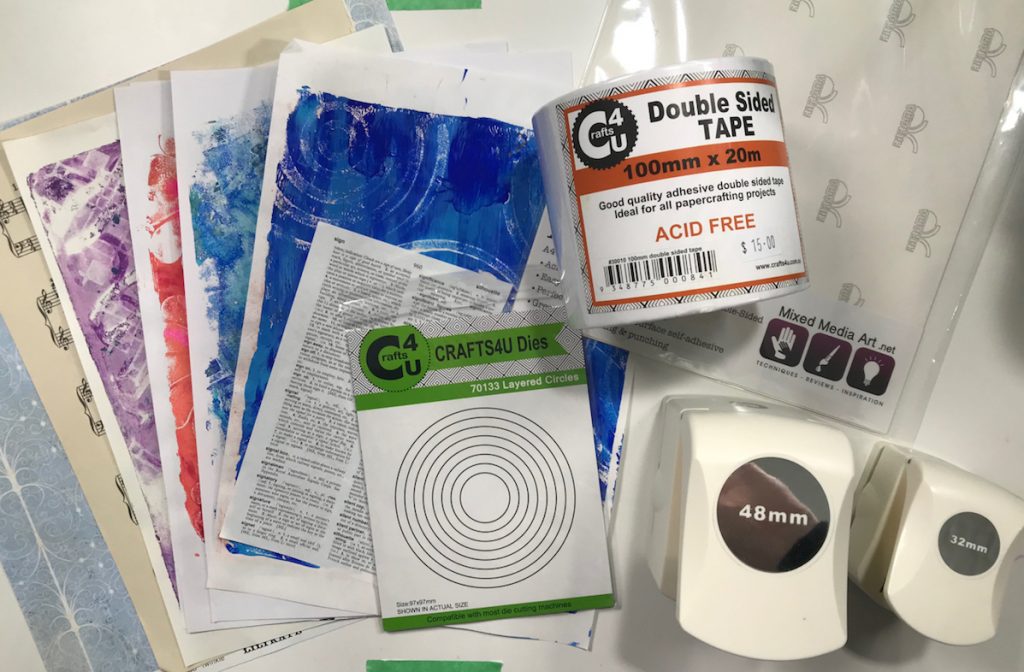
If you are looking for a simple craft project, let’s catch up with Michelle as she turns her gel prints, printed scrapbooking papers and ephemera into stickers with large double sided tape and circle dies and punches!

Materials list: