Making Greeting Cards from Recycled Art Scraps

~ * ~

This article is written by Laura Shelton Thykeson

I know that there are many, many artists that make their own beautiful and original greeting cards for all occasions, and they have so many creative ways to do it! I love the variety and beautiful cards I see out there. I wanted to write a short tutorial for those who may be just beginning to venture into this fun field and are maybe looking for some easy tips and techniques.

Handmade Greeting Cards are quick and easy to make

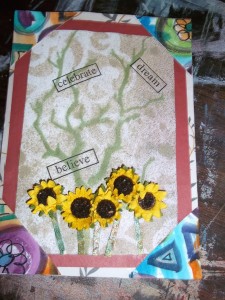
The card I have made may not be to everyone’s taste, but I love mixing up colors, textures and designs to really make for an interesting card to look at. It has several elements, but it is really easy once you know the details and instructions.

Materials

Below is a list of supplies you will need:

  1. Blank watercolor card w/envelope, or a piece of cardstock if you would rather work with that. You will have to cut and fold your cardstock over in half to make the card shape.
  2. Bits and pieces of our recycled art, old art journal pages, paint splattered pieces of papers, collage material, pretty paper napkins, stamps (optional), any 3d embellishments you choose. (I chose the yellow sunflowers for added texture, ribbons, buttons, sequins, etc….
  3. Coordinating scraps of “stencil play” pages, scraps of cardstock that may not be your favorites and you won’t be using for anything else.
  4. ATC’s in abstract, colorful and textured designs, or even postcards you have made that you don’t mind cutting up to reuse

Instructions:

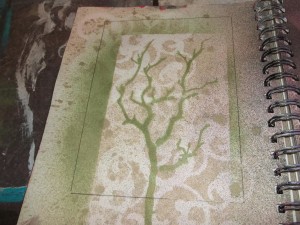
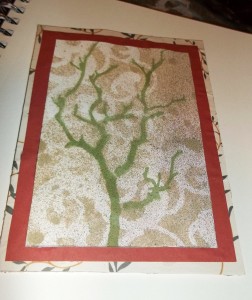
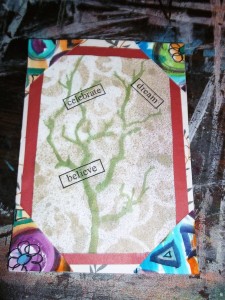
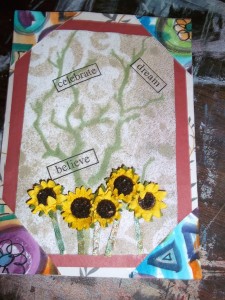
  • After you have chosen your blank watercolor card or made one from cardstock, take your colored papers and glue and layer them on the front page of the card to start your colorful background. This is layer 1. I used a piece of brown paper, with a stencil design of a tree that I had been playing around with in an old art journal.

Handmade Greeting Cards are quick and easy to make

Handmade Greeting Cards are quick and easy to make

Handmade Greeting Cards are quick and easy to make

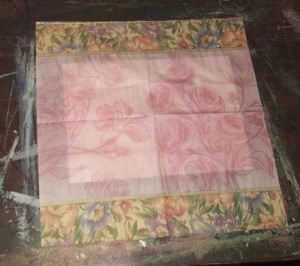
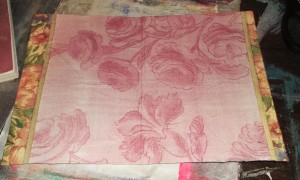
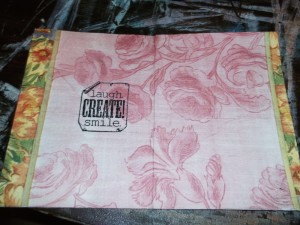
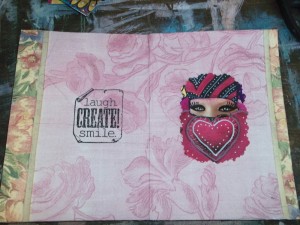
  • Once that is dry, open up your card and spread glue or your fav adhesive all over both sides of the inside pages of the card. Then take the paper napkin and lay over the glue, pressing and smoothing to get any wrinkles out. It is ok if you have some wrinkling, because the texture is always nice, but for this card I wanted it smooth. Let this dry well.

Handmade Greeting Cards are quick and easy to make

Handmade Greeting Cards are quick and easy to make

  • Using your choice of stamps (optional), or if you prefer your own handwriting, add some cool sayings or words on the inside of the card.

Handmade Greeting Cards are quick and easy to make

  • I also ran across another old ATC size scrap of art that caught my eye, and using decorative scissors, I trimmed all around the edges of the card to give it some interest and texture, then glued it to the right side page of the inside of the card to finish it out.

Handmade Greeting Cards are quick and easy to make

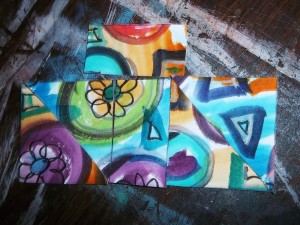
  • Now, take any old ATC’s, collage papers, gelli print papers, etc and cut them into triangles. Take these triangles and glue them to the corners of the front of your card to add more color and texture. If you are using an old ATC, cut it first in half, then cut the two halves into triangles by cutting from opposite corners to make the triangles. Also add some stamped words.

Handmade Greeting Cards are quick and easy to make

Handmade Greeting Cards are quick and easy to make

  • At the bottom of the front page of my card, I cut small strips of abstract, glittery watercolor paper scraps I had painted a long time ago, and glued them on as stems for the 3D yellow sunflowers that I added at the last minute.

Handmade Greeting Cards are quick and easy to make

This is a really fun and easy way to make a unique and interesting card for any occasion! Using different papers, napkins, stamps etc, you can fashion it to fit any occasion. I really hope you have enjoyed learning how to recycle scraps into something both unique AND useful!

~*~*~*~*~*~*~*~*~*~*~*~*~*~*~*~*~*~*~*~*~*~*~*~*~

Laura Thykeson has been totally immersed in mixed media art for many years. She discovered altered books and art journals about a year ago and have been hooked ever since! She has always loved mixed media art because of the variety and the “no rules” aspect! Laura lives in Granbury, Texas USA.

You can see more of Laura’s work at Taz’s Corner

~*~*~*~*~*~*~*~*~*~*~*~*~*~*~*~*~*~*~*~*~*~*~*~*~

.

.
Elena Lishchenko’s Christmas Cards

~*~

This article is written by Elena Lishchenko

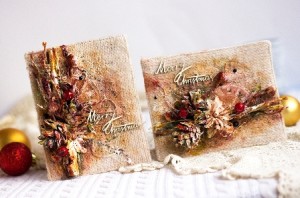
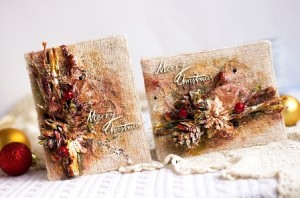
Hello everyone! Today I would like to show you my new Christmas cards.

Elena Lishchenko's Christmas Cards

Supply list of ColourArte products:

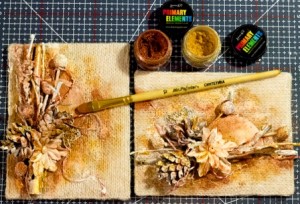
  • Primary Elements Artists Pigments:
  • PE-167 Golden Nugget
  • Single-Jar-Pigment “Emperor’s Gold”
  • PE-175 Honey Amber
  • PM-006 Pure Mica Minerals Indian Copper
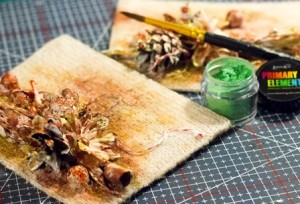
  • PE-591 Lucky Apple

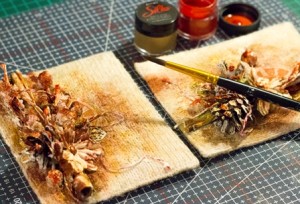
Silks Acrylic Glaze:

  • SLK-104 Emperor’s Gold
  • SLK-179 Jasper Red
  • SLK-120 Spicy Tomato

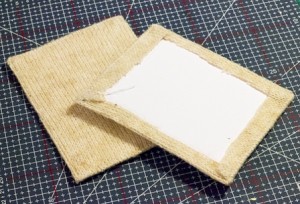
I started with two pieces of cardstock. I cut two pieces from my old sweaters and sew them.

Elena Lishchenko's Christmas Cards

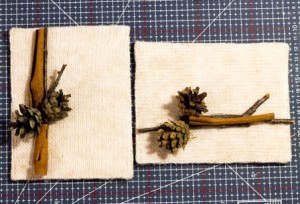
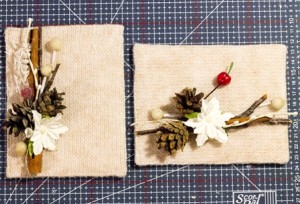
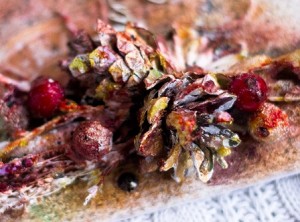
For my Christmas composition I use cinnamon and beautiful embellishments from the forest.

Elena Lishchenko's Christmas Cards

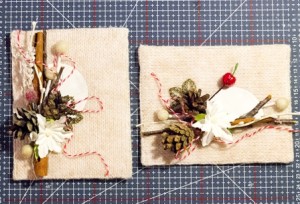
Next two steps – add traditional scrapbook embellishments from my stash.

Elena Lishchenko's Christmas Cards

Elena Lishchenko's Christmas Cards

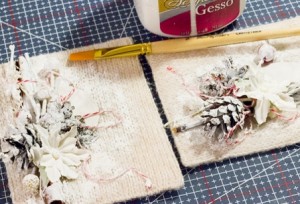
Cover them with white gesso.

Elena Lishchenko's Christmas Cards

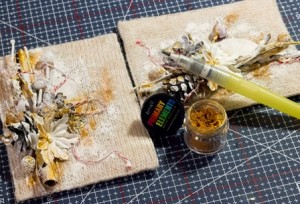
Now it’s time to playing with amazing “Primary elements”. First I lay on Pigment “Emperor’s Gold” with wet brush.

Elena Lishchenko's Christmas Cards

Apply  PE-167 Golden Nugget, PE-175 Honey Amber, PM-006 Pure Mica Minerals Indian Copper with dry brush.

Elena Lishchenko's Christmas Cards

Add SLK-104 Emperor’s Gold, SLK-179 Jasper Red, SLK-120 Spicy Tomato with dry brush. I want just add some accents, so I add a little touches.

Elena Lishchenko's Christmas Cards

I can’t stop and I decide to use PE-591 Lucky Apple, because it’s one of traditional colors of Christmas.

Elena Lishchenko's Christmas Cards

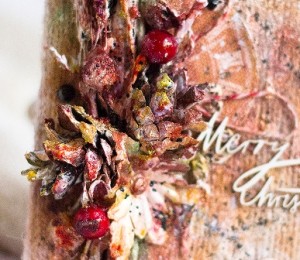
Finally I add some more Christmas decorations.

Elena Lishchenko's Christmas Cards

Close-ups:

Elena Lishchenko's Christmas Cards

Elena Lishchenko's Christmas Cards
.

.

Instructions on How to Make Handmade Greeting Cards

~ * ~

This article is written by Melanie Statnick 

Handmade Greeting Cards

Greeting cards are so fun and quick to make. My mum and I would send cards to each other all the time. I really want to get in the habit of snail mail again.  I love to send gifts, happy mail, post cards and handmade cards.

Handmade Greeting Cards

I hand folded 140lbs cold press watercolor paper into a card shape. Opened to lay card flat and spray with orange and pink Dylusions ink spray. These are my favorites. Air dry or dry with heat gun.  Cut pink card stock paper to smaller size to center in the front of the card and glue. Stamp all four sides of card stock. Stamp image of 2” art squares. Glue squares to cardstock.

Handmade Greeting Cards

Stamp your greeting on top and bottom of watercolor card. Using Pitt Pen Big Brush Markers color in the stamped images. Add Stickles in your favorite colors and washi tape to the edge.

Handmade Greeting Cards

*stamp can be found at Rubbermoon.com

~*~*~*~*~*~*~*~*~*~*~*~*~*~*~*~*~*~*~*~*~*~*~*~*~

Author bio: Melanie Statnick is a published artist/writer out of North Carolina. Melanie creates art daily from her private studio. Her style is happy and whimsy. Statnick’s artwork can be found in art galleries and shops extensively in NC with international private collections.

~*~*~*~*~*~*~*~*~*~*~*~*~*~*~*~*~*~*~*~*~*~*~*~*~

.

.
Handmade Greeting Cards with PanPastels

~ * ~

This article is written by Michelle G. Brown

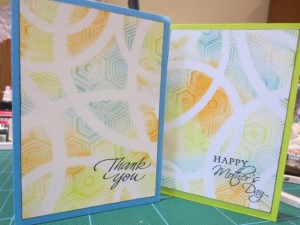
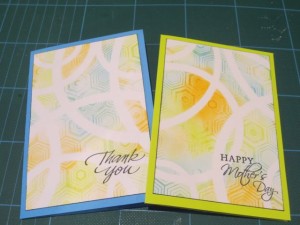
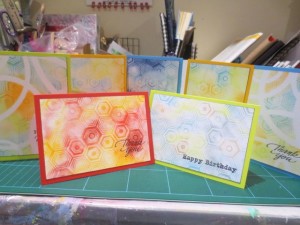
It’s the time of year again when I need to whip up some handmade greeting cards for Mothers Day. As I have such fun playing with this Versamark resist and PanPastels technique, I thought it would be prefect for this year’s cards.

Card background with Versamark ink and coloured with pan pastels

Materials for Handmade Greeting Cards

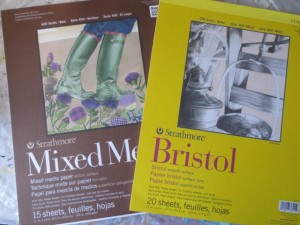
Strathmore Mixed Media or Bristol paper

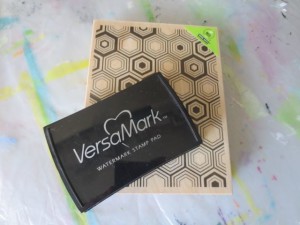
– Large stamp here I used Hero Arts Hexagons S5667

Versamark ink

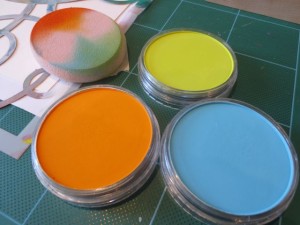
– Pan pastels 280.5 Orange , 680.5 Bright Yellow Green and 580.5 Turquoise

– Range of Sofft Art Sponges

– Stencil L238, designed by Michelle Ward, by Stencilgirl

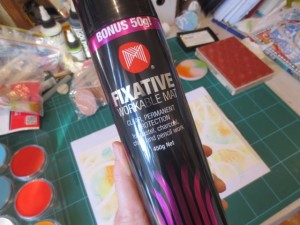
Spray workable fixative

– matching coloured card

Archival ink Black

– 2-sided tape

Instructions for  Handmade Greeting Cards

1. Remove a sheet of Mixed media or Bristol paper from the pad

Versamark ink and pan pastels

2. Using Versamark ink, stamp large stamp image around paper

Versamark ink and pan pastels

You can just see the design here

Versamark ink and pan pastels

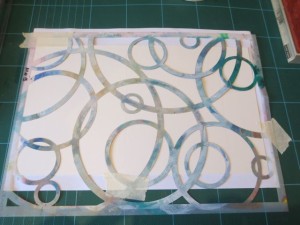
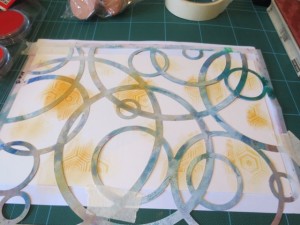
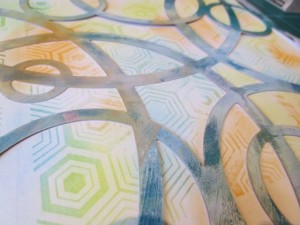
3. Place the stencil over the stamped card and secure with masking tape

Versamark ink and pan pastels

4. Using a light circular motion with the sponge, add a little orange PanPastel onto the card, going over the stencil.

Versamark ink and pan pastels

Then the magic happens – the stamped pattern appears!

Versamark ink and pan pastels

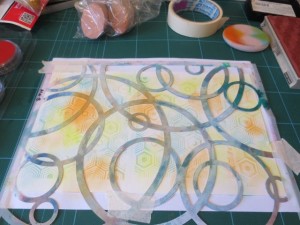
5. Add the green and blue. Keep adding color slowly until you are happy with the result. You can blend the edges between the colors to fade out any sharp lines. I like using the lighter color (the green here) to blend the transition between the colors.

Versamark ink and pan pastels

Versamark ink and pan pastels

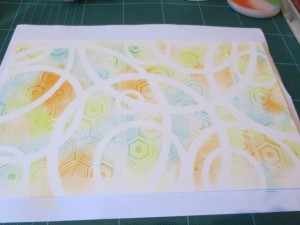
6. Carefully remove the stencil

Versamark ink and pan pastels

7. Spray with a workable fixative.

Versamark ink and pan pastels

This step isn’t mandatory but I hate stuff rubbing off, so I live using this spray. It only takes a few minutes to dry.

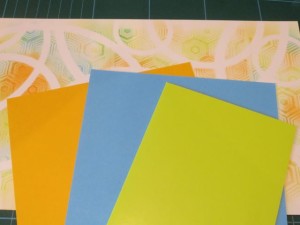
8. Find matching colour card to be the base of your card. Here I have chosen an orange, a green and a blue. This card is 210mm x 148mm, folded into A6 (148mm x 105mm)

Versamark ink and pan pastels

9. Using my paper guillotine, I cut the colours background to fit onto the card (138mm x 95mm)

Versamark ink and pan pastels

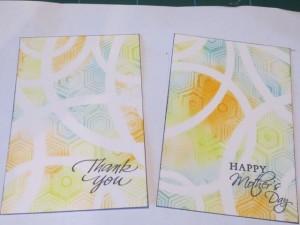
10. Stamp greeting with black ink and edge the background card. Set aside for a minute or two to dry.

Versamark ink and pan pastels

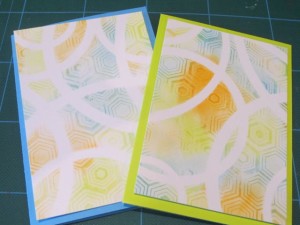
11. Use 2-sided tape to stick the two layers together.

Versamark ink and pan pastels

I also had a play with a few other colors and mixed and matched the greetings and background card.

Versamark ink and pan pastels

~*~*~*~*~*~*~*~*~*~*~*~*~*~*~*~*~*~*~*~*~*~*~*~*~

Michelle G. Brown is passionate about mixed media art and enjoys sharing her knowledge and techniques with you to allow you to express your own creativity. Michelle understands that many of us have an inner need to create. By learning a few basic techniques the amazing world of mixed media art is accessible to everyone!

Michelle lives with her husband and two boys in Melbourne, Australia. When she is not creating or on Facebook, she’s at karate training. Just to make sure she’s properly busy, she has also adopted the From Picture to Page Scrapbooking and Papercrafts Show

~*~*~*~*~*~*~*~*~*~*~*~*~*~*~*~*~*~*~*~*~*~*~*~*~

Disclosure: Some of these PanPastels were supplied by Colorfin and some were bought with our own money.  All opinions are that of the MixedMediaArt team. Some links on this page may be affiliate links and any purchases help to support the ongoing work by MixedMediaArt. 
.
.