Handmade Vintage Christmas Greeting Cards

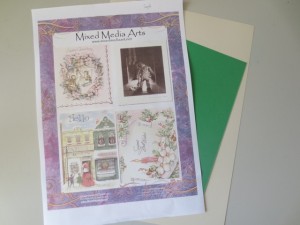
With the Holiday season approaching, it’s time to get started on our handmade greeting cards. Here we have used our Mixed Media Art Ephemera Sheet 17 ~ Vintage Christmas Greetings to get us started. Once you have downloaded the ephemera sheet and get it printed, it makes it easy to create individual handmade greeting cards.

These Vintage Christmas Greetings have also come from my Aunt’s vintage greeting cards collection. The box is still FULL of cards and interesting ephemera that you haven’t seen yet and I just LOVE going through the musty smelling papers to bring the interesting and the strange vintage images to you.

using vintage images to create your own handmade greeting card

Tools and Materials

Process

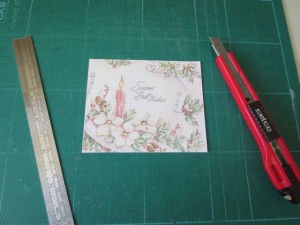
1. Download and print off your Vintage Christmas greeting ephemera sheet. Gather supplies together. You can choose the colored card that suits the image that you have chosen.

2. Cut out the image you will be using. I prefer to use a craft knife, steel rule and cutting mat.

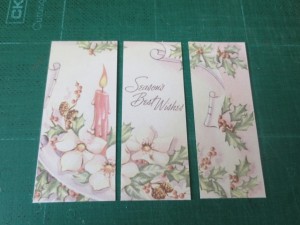
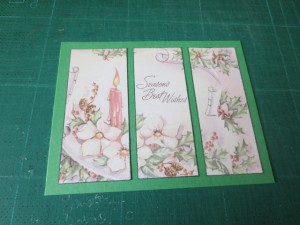
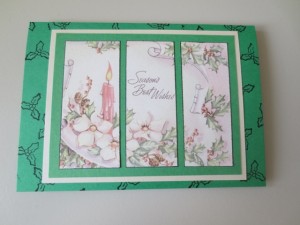
3. Cut imaging into roughly thirds, taking the image as a guide to get the best fit. Don’t worry if you make a mistake – just print the ephemera sheet out and start again!

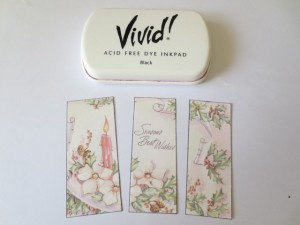
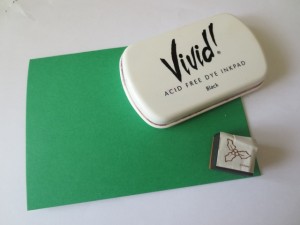
4. Edge three panels with black ink. Let them sit for a minute or so to dry.

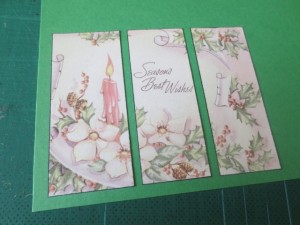
5. Use double sided tape to stick three panels onto green card, leaving a gap of about 5mm [3/18″] between panels and around edges. I did this by eye, but you can measure the distances if you would prefer.

6. Cut out the green card, using the craft knife.

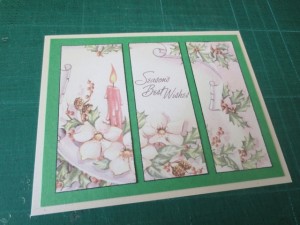
7. Layer the green card with three image panels onto the cream metallic paint. Cut it out. I used a slightly smaller border, just to allow the image to sit up off the backing card.

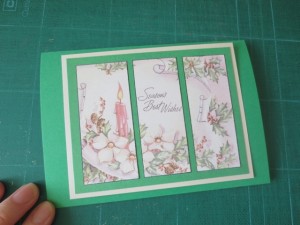
8. My original plan was to put this straight onto the green card, folded in half, but something was missing.

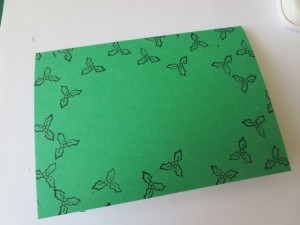
9. I pulled out a holly stamp to tie in with the image theme.

10. Stamp holly around the edge of the green card. Use part images and turn the stamp to add interest and variety from one stamp.

11. Layer image and background onto stamped green card. And admire your work now that your greeting cards finished – don’t forget to sign the back and add the date.
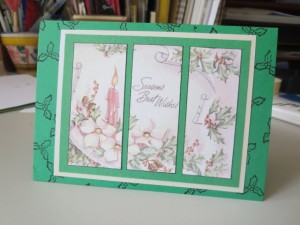
Handmade greeting cards with mixed media art epherma sheet

Crayon Backgrounds

This article is written by M. Carmen Sánchez – Cuchy from La almohada

When it comes to play in an artistic way, one of my favourite things is to create backgrounds, testing different products, materials, surfaces… and whatever I had within reach.

And if I play with my little kid while creating, much better.

This is a background technique perfect to do with kids (under adult supervision, due to the use of an iron)

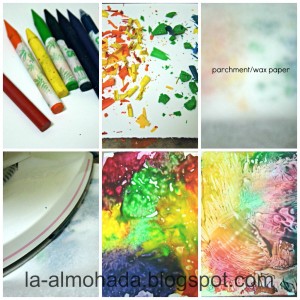
Just grab your kids’ wax crayons in your favourite colours and sharpen them. We want the shavings for our project.

Take a glossy cardstock and lay the shavings in a colourful pattern.

Put a piece of parchment or wax paper over it and iron it without steam.

Wait a bit for drying or lift the paper right away. See the different outcomes and texture. I love it.

Now you can use it as it, cut into pieces and use it in other projects, embed collage paper in the wax, or apply the same technique in other surfaces.

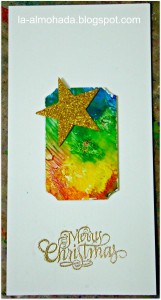
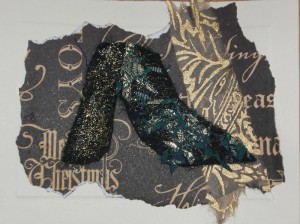
I made a bright christmas card. Hope you like it.

using melted crayon background for gift handmade cards

~*~*~*~*~*~*~*~*~*~*~*~*~*~*~*~*~*~*~*~*~*~*~*~*~*~*~*~*~*~

Carmen Sánchez, also know as Cuchy, is a mainly self-taught mixed media artist who loves to play with textures and layers.

Cuchy is a member of the Kuretake’s Design Team, manufacturer of writing supplies, Design Team Instructor of Stampers Best, american manufacturer of rubber stamps and cling cushion mounting foam, and contributor and guest designer in various Spanish and international blogs. She has taught several workshops in Madrid and Barcelona and loves to teach from her own experiences, and encourage the students to think outside the box and put their inner self in everything they create and to achieve a personal and unique result.

You can find more on her blog, her facebook page, or watch her broadcasting live on her Livestream channel.

~*~*~*~*~*~*~*~*~*~*~*~*~*~*~*~*~*~*~*~*~*~*~*~*~*~*~*~*~*~


Die Cut Articles

This article is written by Debbie Ward from Lucky Girl Paper Arts

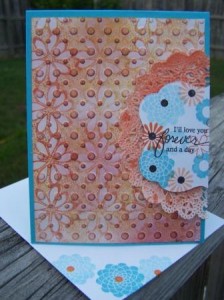
I love die cuts…there I said it.  Like most people I started out with my Cricut to cut shapes from cardstock.  While I still use my electronic cutter, I find that I use my Cuttlebug more often.  The reason is that I have switched to using metal dies as opposed to cartridges.  For the longest time I was using the die cuts just the way they were when I cut them on my cards and scrapbook pages.  I decided to start altering my die cuts to “fit” what I needed as opposed to what I had.  I started doing this because of some smaller sentiment stamps I had just bought.  Here is one of the first cards I came up with:

You can see that the sentiment was stamped on a die cut that was cut in half.  If I were to use the sentiment stamp on the whole die cut, the sentiment would have been lost.

Since this first card I have experimented with more of the die cuts that I own.  One of the best things about this little experiment is that I may have just doubled the amount of dies that I have without spending additional money; and that makes any crafter happy.

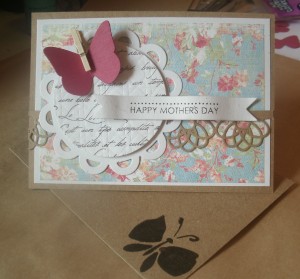
This year I decided to make Mother’s Day cards for a few very special mothers in my life, I decided to challenge myself even more on these cards:

On the one card, I die cut the circle and then I stamped a script image on it and then used an impression plate to emboss it and give it a little texture.  The other die cut was a butterfly and I clipped it to the circle with a small clothespin…the clothespin also was used as the butterfly body.

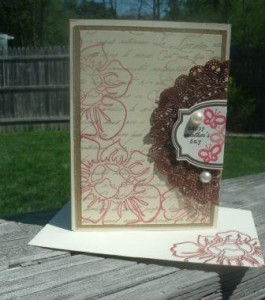
The second card mirrors the first card that was shown above with a die cut that was cut in half and the sentiment stamped on it.  I didn’t just cut the die cut in half on this card…I also cut the doily in half as well and sprayed it with Glimmer Mist.

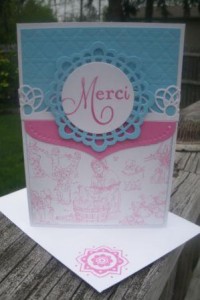
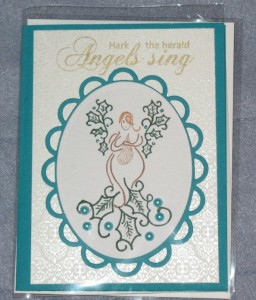
Another great way to get more mileage out of my die cuts is to layer them on a card together.  I used to be afraid of using too many of anything on my cards, now I know that if I use them the correct way together, they actually complement wach other as opposed to competing with each other for the focal point.  Here is a card that used four different dies:

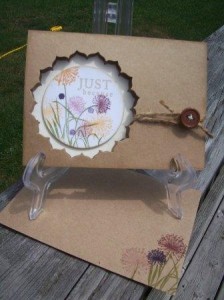
The last card is using the metal die to cut a window into my card:

This technique works well when you want to draw attention to a special sentiment or image.

Debbie Ward has been paper crafting for many many years. She loves to create cards, scrapbook pages and altered items. She designs for a local scrapbook store, Hannah’s in Antioch Illinois.


Birthday Celebration Cards

Here are some of the handmade greetings cards that are helping us to
celebrate Mixed Media Art’s second birthday.


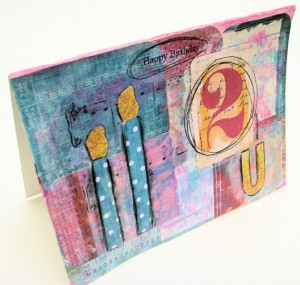
Mixed Media Art second birthday card

Patricia Davis

~*~*~*~*~*~*~*~*~*~*~*~*~*~*~*~*~*~*~*~*~*~*~*~*~*~*~*~*~*~*

handmade greeting card

Debbie Davis
~*~*~*~*~*~*~*~*~*~*~*~*~*~*~*~*~*~*~*~*~*~*~*~*~*~*~*~*~*~*

mixed media greeting card

mixed media art and collage

mixed media collage

mixed media collage


Eileen Murray

~*~*~*~*~*~*~*~*~*~*~*~*~*~*~*~*~*~*~*~*~*~*~*~*~*~*~*~*~*~*

.

.