Creative Prompts Gift Box

~ * ~

When we sit down to craft, there are times when we need a little creative guidance to get us started. It may be starting a new project and deciding on a theme can also be challenging.

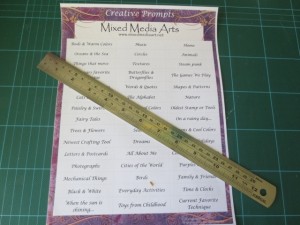
Mixed Media Art has put together this Creative Prompts ephemera sheet – 45 categories and ideas to boost your creativity. These creative prompts can be used to spark an idea, set guidelines for a swap or used as a theme for your art journal. Some of the prompts are quite specific; others give you a general theme to get you started. You can choose to use them however you wish.

mixed media art ideas

Creative Prompts Gift Box

We loved the idea of these creative prompts so much that we wanted to share them with our crafting friends. And what better way to do that than to make a box to store our creative prompts in. Whether you decide to give it to a friend, take it to your crafting group or keep to yourself,  it is entirely up to you!

Materials & Tools

  • Mixed Media Art Ephemera Sheet 19 – Creative Prompts
  • Cereal Box
  • Scissors
  • Craft knife, steel rule and cutting mat
  • Stapler
  • Text ephemera sheets – at least 3 different fonts
  • PVA glue
  • Gesso
  • Acrylic paint of your choice
  • Paintbrushes, palette and water pot
  • Spray varnish
  • Your choice of embellishments

Making your Box

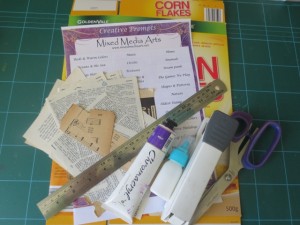
1. Gather up your materials

Mixed Media Creative Prompts

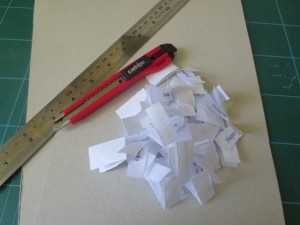
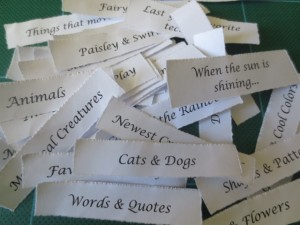
2. Using the steel ruler, tear your creative prompts into individual slips. You could also scissors or a craft knife, but I like the torn edges and find it much quicker.

mixed media art ideas

mixed media art ideas 

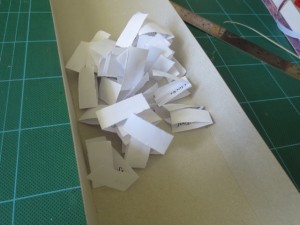
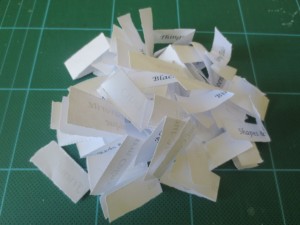
Then fold the prompts in half

mixed media project ideas

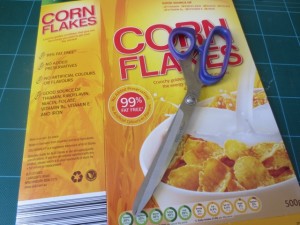
3. Using scissors, cut out the two large panels of your cereal box

mixed media ideas

4. Put the folded creative prompts on top of one of the cardboard panels to give us an idea of the size for our box

mixed media project ideas

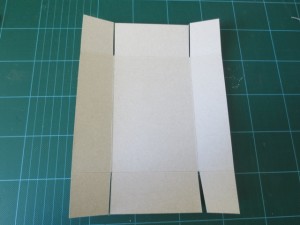
Using the steel ruler and the craft knife, score the box and fold up the edges. A good cutting mat with grids marked on it makes a good reference for getting your scoring and folding straight

mixed media project ideas

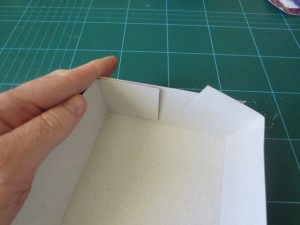
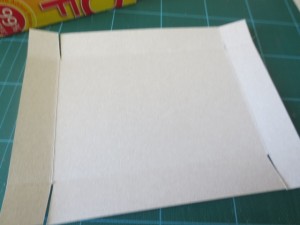
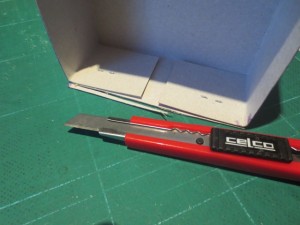
5. Repeat with the two ends of the box. Cut the corner tabs as shown in the picture. This gives us the tabs that will make the ends as well is a little bit of clearance to make sure the box is square.

mixed media ideas

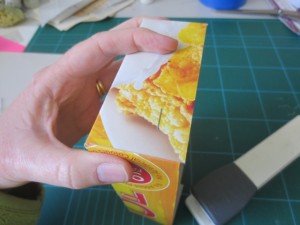
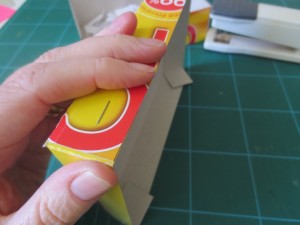
6. Fold in the ends of your box

Handmade gift boxes

7. Use the stapler to secure these tabs

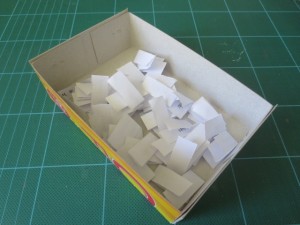
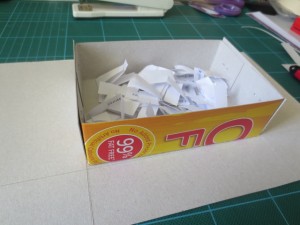
8. The bottom of your box is now complete. Now you can add in your creative prompts to make sure it is the correct size.

Mixed Media Creative Prompts

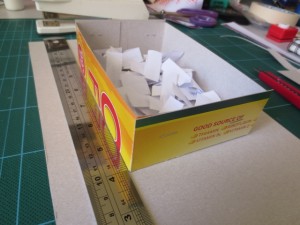
9. The top of the box needs to be slightly bigger than the bottom to make sure it fits on. Place the bottom of the box onto the second cardboard panel. We will use this to show us the size rather than measuring the box.

mixed media project ideas

10. Using the steel ruler and craft knife again score around the box, taking care that your lines are at 90° to each other and parallel. Taking care here will make sure we have a nice box when we are finished

11. Cut down the sides of the top of the box –  these can be smaller than the bottom sides, to make it easier to open. Then fold all four sides and cut the tabs as shown. I prefer to cut my tabs the opposite way to the bottom so that they sit better when closed.

mixed media project ideas

12. Use your stapler to secure the tabs and complete the top of your box

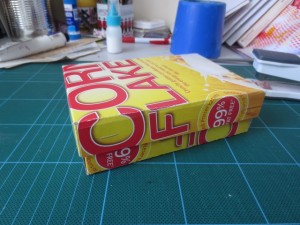
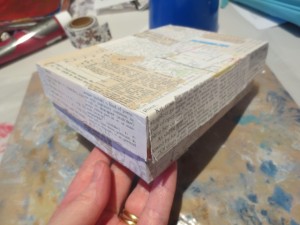
13. Now the structure of your Creative Prompts gift box is complete

mixed media ideas

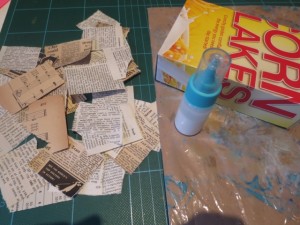
14. Tear your ephemera sheets into 2 inch squares. I prefer to use three different sheets to give a difference of panels as we collage the box.

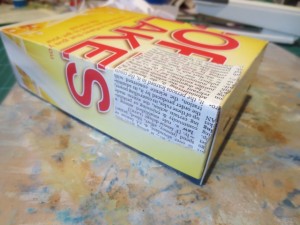
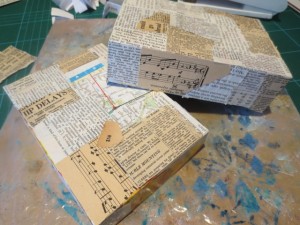
15. Apply some PVA glue to your ephemera square and stick it onto your cardboard up. Remember that the text on the sides of the bottom of the box need to be upside down so when the box the correct way up the writing will be the right way up.

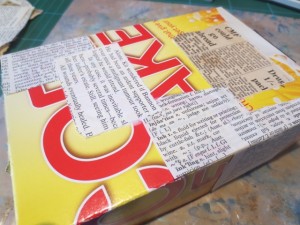
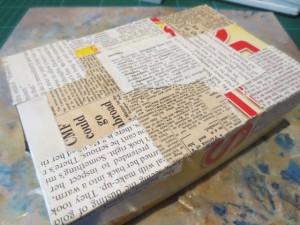
16. Continue adding different ephemera squares until the box is completely covered

mixed media project ideas

17. Repeat with the lid of the box and allow the glue to completely dry before moving on to the next step.

mixed media ideas

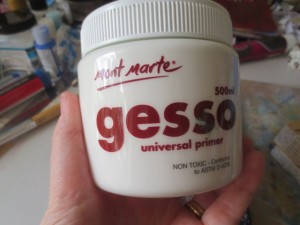
18. To even out the different colours of the ephemera, add a gesso wash to the top and bottom of the box.

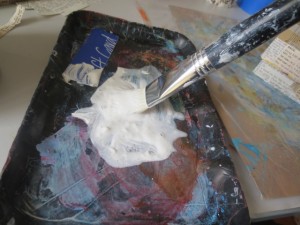
Add a little gesso to paint palette and water it down to create the wash

mixed media project ideas

Apply a light coat across the top and the bottom of the box. As the gesso dries it will become more translucent and the colours of the ephemera become more uniform

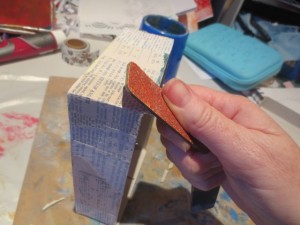
19. Trim up the edges of the ephemera pieces to the box edge using some emery paper. This tidies up the edges.

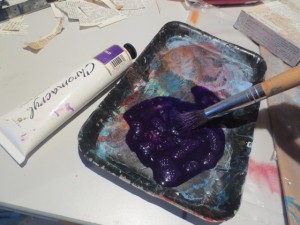
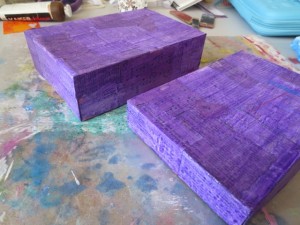
20. Now ready to add some colour to our box. Add a little acrylic paint in the colour of your choice to your paint palette. Add some water to create a wash

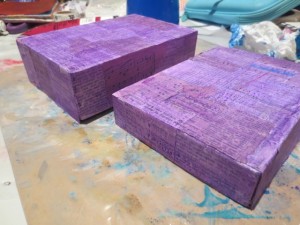
Apply the paint to the top and the bottom of your box and leave it to dry

21. Use your craft knife to clean any edges that may be uneven

22. Add a coat of spray varnish to seal the collage ephemera and paint wash. Leave overnight to dry thoroughly

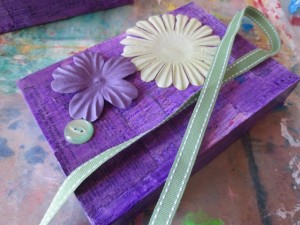
23. Now it’s time to add decoration to your box. Pull out a variety of ephemera that fits your colour scheme. Here I have chosen some paper and silk flowers, a button and some ribbon to go around the edge of the top of the box.

The ribbon and the flowers were adhered with a hot glue gun

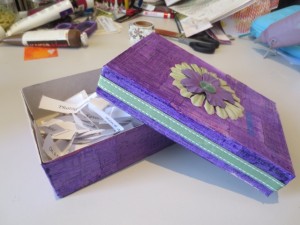
24. At your creative prompts into your box and in your project is complete.

mixed media project ideas

Now it is ready to give as a personalised gift to a crafting friend or to have on hand when you need that kickstart to spark your creativity.

~*~*~*~*~*~*~*~*~*~*~*~*~*~*~*~*~*~*~*~*~*~*~*~*~
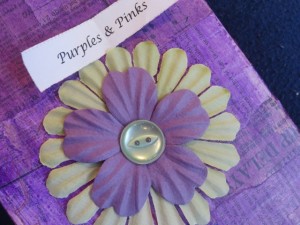
Mini Altered Houses

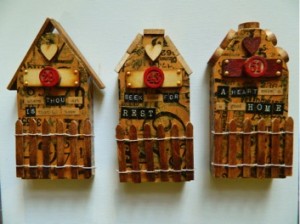
Melanie Statnick has put together the materials list and instructions for these cute mini houses.

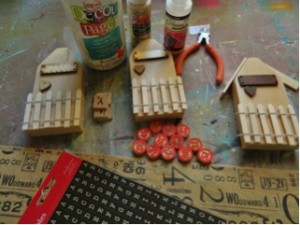
Supply List

To create your own village, you will need:
  • Wooden houses
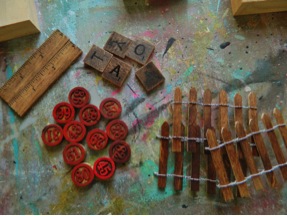
  • wooden pieces including hearts, tags, bingo tiles, fence , rulers.
  • Tissue paper,
  • decoupage,
  • flat brush/glue brush,
  • glossy accents,
  • letter stickers,
  • Walnut Ink Spray
  • a heat gun.

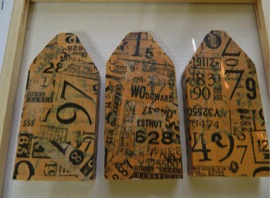
Mini altered houses by Melanie Statnick

Instructions

Step 1. Decoupage tissue paper to wood houses. Apply glue directly to wood. The tissue paper will move around and might rip. This is the look we are going for. Grungy, wrinkled look. Dry with heat gun and set aside.

Mini altered houses by Melanie Statnick

Step 2. Spray all wood pieces with your Walnut Spray Ink. Dab with paper towel and dray with heat gun. This will the wood an antique look with some grunge.

Mini altered houses by Melanie Statnick

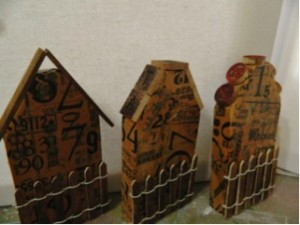
Step 3. Using glossy accents glue fence onto front side of your houses and continue with the other wood pieces. You can arrange them how you like.

Mini altered houses by Melanie Statnick

Mini altered houses by Melanie Statnick

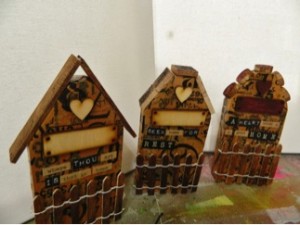
Step 4. After your pieces are glued and dried, you can now add your word art. Last use Glamor Dust, Liquid Pearls, or Stickles to add details.

Three Mini altered houses by Melanie Statnick


Happy Creating!

~*~*~*~*~*~*~*~*~*~*~*~*~*~*~*~*~*~*~*~*~*~*~*~*~
I’m a Canadian Mixed Media & Collage Artist out of North Carolina . I create art daily from my private studio and my artwork is fun and whimsy . I teach mixed media and art journaling online  and I hold mixed media workshops around the USA.


My artwork can be found in art galleries and shops extensively in NC with international private collections. I have created my personal line of original stamps to purchase and use in your art.  Look in my Etsy shop for my line.

Please visit my website to learn more about me and my work at www.melaniestatnickart.com or become fan on Facebook.

~*~*~*~*~*~*~*~*~*~*~*~*~*~*~*~*~*~*~*~*~*~*~*~*~
.

.

Jennifer’s Eiffel Tower

This article is written by Jennifer Truett

My name is Jennifer Truett (Jennifer Shorter on Facebook) I live in Seaside, California.  I am married, with one son who is 7 years old, two baby dogs and one big dog, a Chihuahua a Chiweenie and a  very sweet Pit Bull.  I love the outdoors but can enjoy staying inside with a good book just as much.  I am new to Mixed Media I just started this journey in April of this year.

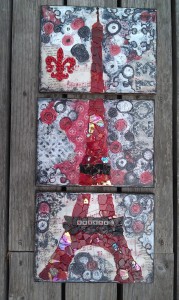
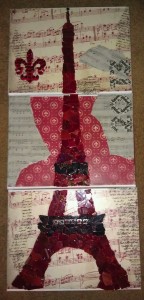
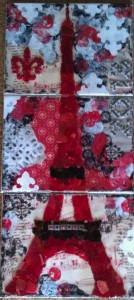
Scrapbooking papers, canvas and an Eiffel tower decal were used to create this amazing piece

I created this piece for my Niece Emilee who just graduated High School.

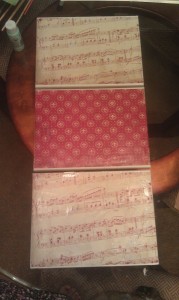
I started by Mod Podging scrapbook paper to canvas.

Scrapbooking papers, canvas and an Eiffel tower decal were used to create this amazing piece.

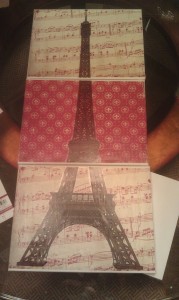
I added wall art decal of the Eiffel Tower.

Scrapbooking papers, canvas and an Eiffel tower decal were used to create this amazing piece.

I layered it with more paper, painted a wood Fleur De Lis with some gems to add some bling and covered the tower with stained glass pieces.

Scrapbooking papers, canvas and an Eiffel tower decal were used to create this amazing piece.

With acrylic paint, gesso, stencils, ink, felt numbers, mod podge, and my imagination I created this Eiffel Tower piece.

Scrapbooking papers, canvas and an Eiffel tower decal were used to create this amazing piece

This was a fun piece to create and for being my Fourth Mixed Media piece I was pleasantly surprised or should I say super excited when I received a message from Michelle Brown about it from a picture I posted on the Creating Mixed Media Facebook page. I have already learned so much from reading the different posts and from Michelle’s book, “Creating Layers in Mixed Media Art.”  I want to thank Michelle and all of you for your inspiration and beautiful art as I continue my Mixed Media Art journey.

Thank YOU, Jennifer!

.

.

Mixed Media Mermaid Painting

This article was written by Michelle Brown

I’ve signed up for a tip-in page round robin with one of the groups I belong to over the internet. We are to create a layout of 2 pages each month to send to another on our list.

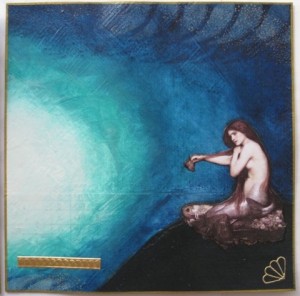
Last month the assignment theme was mermaids and sea creatures and I had heaps of fun creating this layout. I also love the method and formula that seems to be developing for this project and that’s what I wanted to share with you today.

mixed media art with mermaids

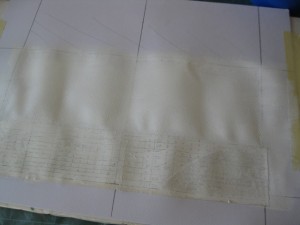
Firstly I take a piece of water colour paper and tape it to a backing sheet, covered in cereal box plastic (as shown in MMA Tips Video #1), add some ephemera with PVA glue then cover with a layer of gesso.

ephemera and gesso base

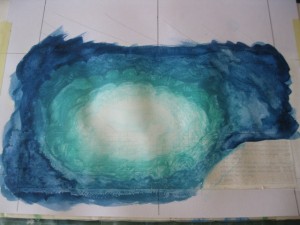
Then I started adding acrylic paints. I was after an effect of looking up into the sunlight from depth of the ocean, so I wanted to use teals and blues and phase them into white. I build up each layer, blending al title between colours and allowing it to dry a little before I add another layer.

white, blue and greens paints

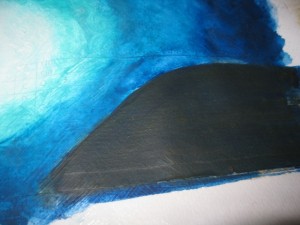
I painted the rock for the mermaid with  a little brown and dark blue. I avoided using black as I wanted it to be dark but not too solid, so the brown and navy washes worked well.

blues and browns for rock

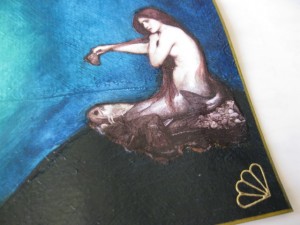
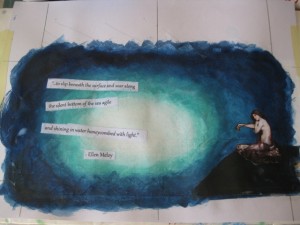
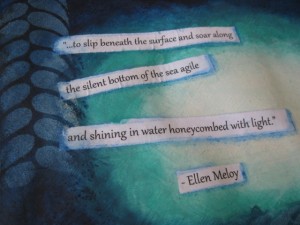
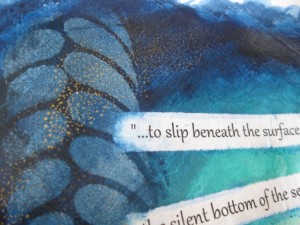
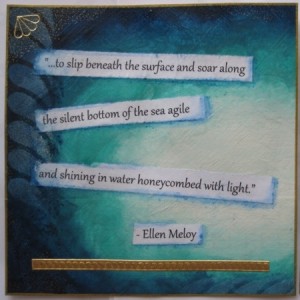
I found a great quote via Google and typed in up in nice font, printed it out then for it into strips. These got stuck onto the background along with the mermaid, with gel medium. The mermaid image was found over at Paper Street Supplies (no longer available.)

computer generated text to add to the story

Then some more blues were added to make the border darker and stencilling, with white paint, and highlighting words, with water coloured pencils, were added.

paints and pastels

After varnishing the layout, I realised it needed a few highlights, Since I couldn’t find my gold thread to add hand stitching, I chose to use a textured stamp and add a free area with Gold Brilliance ink. I heat set the stamping  with a heat gun as I was worried it may not dry properly over the varnish (and I was in a hurry!)

gold highlights added

Then I cut out the pages with a cart knife and metal ruler, added gold edging with metallic pens. i also added a few little gold sticker and some german scrap to finish it off.

right side of layout

left side of layout

~*~*~*~*~*~*~*~*~*~*~*~*~*~*~*~*~*~*~*~*~*~*~*~*~
Michelle Brown is passionate about mixed media art and enjoys sharing her knowledge and techniques with you to allow you to express your own creativity. Michelle understands that many of us have an inner need to create. By learning a few basic techniques the amazing world of mixed media art is accessible to everyone! You can see more of her work at Mixed Media Art.

~*~*~*~*~*~*~*~*~*~*~*~*~*~*~*~*~*~*~*~*~*~*~*~*~
.

.