Homemade Inks and Pens

~ * ~

This article is written by Francesca Albini 

One of the most annoying things is when your pens go dry and you have to throw them away. It really hurts me to get rid of any tool that can be used or should have been used for my art. So I don’t. I find ways to rescue almost everything by making my own handmade inks.

Every time one of my ballpoint pens goes dry I take a pair of scissors and snip the plastic reservoir into a bin or plastic bag (they tend to fly across the room otherwise!), then put the segments in a small container. When I have enough segments (two or three reservoirs), I pour a little bit of surgical spirit into the container, close it really tight and shake well. The result is a purply blue ink. If it’s too light in colour, wait a day for some of the spirit to evaporate. I suggest you use a cheap brush with this ink, as it can be harsh on the bristles.

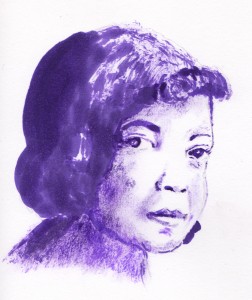
Here is a portrait of the singer Sippie Wallace I painted with homemade ballpoint ink. Because this ink is quite viscous, instead of diluting it with water or more spirit to obtain lighter shades I prefer to dry the brush on a tissue. Using an almost dry brush gives the painting an unusual and pleasant grainy feel. Ballpoint ink is not the easiest of mediums to use, but it is fun to experiment with.

singer Sippie Wallace sketch by Francesca Albini

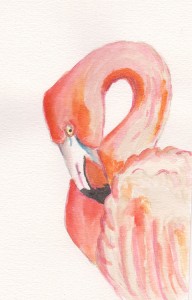
Gel pens are particularly prone to get dry very quickly. Snip the dry reservoirs and put them in a container, as above, but this time dilute with water. I like the ink made with gel pens because it very often has a shiny, glittery texture. Here is a flamingo I painted using ink made out of a few pink and orange dry gel pens. Gel pen ink is also easier to use, as it can be further diluted with water.

Here is a flamingo by Francesca Albini

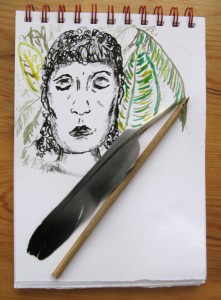
I spent the Christmas holidays going for walks in various parks and gathered a few things that I could turn into art tools, like bamboo stems and a pigeon feather (hoping the ex owner didn’t have the flu!) There are many sites on the internet that show you how to make reeds and quills. It’s really quite simple. Cut the shape of the nib with a craft knife, test and trim until you are happy with the marks it makes. While my husband was trying to have a serious conversation with me, I doodled his portrait with my homemade bamboo reed and Indian ink. He ended up looking a bit like the Buddha, so I thought of adding some tropical foliage in the background with my pigeon quill.

Homemade art tools and pens by Francesca Albini

Playing with homemade inks and found or recycled materials is fun, creative, cheap, and makes you feel good.

~*~*~*~*~*~*~*~*~*~*~*~*~*~*~*~*~*~*~*~*~*~*~*~*~

Francesca is a visual artist using pretty much everything she finds around her to record and relive feelings and memories of places and emotions. She collages, paints, draws, photographs. Francesca loves mixing modern technology, such as mobile phone apps, with the simplest of tools such as glitter glue, crayons and other children’s art supplies.

Read her blog at Fran’s Journal Blogspot

~*~*~*~*~*~*~*~*~*~*~*~*~*~*~*~*~*~*~*~*~*~*~*~*~

.

.
A Vintage Valentines Collage

~ * ~

This article is written by Debbie Davis of Artful Explorations.

I’m not very good at cutting paper to fit a background.  Even with a paper cutter and ruler, I usually manage to cut the edges uneven or smaller than I intended.  Because of this, I have to find ways to make the uncovered area and the paper merge so it all comes together nicely.

There are a number of techniques that can be used to accomplish this.  One of my favorites is to use oil pastel crayons.  I love the water soluble kind, even though I don’t always use water with them.

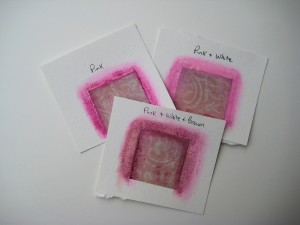
covering edges with pink pastel crayons

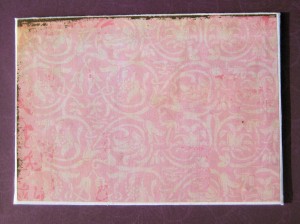
I decided to make a Vintage Valentines collage on a canvas panel.  After gluing the paper down, I needed to fill in the edges with some color.  I thought the oil pastel crayons would work well here because they blend together so nicely.

First I used a pink oil pastel crayon and colored all around the edge and sides of the panel.  I then rubbed and smudged the color into the panel and over onto the edges of the paper with my finger.   The pink color was a bit too bright so I used a white oil pastel crayon to tone it down.  I colored over the pink with the white and blended it with my finger until the color was fairly close to the color of the pink paper.  The paper had a vintage look to it and some distressed areas that were somewhat brown in color.  I thought using a bit of the brown oil pastel might help tie it all together.  I added a small amount of the brown crayon to the canvas edges and lightly rubbed it in until I liked the way it looked.

covering canvas board edges with pink pastel crayons

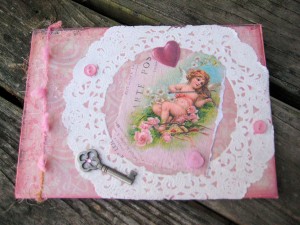
Next I tore the center out of a paper doily so that I could use the lacey part as a frame for my image.  I used gel medium to glue the doily down and also quickly but carefully applied the medium to the top of the doily.  I let the doily dry and then used the gel medium to glue down the image.  I then added a paper heart, a key, and a few little buttons along with a scrap piece of yarn to give it some texture.

vintage valentines mixed media collage technique

I really like the way this collage came together so I think I will see if I can get a good image of it to use to create some Vintage Valentines cards, and maybe some magnets for the fridge.

Happy Valentines Day!

Debbie

~*~*~*~*~*~*~*~*~*~*~*~*~*~*~*~*~*~*~*~*~*~*~*~*~

You can see more of Debbie’s work at her Etsy Shop Artful Explorations

~*~*~*~*~*~*~*~*~*~*~*~*~*~*~*~*~*~*~*~*~*~*~*~*~

.

.
Crop, Rotate, Retouch: Best Free Photo Editing Apps

This article is written by Stephanie Saunders.

~ * ~ * ~ * ~ * ~ * ~ * ~ * ~ * ~ * ~ * ~ * ~ * ~ * ~ * ~ * ~ * ~
If you’ve ever taken digital pictures, you probably have some photos in your collection that are absolutely perfect except that the dog has red eyes or the horizon is tilted. Or maybe you’re interested in adding text, frames, or other cool effects to your creations. Fortunately, you don’t have to shell out tons of money for photo editing software; there is a host of sites that allow you to edit your photos for free online. Downloading software isn’t needed. Just enter the site, edit the photo, and you’re ready to roll.

Pixlr
The Pixlr “Grabber” is available for both Firefox and Chrome browsers, and lets you grab images and content straight from any website. According to the Pixlr website, professionals and nonprofessionals alike can use the program. At their website, you can choose from three Pixlr versions: Pixlr Editor, Pixlr Express, and Pixlr-o-matic.
See pixlr.com for more information.

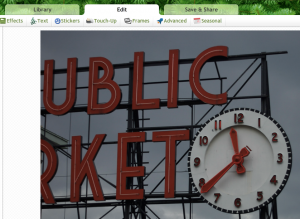
Mixed Media digital online editing software

Phixr
Phixr touts itself as easy to use, with an undo button that at some point you’ll be glad was there. It has both basic and advanced features, and pre-set effects that you can alter as you wish.
See www.phixr.com for more information.

flauntR
According to its website, flauntR features loads of one-click options, fonts, and effects. One interesting effect is PicasR, which blends famous paintings with your photos. flauntR integrates with social networking sites, allowing you to easily share your photos with others.
See www.flauntr.com for more information.

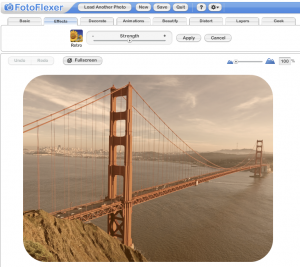
FotoFlexer
The FotoFlexer website proclaims this program to be “the world’s most advanced online digital photo editor.” With FotoFlexer you can import photos from social networking sites or from your own collection. It features layering, effects, and a wide assortment of one-click tools.
See fotoflexer.com for more information.

Mixed Media digital photo editing


Picnik
Its official website declares Picnik “fast, easy, and fun.” There are one-click fixes, as well as a broad selection of fonts, shapes, and special effects. For $25 a year, you can use Picnik Premium, but the free online version will cover the needs of most users.
See www.picnik.com for more information.

Picnik Mixed media digital editing software

Phoenix
Phoenix is part of the Aviary suite of creative online tools that also includes an audio editor and a music creator, to name just two. According to the Aviary website, Phoenix allows you to work with layers, groups, and layer masks, and collaborate with other users.
See Aviary Phoenix for more information.

LunaPic
LunaPic is one of the sites that require you to register to use the sites. But once you’ve done that, you can open your LunaPic account within several social networking and photo sharing sites so you can edit your photos on the fly. Its photo and animation effects are available right on the front page of LunaPic’s website.
See www.lunapic.com for more information.

Adobe Photoshop Express

Adobe’s Photoshop is one of the premier photo editing programs available for purchase, but now you can use Photoshop Express online for free. Photoshop Express offers many of the photo editing features that folks love in Photoshop. Some of the features touted on the Adobe website include filters, effects, borders, and auto correct.
See www.photoshop.com for more information.

Online editors can be used to edit any of your photos, but are especially helpful with photo sharing. They give you a great deal of freedom in fixing and changing photos to put on your photo sharing site, social networking site, or blog. Give them a try and see how simple your photo editing can become. And remember, they’re free, so you’ve got nothing to lose by trying.

~ * ~ * ~ * ~ * ~ * ~ * ~ * ~ * ~ * ~ * ~ * ~ * ~ * ~ * ~ * ~ * ~
Author Stephanie Sanders is a communications consultant and writes
for a mobile phone site in the UK.
~ * ~ * ~ * ~ * ~ * ~ * ~ * ~ * ~ * ~ * ~ * ~ * ~ * ~ * ~ * ~ * ~

.

.


Mixed Media Christmas Ornaments

It’s that time of year again when we love to create handmade gifts. Here is a simple way to make cute little Christmas ornaments using your mixed media materials.

Holiday ornaments

~ ~ ~ ~   ~ ~ ~ ~   ~ ~ ~ ~   ~ ~ ~ ~   ~ ~ ~ ~   ~ ~ ~ ~   ~ ~ ~ ~   ~ ~ ~ ~   ~ ~ ~ ~

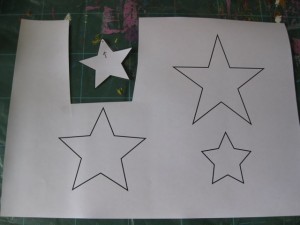
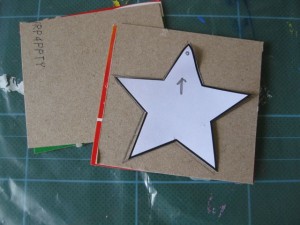
Using MS Word, draw a few start shapes in different sizes to make your template.
Print it out and cut it out.

Collaged mixed media Christmas star

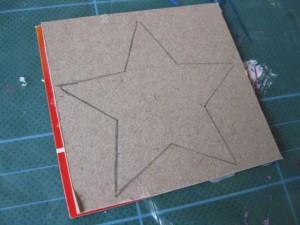
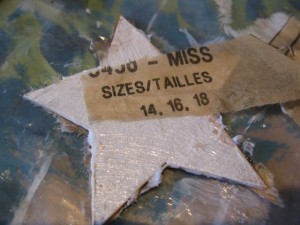
Cut two pieces of cereal box cardboard to fit your template.
Glue the two pieces together and allow to dry.

Holiday ornaments

Trace out the star template.

Collaged mixed media Christmas star

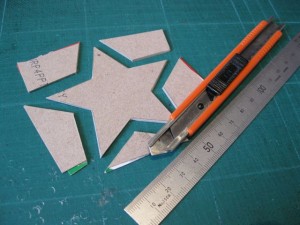
Cut out

Mixed Media Christmas Ornaments

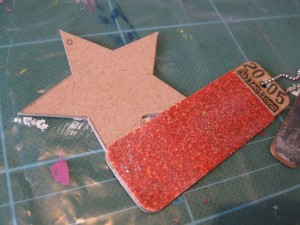
Using an emery board, remove the sharp edges of the cardboard.

Mixed Media Christmas Ornaments

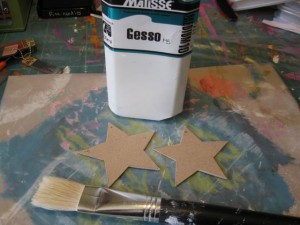
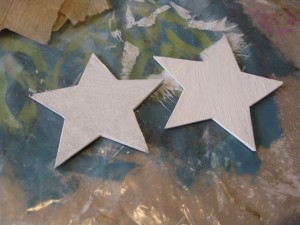
Cover with a layer of gesso, both sides

Collages ornaments with tissue and gel medium

Holiday ornaments

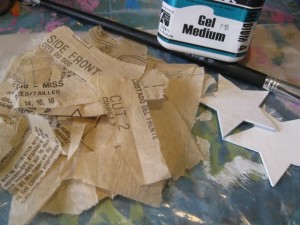
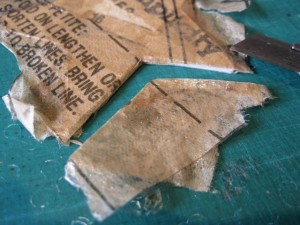
Tear up an old dress pattern and cover your crafting table with cereal box
plastic or another protective surface.

Christmas star Collaged mixed media

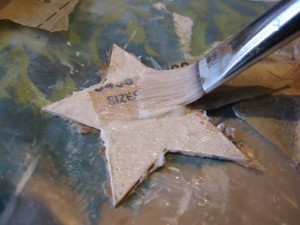
Cover cardboard star with a layer of gel medium

Collaged mixed media Christmas star

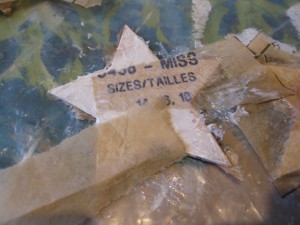
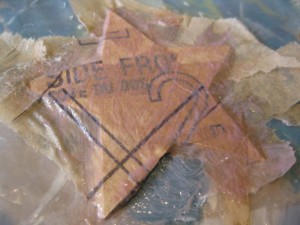
Put your first piece of tissue paper onto the start.

Run a layer of gel medium over the tissue.

Add another piece

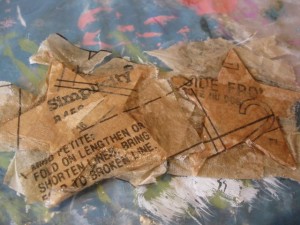
Continue adding pieces, covering with gel medium until your base shape is fully covered.
Overlapping pieces will give you an interesting finish. Each layer will show through.

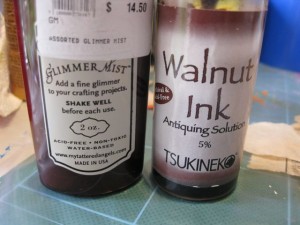
Create a blend of gel medium, walnut ink and a little glimmer mist. Add this layer on
top of the wet gel medium. This will give your ornament a lovely deep colour.

Mixed Media Christmas Ornaments

Mixed Media Christmas Ornaments

Allow to dry. Gel medium is slow drying so leave it overnight.
Repeat with the other side of the cardboard shape.

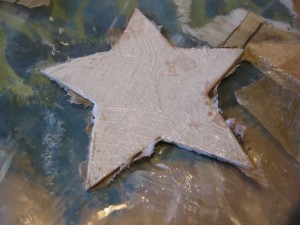
Carefully cut away the excess tissue paper, back to the cardboard shape.

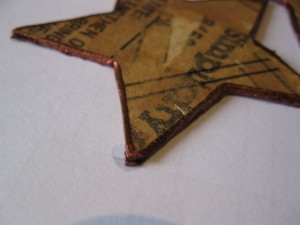
Carefully sand the edges again. Edge with metallic leafing pen.

outlining Christmas ornament

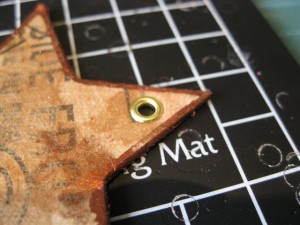
At the top of the ornament, punch a hole and add an eyelet
[see here for details on eyelet setting]

Collages ornaments with tissue and gel medium

Now it’s time to add the finishing touches.
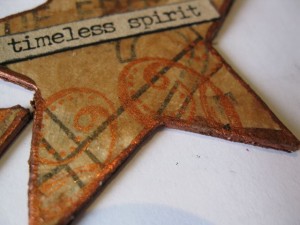
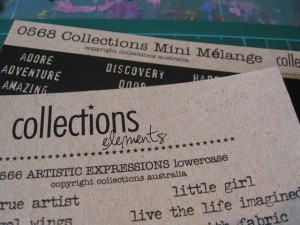
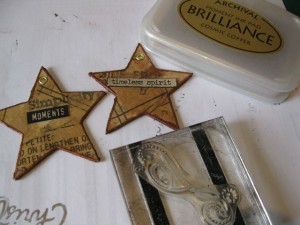
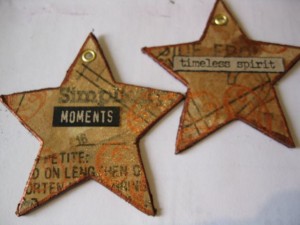
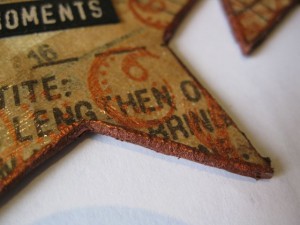
Here I’ve added Collections pre-printed words and some stamped swirls
in bronze Brilliance Ink.

Collages ornaments with preprinted words


Collaged mixed media Christmas star with stamping

Now your ornaments are ready to run some cotton or ribbon through and ready to give.

Collaged mixed media Christmas star

Happy Holiday creating!


~ ~ ~ ~   ~ ~ ~ ~   ~ ~ ~ ~   ~ ~ ~ ~   ~ ~ ~ ~   ~ ~ ~ ~   ~ ~ ~ ~   ~ ~ ~ ~   ~ ~ ~ ~

.

.

.