Getting Started with Image Transfers by Cyndi Lavin
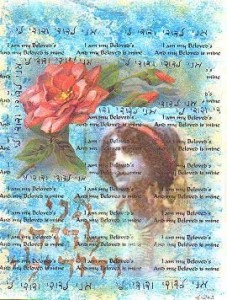
The MMA team is pleased to introduce Cyndi from Mixed-Media-Artist.com, who has offered us some assistance to get started with including images into our mixed media art pieces.

~*~*~*~*~*~*~*~*~*~*~*~*~*~*~*~*~*~*~*~*~*~*~*~*~*~*~*~*~*~*~*~*

Getting Started with Image Transfers by Cyndi Lavin

There are so many different ways to transfer images to your collages, altered books, and other mixed media projects, and sometimes it seems overwhelming. Every artist has a favorite method or two, and I thought I would share the 7 methods that I like the best.

Before we get to it though, why would you want to use an image transfer rather than simply cutting and pasting an image into your work?  Well, several reasons spring immediately to mind, and I’ll bet there are more that I just haven’t thought of yet!

First, sometimes you might want that irregular, almost see-through quality that a transfer has.  Instead of hard sharp edges, transfer edges are often imperfect, and the image itself is also imperfect, exactly the look that you might be going for.

Second, using a transfer allows you to preserve your original, an especially important aspect if you are using priceless family photos.  You can scan or copy your original, and then you’ll also be able to use it over and over in your work.

And third, using a transfer can allow you to integrate an image into your piece more fully, especially if you are transferring to an unusual or uneven surface.

Convinced to try transfers?  Start with these:

You can find even more ideas for using transfers and other mixed media art techniques by visiting Mixed Media Artist.
Copyright 2010 Cyndi Lavin. Not to be reprinted, resold, or redistributed for profit. May be printed out for personal use or distributed electronically provided that entire file, including this notice, remains intact.
.
.

.

Embossing Resistance with Paint

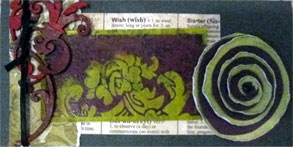
handmade greeting cardWe are most delighted to welcome Marion Wood as our first Guest Artist here at Mixed Media Art. She has created a brilliant tutorial on Embossing Resist with Paint. This technique is used to build up complex designs, colour, depth and texture to your work, by embossing an image with clear powder over pattern paper. Here we see Marion applying this technique to a greeting card, an art journal page and a scrapbooking layout.

Thanks Marion, for sharing this technique with us!

~*~*~*~*~*~*~*~*~*~*~*~*~*~*~*~*~*~*~*~*~*~*~*~*~*~*~*~*~*~*~*~*~*~*~*~*~*~*~*~*~*~*~*~

Embossing Resist with Paint

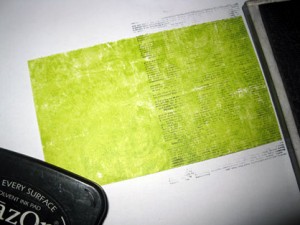
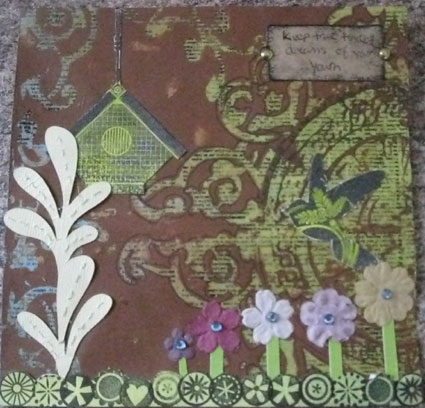
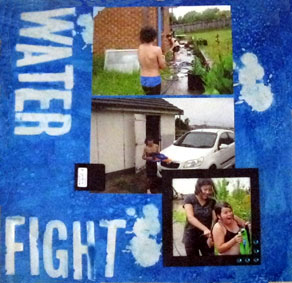
Step 1: Use pattern paper or stamp a background image on the paper which will show through the embossed design. In the case of the Journal page (see below) the background was stamped with newspaper print (Imprint Rubber Stamps) onto bright green paper and on the scrapbook page I used the subtle pattern paper (Delish: Bistro Fresh-Entrée Reverse).

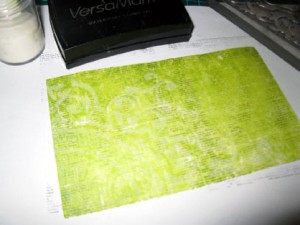
Step 2: Stamp over the background paper with a bold design with an embossing pad such as versa mark. Emboss image with clear embossing powder. I used foam letter stamps (Making Memories) for the title on the scrapbook page and water splash image (Innovative Stamp Creations) and for the Journal page I used a corner sun image (From the Garden by Fancy Pants Designs)

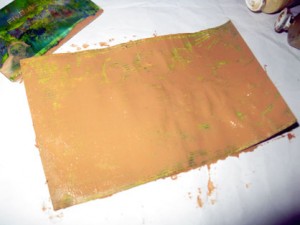
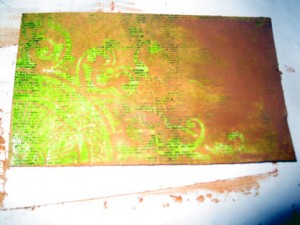
Step 3: Paint over the embossed image with contrasting colour and allow too dry slightly. If your paint is too thin apply a second coat. With the Scrapbook page I used the credit card technique and scraped over a number of different blue acrylic paints and spritz with water and for the Journal page I used brown acrylic paint and a brush.

Step 4: Wipe over the design with a damp cloth which will expose the embossed image. Allow to dry. Then decorate the as required. If the background paper warps too much, sit it under a heavy book overnight to flatten it out.

~*~*~*~*~*~*~*~*~*~*~*~*~*~*~*~*~*~*~*~*~*~*~*~*~*~*~*~*~*~*~*~*~*~*~*~*~*~*~*~*~*~*~*~*~*~*~*

Art Journal Page

~*~*~*~*~*~*~*~*~*~*~*~*~*~*~*~*~*~*~*~*~*~*~*~*~*~*~*~*~*~*~*~*~*~*~*~*~*~*~*~*~*~*~*~*~*~*~*

Greeting Card

handmade greeting card~*~*~*~*~*~*~*~*~*~*~*~*~*~*~*~*~*~*~*~*~*~*~*~*~*~*~*~*~*~*~*~*~*~*~*~*~*~*~*~*~*~*~*~*~*~*~*

Scrapbook Layout

~*~*~*~*~*~*~*~*~*~*~*~*~*~*~*~*~*~*~*~*~*~*~*~*~*~*~*~*~*~*~*~*~*~*~*~*~*~*~*~*~*~*~*~*~*~*~*

Marion Wood, also known as Maz, has been interested in mixed media art, rubber stamping and scrapbooking for over 20 years but only really started to dabble 13 years ago. She used to teach cardmaking and scrapbooking and has been on design teams in the past. Her favourite things besides art and design is chocolate and reading. She lives in Wollongong with her DS and and dog and regularly attends a local stamping and scrapbooking group called the ‘Gong Rubber Bugs.  You can see more of her work at http://techniquepossibilities.blogspot.com/ or contact her via  maz_wood [at] yahoo [dot] com [dot] au

.

.

.

MMAT04 – Art in Shapes

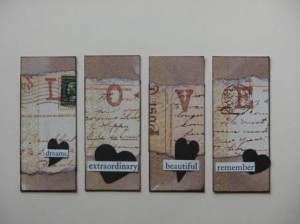
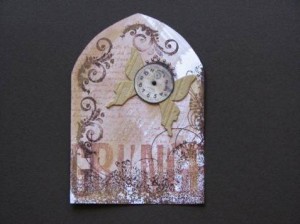
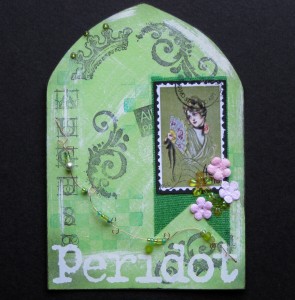
Changing the shape and orientation of our mixed media art we create opens our minds and develops our creativity. It is so easy to get stuck into the same old pattern: cut card, stamp, add image, add text. But we can use these same skills and techniques and apply them to really small pieces (like moo card or inchies) or to different shaped backgrounds (as with pennants and arches). Many different styles and colours can be incorporated into these pieces as well.

Here we will look some examples from a range of standard shapes and sizes that commonly appear in swaps and challenges across the Internet and with local crafting groups. The smaller sizes are ideal for making in multiples to swap. ATCs are ideal for sharing a little piece of art with friends. Arches can be turned into books or added to the front of handmade cards.

Moo Cards (1 1/8″ x 2 3/4″)

Postcards (4″ x 6″ – either orientation)

*~*~*~*~*~*~*~*~*~*~*~*~*~*~*~*~*~*~*~*~*~*~*~*~*~*~*~*

Arches (4″ x 6″)

*~*~*~*~*~*~*~*~*~*~*~*~*~*~*~*~*~*~*~*~*~*~*~*~*~*~*~*

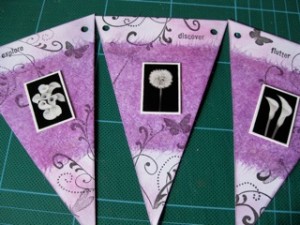
Pennants (4″ across top x 6″)

I hope a review of these different shapes and sizes will encourage you to try using your current favourite techniques and apply them to different arrangements. Perhaps you could get a few friends together, make a few ATCs and swap them. And that’s what mixed media art is all about; being able to use your inner creativity to make something and share your artwork with the world!

Happy Creating!

.
.
.
.

MMAT02 – Credit Card Painting Technique

Mixed Media Art Technique 02 was all about credit card painting and here is what I did
with the completed background.

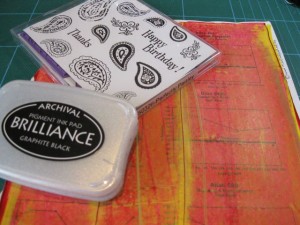
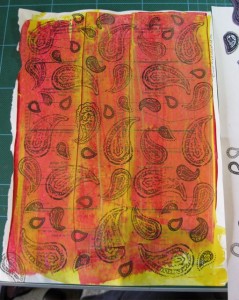
As I wanted to credit card painting and the brilliant colours to show through, I chose to decorate
the background with simple stamping, using black ink. My preference is to use
Brilliance Ink in Graphite Black for this project as it is a juicy inkpad, which is good for the more
solid designs and also because it will dry on most surfaces. As I has a thin coating of metallic gold
paint as the top layer, I needed to use an ink that would dry on the non-porous surface. I chose a
paisley design with stamps by See-Ds and used different sizes to cover my background.

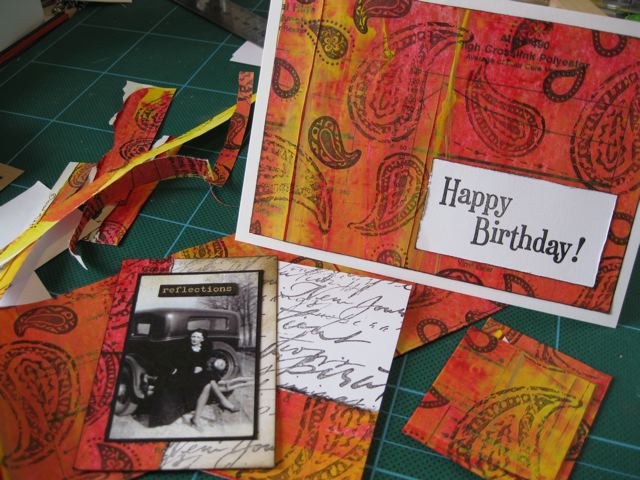
Once dry, I cut up the sheet to make a simple birthday card, an ATC and mini handmade book covers (still to be turned into a book) And I have still got a little left over. Image on ATC from Art-e-zine – my favourite place to go for vintage images.

I hope this inspires you to get creating.

~*~*~*~*~*~*~*~*~*~*~*~*~*~*~*~*~*~*~*~*~*~*~*~*~*~*~*~*~*~*~*~*~*~*~*~
Get your own copy of the Credit Card Painting Technique sheet for
99 cents
and get started on your Christmas card backgrounds NOW!
** use discount code Homemade at the checkout **

Mixed Media Art Techniques

Get your NOW!

The credit card painting technique is great for getting colour onto lots of paper fairly quickly,
which makes it an ideal technique for large swaps or large journal pages.

~*~*~*~*~*~*~*~*~*~*~*~*~*~*~*~*~*~*~*~*~*~*~*~*~*~*~*~*~*~*~*~*~*~*~*

Happy Creating!

.

.

~*~*~*~*~*~*~*~*~*~*~*~*~*~*~*~*~*~*~*~*~*~*~*~*~*~*~*~*~*~*~*~*~*~*~*