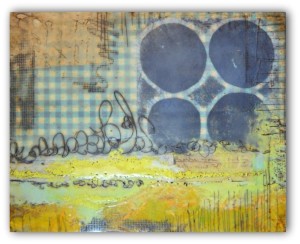
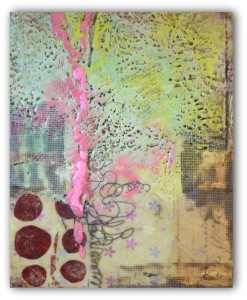
6 Principles for Composition in Mixed Media Art

~ * ~

This article is written by Marilyn Harris Mills

Here is the second installment in Marilyn’s Good Design and Composition. You can read the first installment here: Good Design and Composition for Mixed Media Art, which covers the elements of a good design. Now let’s look at the principles of design….principles that should apply to each piece of art work we create. This is the “how-to” for achieving good design.

6 Principles for Good Design and Composition

1) Proportion

Consider all the individual design elements in your painting. Are they all proportional or are some too dominant and others to small. Think of a flower. Are the leaves larger than the petals consequently the flower looks abnormal? Perhaps this would work in an abstract painting but if you’re aiming for a still life or a realistic style then the painting would not be proportional. Proportion and scale is all about size relationships. Proportion deals with the size of the parts that make up the whole. Sometimes artists will change proportions of different elements in a painting, but it still has to look right in relation to the entire composition for the painting to work.

2) Unity/Variety

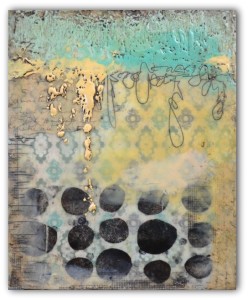
A principle where all the individual components of the painting tie together. This creates a piece of art wherein all the components or elements in the design co-exist with each other and complement each other. Colours, backgrounds, layout, embellishments, brush strokes etc all work together and not one area of the painting is amiss. When a painting has unity, there is a feeling that it all works together as a whole and is complete. Variety is often linked with unity. While you want to have unity, you don’t want it to be boring. Having all shapes the same size would provide unity but it would not have much variety. Change the size or change the shapes. Variety can be achieved with colour, size, texture and edges. When a painting has both unity and variety, it is said to have harmony. Harmony within the painting is to be strived for.

i.e. a Chinese art piece….motifs, colour, symbols that are Chinese in style will not work together if a Canadian maple leaf is added to the art.

Mixed Media artwork by Gloria Malouf-Marsh

Artwork by Gloria Malouf-Marsh – A Desert at Sunset

3) Contrast

Contrast makes your painting exciting I think. You can use lights against darks. A stroke of intense colour can make a neutral painting sing. The meaning of contrast are the differences when you compare one thing to another. Differing values in a painting can be dramatic. Diagonal lines against verticals, colours that jangle, lights against darks, soft edges against hard edges, intense colour against neutral colour…..there are a variety of ways to create contrast in your painting.

4) Rhythm/Repetition

Rhythm is created by having an element repeat itself in the painting. Rhythm always has repetition. Repetitions move your eyes through the painting. Rhythm can be regularly repeated, like lines, shapes, colour etcetera, or repetitions that alternate, for example from large to small, warm to cool et cetera. Repeating shapes can lead the eye through a painting and give it rhythm. Sometimes the rhythm can be lyrical for example just like in music.

5) Balance

Think of a teeter-toter, the balance is in the middle. The design must be balanced for it to work effectively. If the design is balanced then the scale of it is also in balance. So one way of thinking of balance is large elements combined with small elements in the picture will provide a balanced painting. If you have only used large elements then the entire painting is off balance. Balance is key to a successful painting. When something is balanced it looks right. You can use colour to achieve balance. You can use a large shape balanced with several small shapes. I tend to think balance is ingrained in ourselves but others may need to work at maintaining balance.
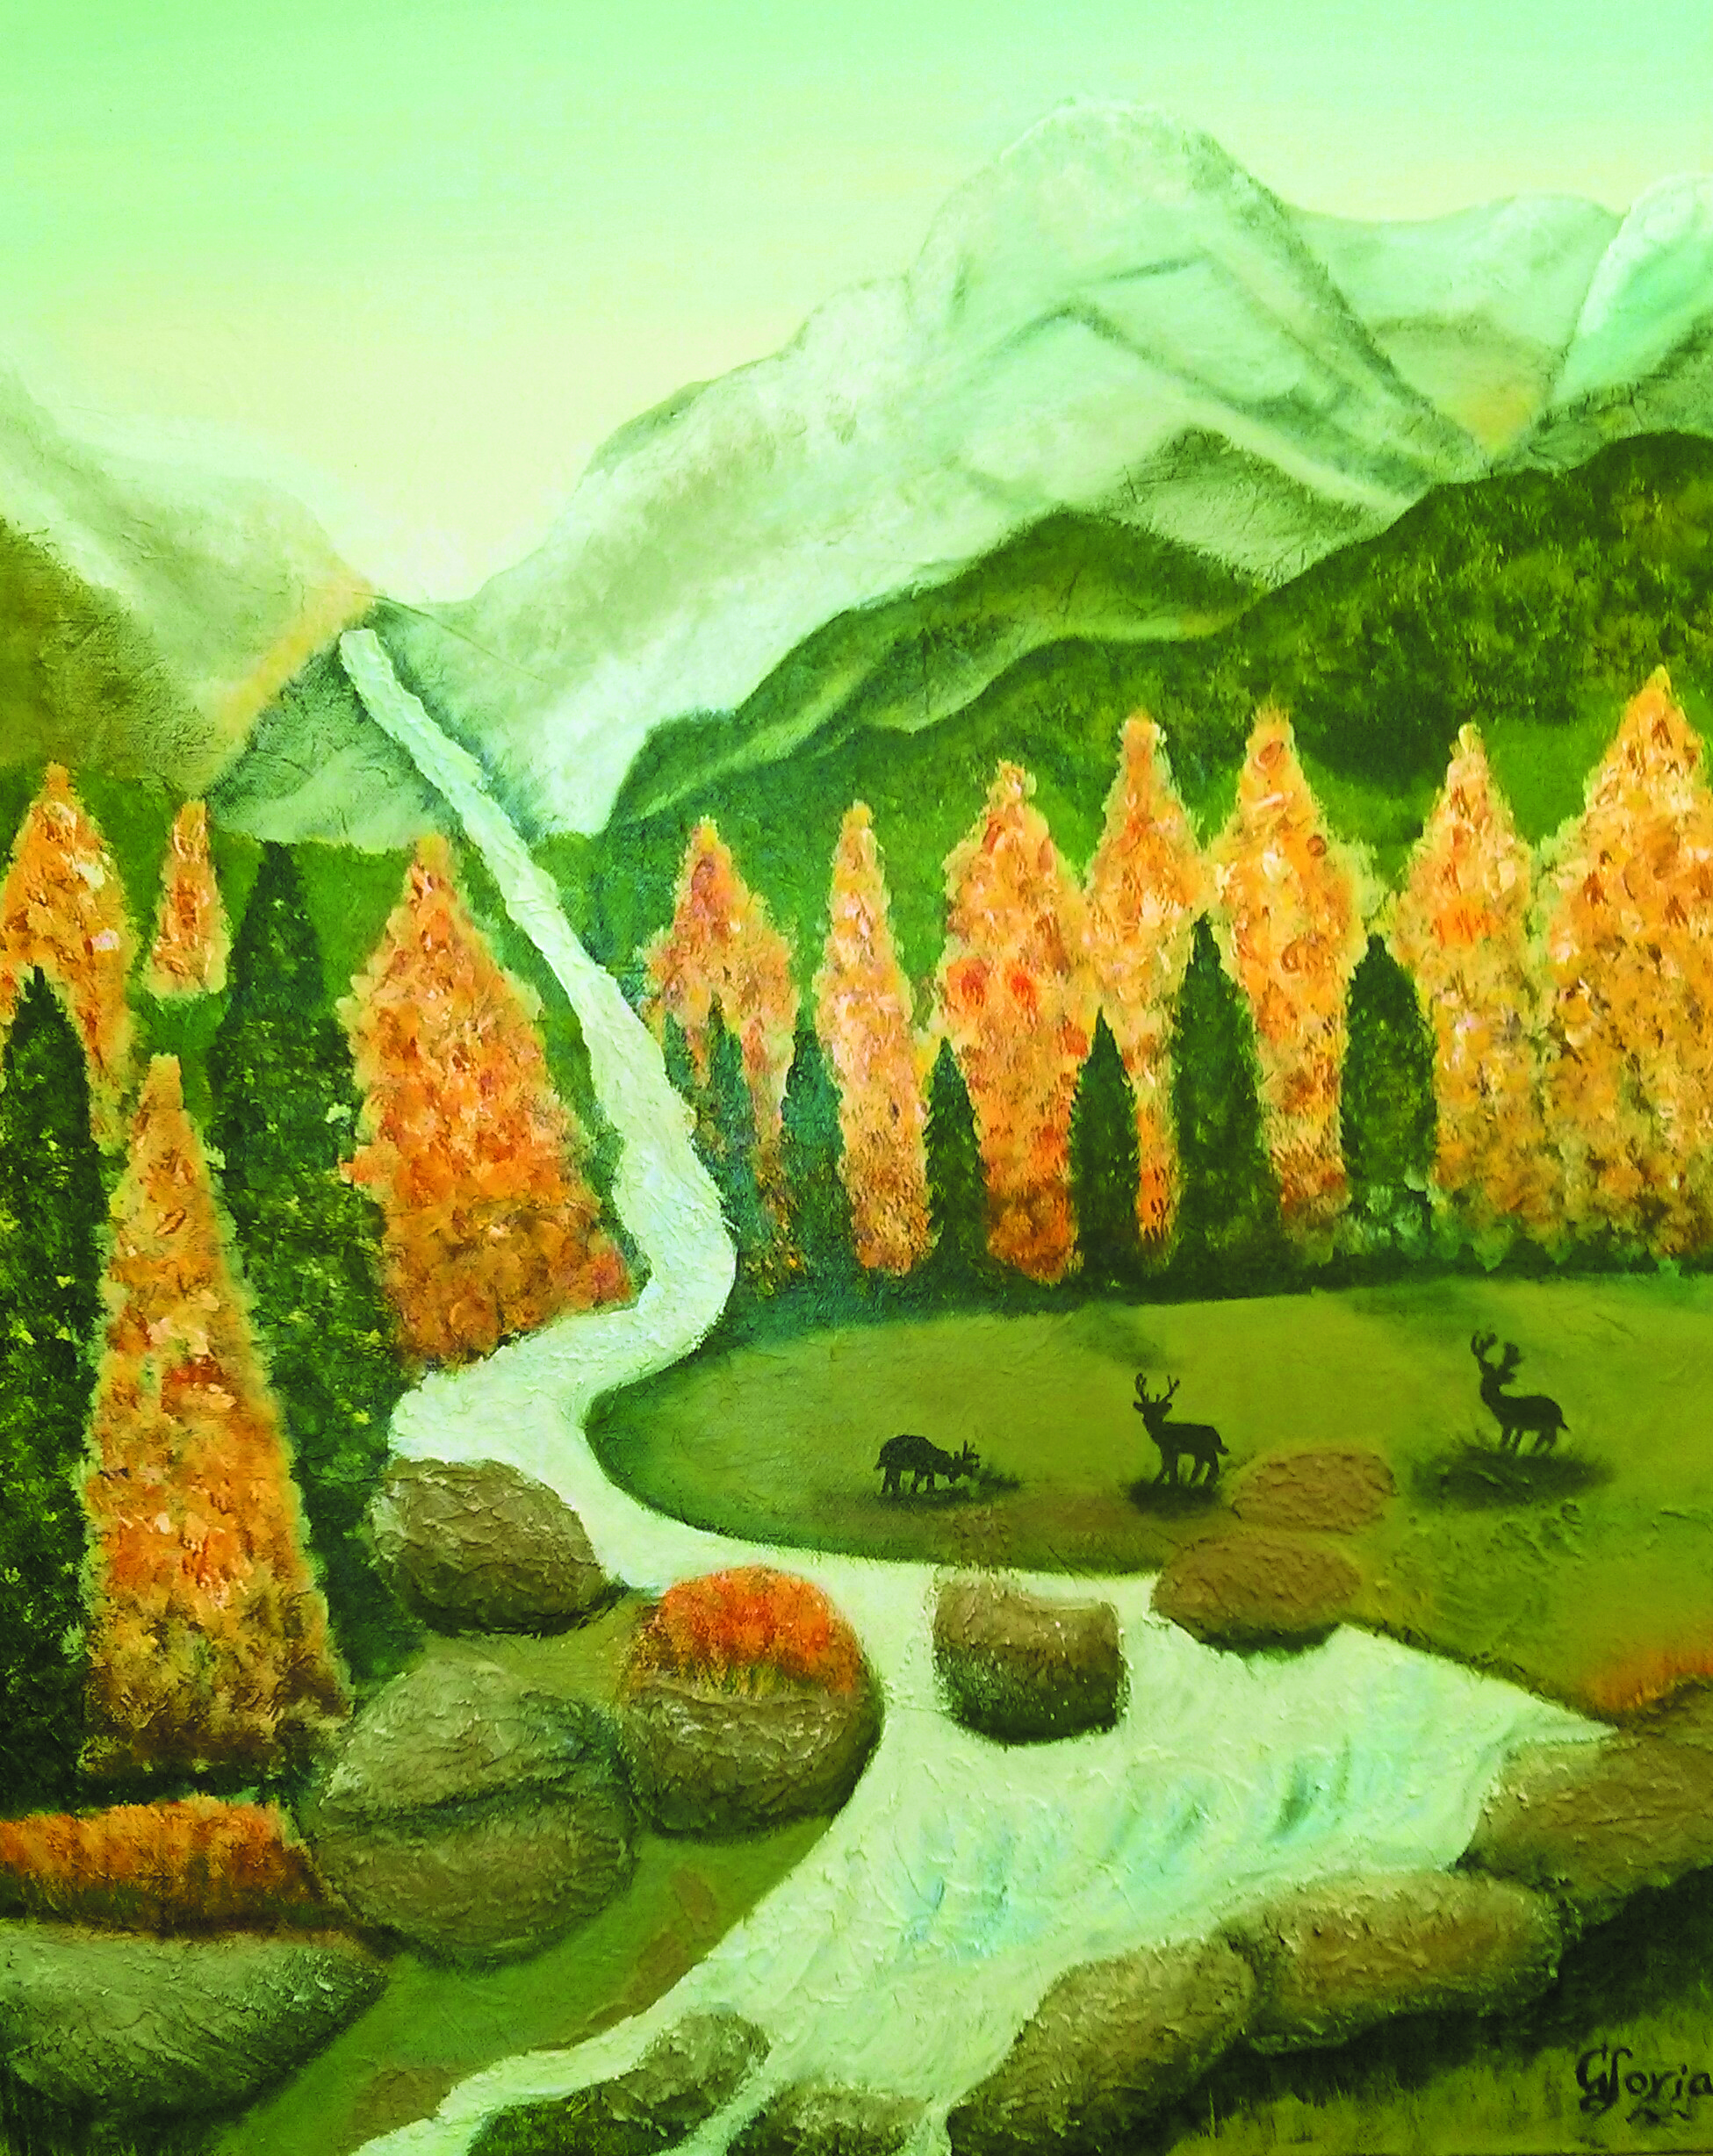
Mixed Media artwork by Gloria Malouf-Marsh

Artwork by Gloria Malouf-Marsh – Late Afternoon at Elk Meadows

6) Focus/Emphasis

Does your art piece establish a focal point or does the viewer travel all over the project trying to find a landing place for the eye to rest. If there is no focal point, then the viewer will get confused, feel disturbed and otherwise will miss the message the artist is trying to elicit. Every painting needs a centre of interest and without one, the painting is rendered without much thought by the artist and deemed unappreciated by the viewer. There are many ways to create a focal point. Lines can point you there. Value contrast (lights and darks), size, and even content are all ways to helping create a focus in the painting. Having a theme or story to your painting gives your painting emphasis. That’s why I like using symbols and imagery in my mixed media art. They tell a story for me.

Stay ARTistically Inspired…

Maer

Read Part One: Good Design & Composition for Mixed Media Art

Read Part Three: Further Composition for Mixed Media Art

~*~*~*~*~*~*~*~*~*~*~*~*~*~*~*~*~*~*~*~*~*~*~*~*~

Marilyn Harris Mills, aka Maer, is a Published Artist, Teacher and Designer, in Ottawa Canada. Her art has been published in “Creating Time: Using Creativity to Reinvent the Clock and Reclaim Your Life”

“I work in whatever medium likes me at the moment”-Mark Chagall

~*~*~*~*~*~*~*~*~*~*~*~*~*~*~*~*~*~*~*~*~*~*~*~*~

.

.

What is Mail Art and How Do I Send it?

~ * ~

This article is written by Tamara Dinius

Mail art is created by the artist and generally sent via the postal service to the end receiver. Although the receiver of the mail art will be thrilled with the package, it may be surprising to realize how many others are also touched by the art. Each and every person who handles the mail en route will have an opportunity to view and enjoy your piece of artwork and it’s nice to be able to make someone’s day more cheerful!

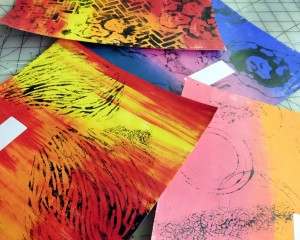
Basic 5x7 white envelope mail art

I started sending mail art to my daughters when they were in college. At first, I created mail art using mixed media art techniques on white envelopes. I added phrasing or quotes that I thought my daughters would enjoy. My husband took the letters to the post office for mailing and was surprised at the response from the clerks behind the counter. They loved them! They even asked where we had purchased them. When he explained that I made them, they were quite impressed …and this made my day!

Drips and texture on mail art

I still use mixed media techniques but many of my envelopes have become quite grand. I have experimented with using the standard goldenrod office envelopes, as well as the brightly colored envelopes that you can purchase at your office supply store. I have enjoyed using all the different products but typically come back to the basic white envelope for most of my mailings. I find the colors I use show up more vibrantly on the white…and this girl is all about color!

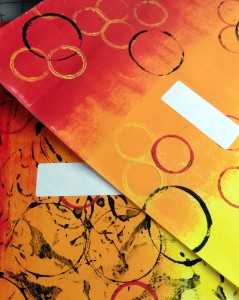
Using vibrant acrylics in mail art

I have also started packaging my Etsy store orders in these envelopes when sending out a shipment. It is a nice way to say “thank you” to the buyer for purchasing from my store.

Mail art is easy to send and does not require anything special prior to posting at your local post office (send you husband..he will love the response he gets). I typically add a white label with the recipients address for ease of sorting, but it is not required at my local post office. I would encourage you to check with your local post office to find out if they have any special requirements but I have sent hundreds of my mail art without an issue.

The holidays are a wonderful time to send some mail art when sending out your holiday cards!

Using vibrant acrylics in mail art

~*~*~*~*~*~*~*~*~*~*~*~*~*~*~*~*~*~*~*~*~*~*~*~*~

Tamara Dinius lives in the Pacific Northwest with her husband and chocolate lab. She has two grown daughters who make her life meaningful. They support her, ground her, embrace her, and are amazing people in their own right.

Her love for mixed media has taken over most aspects of her creative journey. She believes mixed media allows for a broad range of styles and anyone can find success in this form of artistic expression.

You can find more of Tamara’s work on her website countrycraftersusa.comEtsyshop,  or via her Facebook

~*~*~*~*~*~*~*~*~*~*~*~*~*~*~*~*~*~*~*~*~*~*~*~*~
.

.
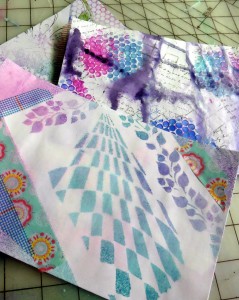
Purchased Products in Craft Kits Can Be Pretty too!

~ * ~

This article is written by Kim Kelley

I cannot believe how fast time is flying by. In our household we have a daughter who is now a Senior in high school, a son who is a Junior in college at NAU and a son who is a Tucson police officer and I can still see them as the little kids running down the stairs to open their Christmas presents. Needless to say even though two of the three are no longer living at home, extra time is still not finding its way to my house.

If you have the same problem then you may want to do what I do and purchase kits. Don’t get me wrong…I scoop up anything that catches my eye, but there are times that I enjoy opening up a kit that has everything in it that goes together. From matching papers to color coordinating flowers; a kit allows you to stop guessing about putting things together.

One of my favorite places to buy kits is the Flying Unicorn. Each month they offer 4 kits that complement each other, bad thing I usually buy all 4!

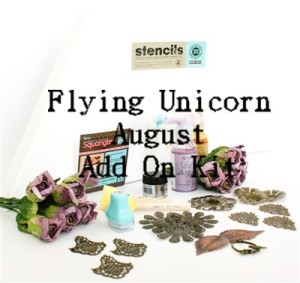
The kit that I am working with is from August’s Mixed Art Add On kit…

using purchased kits can help focus our crafting effortsFlying Unicorn August Add On Kit

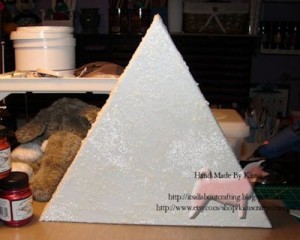
The kit came with a triangle shaped canvas; which I loved working with, some flowers, metal pieces ink and sprays. I found myself in a rather red mood rather than purple so I changed it up a bit.

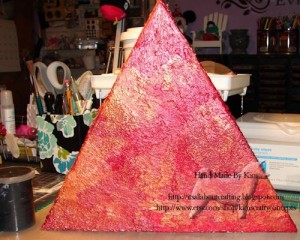
Taking you step by step…I used glass bead medium by Golden, heavy gel by Golden and white flake also by Golden for the base layer on the canvas. I applied it haphazardly so it does not look the same throughout.

using purchased kits can help focus our crafting effortsTexture Medium Layer

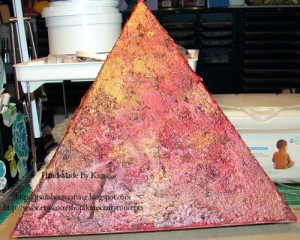
After allowing it to dry I started to add my paints. Using sponges I added Crimson, Burnt Orange and Metallic Russet Lumiere paints by Jacquard onto my canvas. After that layer dried I added a mix of black acrylic paint, silver powder and gel medium; sponging it on and with a bit of water wiped it off.

using purchased kits can help focus our crafting effortsPaint Layer

using purchased kits can help focus our crafting effortsBlack Layer

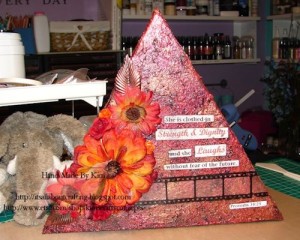
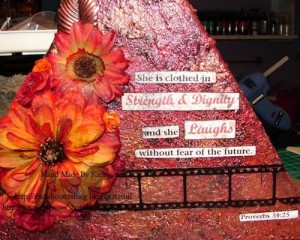
Then added some flowers, metal leaves, film strip and of course the quote.

using purchased kits can help focus our crafting effortsFinished Project

using purchased kits can help focus our crafting effortsClose Up Of Quote

using purchased kits can help focus our crafting effortsGold Project

Life is short, do something creative every day!

~*~*~*~*~*~*~*~*~*~*~*~*~*~*~*~*~*~*~*~*~*~*~*~*~

Kim Kelley is borderline obsessive about her crafting and her art. She loves mixed media art because you are free to go beyond your comfort zone, using your imagination and exploring an anything goes mind set. Kim loves to learn and explore new techniques and hopes that any art she creates leads someone to find their inner creative artist!

You can see more of Kim’s work at her blog and Facebook page

~*~*~*~*~*~*~*~*~*~*~*~*~*~*~*~*~*~*~*~*~*~*~*~*~

.

.
Encaustic Basics Part II: Preparing Substrates, Fusing, Adding Color

This article is written by Elaine Brady Smith

Welcome back to the Encaustic Basics Series!!! This is Part II, on how to make it easy and economical to get started with encaustic painting. If you missed Part I, click here. In this article we will talk about how to prepare your substrates, fusing, and adding color to your work. So let’s get started!

Preparing Substrates

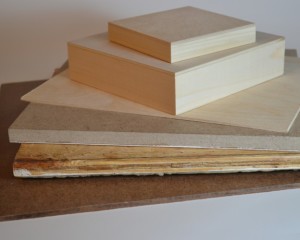
Encaustic wax will adhere to a variety of surfaces. It is important that the surface is absorbent and porous or it will eventually crack and flake off. So glass, plastic, smooth metals, and any surfaces painted with acrylic paint are not suitable for encaustic. I will be using ¼” birch plywood for the demo pieces in this article that I purchased from Dick Blick.

Encaustic Basics-Part II-How to do encaustic painting. Learn how to prepare your substrates, learn how to fuse, and how to add color to your encaustic paintings.

If you are doing 2 dimensional works, some good choices for substrates are: Birch Plywood, Regular Plywood, Unfinished Pine, Un-tempered Masonite, MDF, and Cradled Panels. When choosing your substrate, make sure that it has not been previously treated with any oils or chemicals. Once you decide what type of work you want to do, spend some time researching what substrate will best suit your needs.

Encaustic Basics-Part II-How to do encaustic painting. Learn how to prepare your substrates, learn how to fuse, and how to add color to your encaustic paintings.

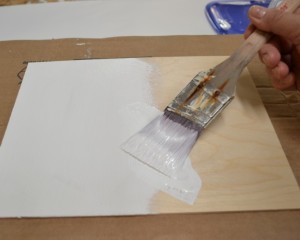
To prepare your substrate, encaustic medium or plain beeswax can be applied directly to most unfinished wood. If you are doing a painting, preparing the surface with a ground of encaustic gesso will enhance and give brighter color results. R & F Encaustic Gesso is my go-to product for surface preparation for an encaustic painting. It is easy to apply and gives me a solid white background. It is important to know that regular gesso made for acrylic and oil painting does not work with encaustic painting. Encaustic gesso has a “higher proportion of solid to binder, making it highly absorbentR&F Paints.

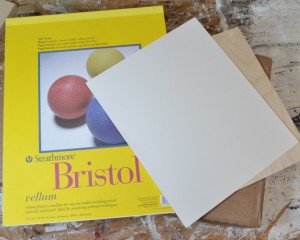
If I plan to do a collage piece that will eventually be covered with paper, I don’t bother with the gesso, I just work on the raw wood. Also, as an alternative to encaustic gesso, you can glue any type of absorbent paper to your surface to serve as a ground. Bristol paper is a good choice for a white, smooth, consistent surface.

Encaustic Basics-Part II-How to do encaustic painting. Learn how to prepare your substrates, learn how to fuse, and how to add color to your encaustic paintings.

Steps for gluing paper to your board:

  1. Lightly sand your board and wipe away any dust particles.
  2. Cut your paper slightly larger than the size of the board.

Encaustic Basics-Part II-How to do encaustic painting. Learn how to prepare your substrates, learn how to fuse, and how to add color to your encaustic paintings.

  1. Brush an even layer of glue on to the board and on to the back side of the paper.
  2. Lay the glue side of the paper onto the board and brayer down to make even contact, smoothing out any air pockets.
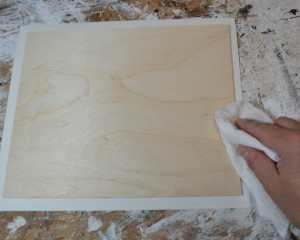
  3. Place the board upside down on a sheet of wax paper and wipe away excess glue with a damp paper towel.

Encaustic Basics-Part II-How to do encaustic painting. Learn how to prepare your substrates, learn how to fuse, and how to add color to your encaustic paintings.

Encaustic Basics-Part II-How to do encaustic painting. Learn how to prepare your substrates, learn how to fuse, and how to add color to your encaustic paintings.

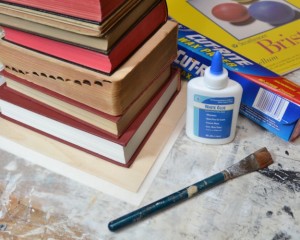
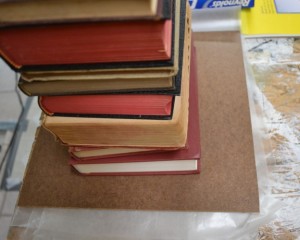
  1. Weight the board with a heavy object. I have inserted a thin piece of Masonite board (shown in photo above) between my boards and the books…my heavy object, to evenly distribute the weight.
  2. Allow to dry overnight.
  3. Trim excess paper from the edges with an x-Acto knife or single edged razor blade.
  4. Sand the sides of the board to remove dried glue.

In the photos above I have used 100lb Bristol Vellum Paper and white glue. You can also use gel medium or PVA as your glue, just make sure that your paper is evenly covered with glue and that none gets on the surface of your paper.

Encaustic Basics-Part II-How to do encaustic painting. Learn how to prepare your substrates, learn how to fuse, and how to add color to your encaustic paintings.

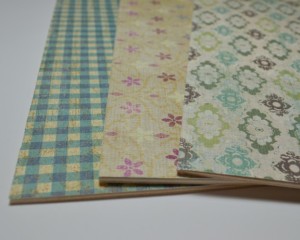
If you’d like a patterned background, you can glue collage paper directly to your board. This is a good way to add heavier papers that might be difficult to attach with wax. Shown above are boards that I have prepared with heavy weight scrapbooking paper. This is also an excellent way to incorporate drawings or artwork as background to your piece. Just make sure they have not been painted with any acrylic paint.

Note that the paper will absorb whatever glue you use, so be mindful that glue might seep through your paper if it is too thin or between cracks of adjoining pieces. If it is a lighter weight paper, don’t bother with glue; just attach it to the board with wax.

Another note about using paper with encaustic is that the wax will make many papers transparent or darker, so it is best to test before you start! We’ll talk more about adding collage paper to encaustic work next month in Part III of this series.

Fearless Fusing!!!

You should begin your painting with a primer layer of wax on your substrate regardless of what type of ground you chose. The layers of wax cool very quickly as you add them and will remain individual layers, one on top of the previous one until you fuse them together. It is necessary to fuse each and every layer to make it one with the previous layer. This may seem tedious at first, but after a while, you will begin to enjoy the Zen-like practice of fusing.

Encaustic Basics-Part II-How to do encaustic painting. Learn how to prepare your substrates, learn how to fuse, and how to add color to your encaustic paintings.

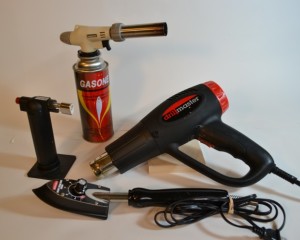
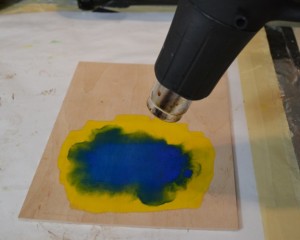
Fusing is the process of adding a heat source to the surface so the wax melts enough to bond with the layer beneath. It is possible to fuse very large areas with a heat gun or acetylene torch, and it is possible to fuse very small areas with a small butane torch or mini quilt iron. As you practice with different heat sources, you will begin to know which heat source you prefer and which to use for various techniques. In the photo above, I am showing the heat sources I use most often. I generally prefer a heat gun because of the amount of collage paper I use in my work. I don’t want any of it to catch on fire!

Encaustic Basics-Part II-How to do encaustic painting. Learn how to prepare your substrates, learn how to fuse, and how to add color to your encaustic paintings.

Steps for adding primer layers and fusing with a heat gun:

  1. Melt encaustic medium or plain beeswax directly on your heated palette or in a clean tin can.
  2. With a natural bristle brush, dip into the medium and paint an even layer onto your board. This should also be done on top of a collage paper ground. 2-3 layers are sufficient as primer for a painting. You will get the feel for how many layers are needed, depending on what techniques you plan to use next.
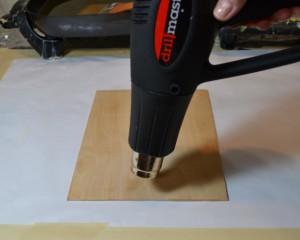
  3. Point the heat gun 4-6 inches away and perpendicular to the surface (depending on the air flow of your heat gun). Move it slowly across the surface until you see a slight shine on the wax. When you see the shine, move the gun nozzle on to the next area.
  4. Be careful not to heat too long in one spot, as this will cause the wax to spread and create bare spots on your surface. I recommend using your heat gun on the lowest setting until you get used to the process.
  5. When the shine disappears and the wax is dull again, your piece is cool enough to brush on another layer of wax and fuse again.
  6. Fusing takes practice, so don’t become discouraged if your first attempt isn’t perfect. And don’t be afraid to try all the types of heat sources, so you know what you will like! I know many artists who love the big acetylene torch!

Encaustic Basics-Part II-How to do encaustic painting. Learn how to prepare your substrates, learn how to fuse, and how to add color to your encaustic paintings.

And Finally – Adding Color!!!

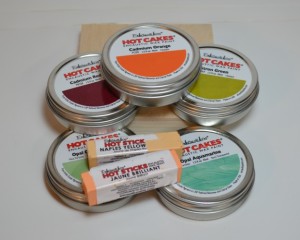
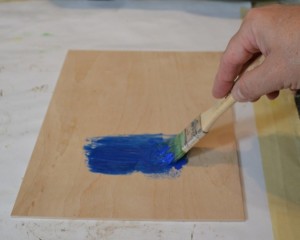
Adding color to your work is the beginning of the real fun! In addition to adding color with collage papers, encaustic paints are available in readymade cakes. I recommend Enkaustikos brand pigment cakes, as they are affordable, good quality encaustic paints with a large variety of colors.

Encaustic Basics-Part II-How to do encaustic painting. Learn how to prepare your substrates, learn how to fuse, and how to add color to your encaustic paintings.

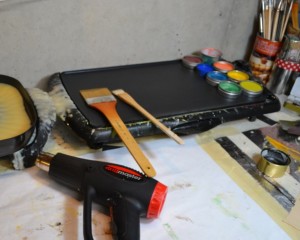
You can heat the pigment cakes in a tin on your palette, or if you only need a small amount of paint or want to mix colors together, melt the paint right on the palette. The pigment colors can also be thinned with encaustic medium to make glazes.

Use a natural bristle brush to apply the color to your piece. Once you use a brush for a particular color, it is best to dedicate the brush to that color, as it is difficult to completely clean wax from brushes.

Encaustic Basics-Part II-How to do encaustic painting. Learn how to prepare your substrates, learn how to fuse, and how to add color to your encaustic paintings.

Encaustic Basics Part II: Preparing Substrates, Fusing, Adding Color

Encaustic Basics-Part II-How to do encaustic painting. Learn how to prepare your substrates, learn how to fuse, and how to add color to your encaustic paintings.

Steps for adding encaustic paint to your work:

  1. Brush on the melted encaustic paint with a flat natural bristle brush.
  2. Fuse the paint to the surface.
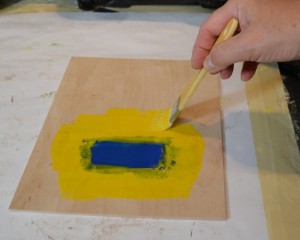
  3. Add more of the same color or add another color to the surface.
  4. Fuse this layer to the previous layer.

You will notice as you fuse multiple colors, you will be able to use the heat gun to move the wax around to blend them and create new colors. This is the fun and unpredictable nature of encaustic painting.

Here are the three boards I started earlier with scrapbooking paper. They may or may not be finished. I never really know until I look at them for a while! I’ve added more collage paper, encaustic paint, and an incised line technique. Let me know what you think.

Encaustic Basics-Part II-How to do encaustic painting. Learn how to prepare your substrates, learn how to fuse, and how to add color to your encaustic paintings.

Encaustic Basics-Part II-How to do encaustic painting. Learn how to prepare your substrates, learn how to fuse, and how to add color to your encaustic paintings.

Encaustic Basics-Part II-How to do encaustic painting. Learn how to prepare your substrates, learn how to fuse, and how to add color to your encaustic paintings.

So I have given you a lot of information, but these instructions are by no means the whole ball of wax (no pun intended!). There are many more techniques to discuss, but you can see that getting started is very simple. It is not beyond your reach to learn encaustic painting. I will keep sharing information here and on my blog www.elainebradysmith.com about encaustic painting and some of my other favorite mixed media techniques. Next month in Part III of the Encaustic Basics series, we will discuss adding collage and embedding objects to your work. So until then, go play and have fun with encaustic painting!!!

~*~*~*~*~*~*~*~*~*~*~*~*~*~*~*~*~*~*~*~*~*~*~*~*~

Elaine Brady Smith loves creating encaustic and mixed media art. Key ingredients in her work are vintage papers and hand printed collage papers made with repetitive marks, simplistic shapes, and transparent layers. She also enjoys other art mediums, such as art journaling, oil painting, and colored pencil drawing. Among her other interests are writing, teaching and spending time with her family. Find more on her website: elainebradysmith.com and on Facebook: Elaine Brady Smith Art

~*~*~*~*~*~*~*~*~*~*~*~*~*~*~*~*~*~*~*~*~*~*~*~*~

.

.