Marlene inspired mixed media card

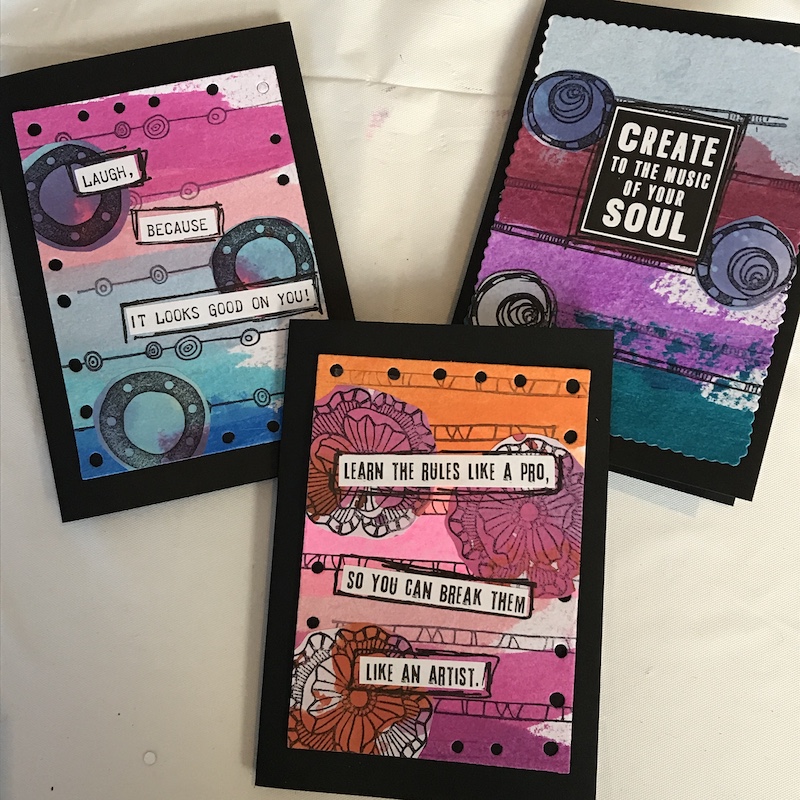
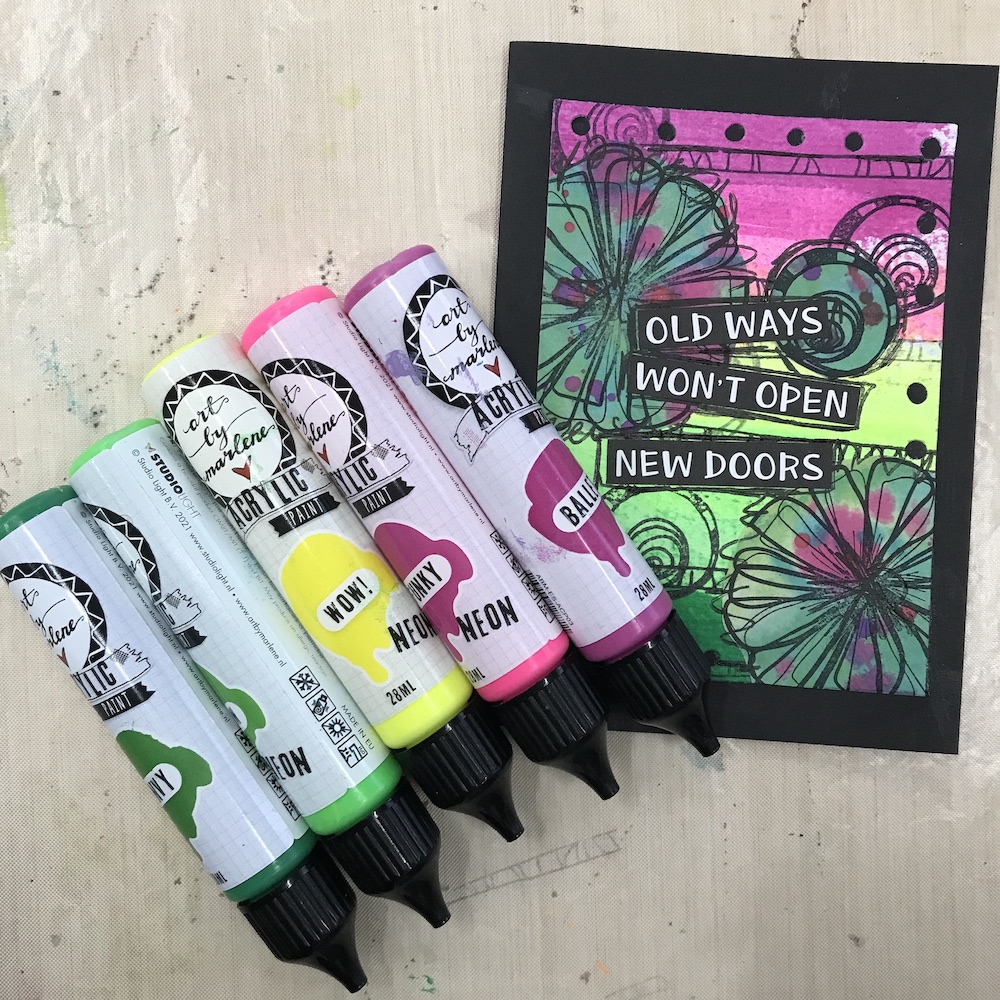
This mixed media card was inspired by Marlene – Art by Marlene, a Netherlands based mixed media artist. We can learn a few mixed media techniques with this mixed media card, including:

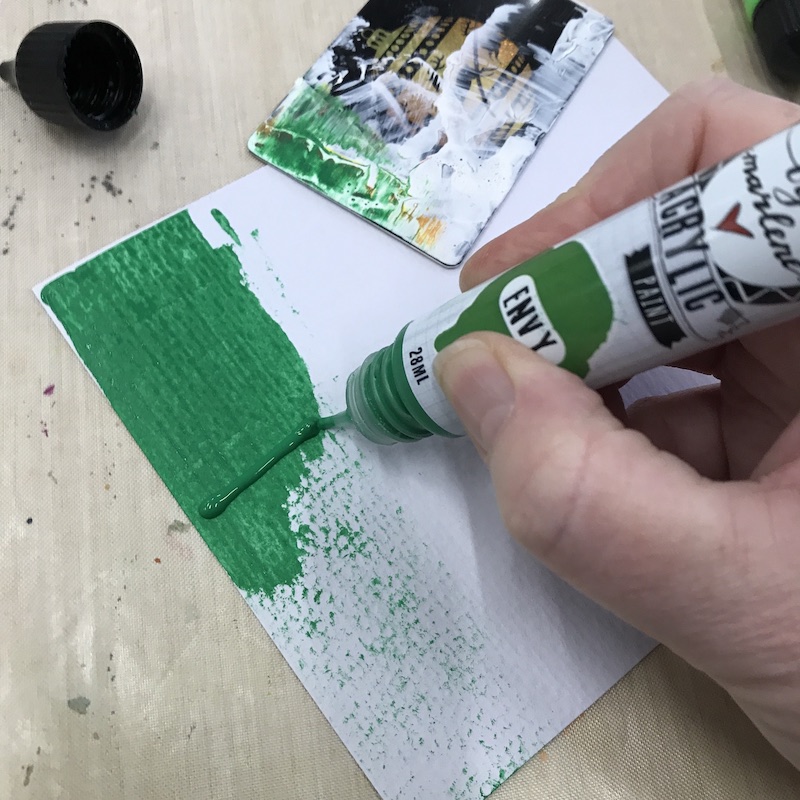
  • Paint scraping also known as “credit card” painting
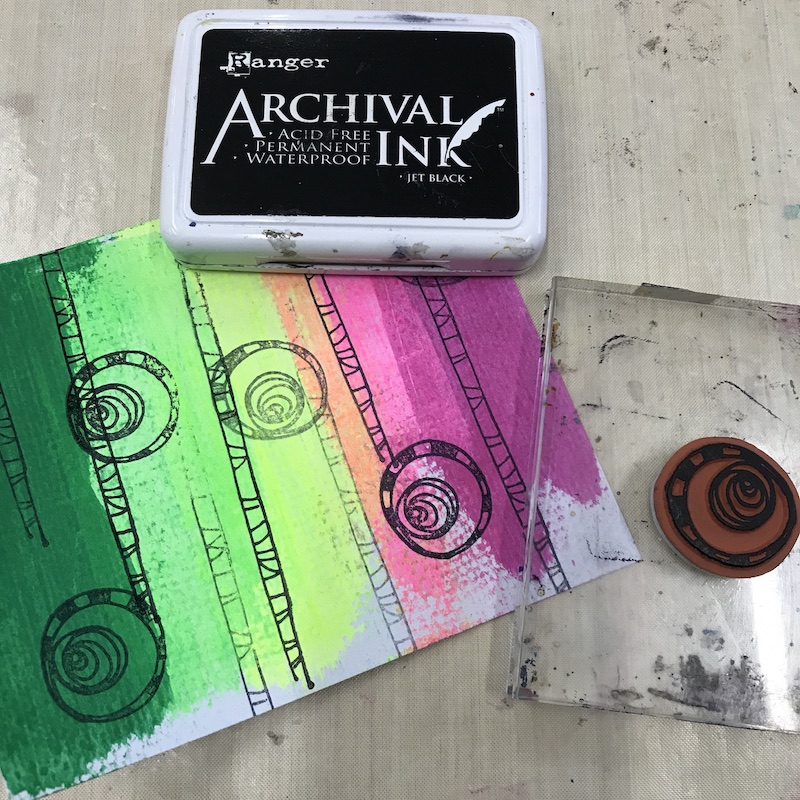
  • Stamping over painting
  • Doodling and highlighting quote and images
  • Stamping on coloured collage paper

Materials & Tools you need:

Mixed media card instructions:

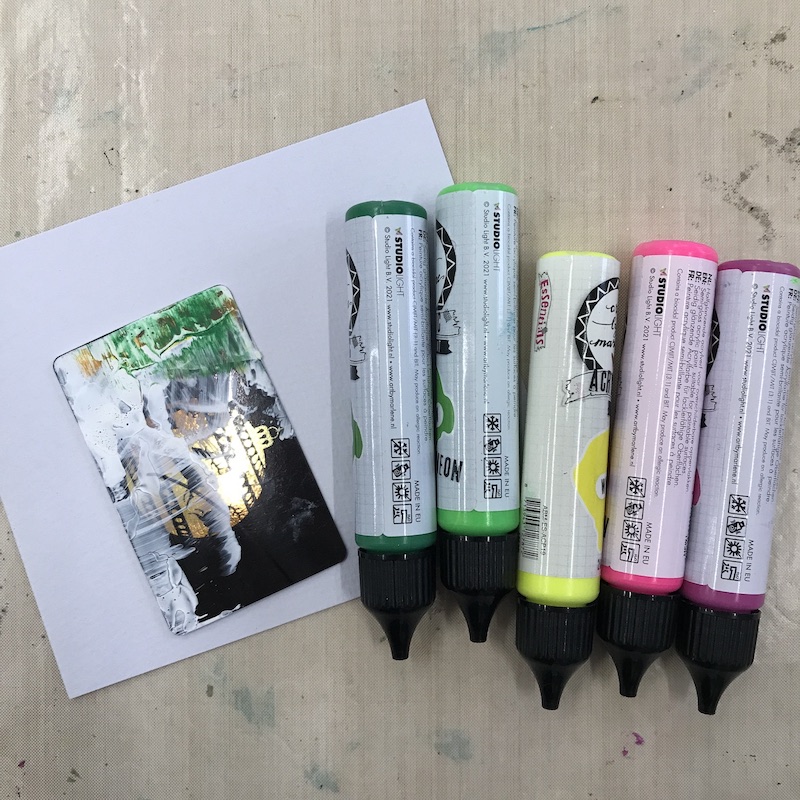
  1. Choose a piece of coloured collage paper & choose 5 paint colours to match

2. Get piece of watercolour paper, paints and old credit card

3. Spread a thin line of paint, about 1/5 of the watercolour paper piece

4. Drag paint down with credit card

5. Add more paint, if needed, and drag paint down again


6. Add second colour paint overlapping the first colour a little.

7. Drag down paint again

8. Repeat with remaining three colours. Set aside to dry.

9. Clean off mat

10. Clean off old credit card

11. Get coloured collage paper and stamp images – suggest two flowers and one circle. use a pigment ink like Ranger Archival so the ink won’t run when we doodle over it.

12. Cut out images

13. Return to painted paper. Grab stamps, acrylic block and ink

14. Stamp borders along paint lines

15. Add circle image. Suggest same as used on coloured collage paper

16. Choose a DIY journal kit die. Suggest 2nd or 3rd larger die

17. Position over painted / stamped piece

18. Run through die cutter and pull out

19. Glue stamped, cut out images onto painted piece, overlapping the edges

20. Trim off overhanging images

21. Get piece of A5 black card and fold in half

22. Glue painted piece onto black card [Or use double sided tape]

23. Set aside to dry if you used glue

24. Choose a sentiment

25. Stick onto card – you can cut it up to fit better or look better

26. Use the black Fude ball pen or paint marker to highlight quote

27. Add some doodles around images and onto background, maybe a border

28. Your Marlene inspired mixed media card in finished

Ideas and alternatives:

  1. Card and paint lines can be portrait or landscape
  2. Use smaller dies rather than stamping onto collage paper
  3. Use the Art by Marlene DIY Journal kit dies to make a journal or banner
Creating Mixed Media Bookmarks

~ * ~

This article was written by Tamara Dinius

Mixed Media Bookmarks

In this video, you can complete several bookmarks using mixed media techniques on watercolor paper. By using one large sheet, you can have fun decorating one sheet and then cutting in up into many pieces. You will be ready for summer reading and have a few extras for gift giving.

Follow along and complete a layout in less than 10 minutes (plus drying time)

The layout was completed using a range of moulding pastes and other similar products, Derwent Inktense blocks Dylusion Sprays, Liquitex Acrylic Inks, stamps, stencils and papers, as well as other items.

Mixed Media Bookmarks

Mixed Media Bookmarks

~*~*~*~*~*~*~*~*~*~*~*~*~*~*~*~*~*~*~*~*~*~*~*~*~

Tamara Dinius lives in the Pacific Northwest with her husband and chocolate lab. She has two grown daughters who make her life meaningful. They support her, ground her, embrace her, and are amazing people in their own right.

Her love for mixed media has taken over most aspects of her creative journey. She believes mixed media allows for a broad range of styles and anyone can find success in this form of artistic expression.

You can find more of Tamara’s work on her Etsy shop.

~*~*~*~*~*~*~*~*~*~*~*~*~*~*~*~*~*~*~*~*~*~*~*~*~

.

.

Ideas on How to Make Personalized Gift Tags

This article was written by Martice Smith II

Creating Personalized Gift Tags

Who says small details don’t matter?! Not us mixed-media artists! As a mixed-media collage artist, I love building upon several layers of paint, doodles and various mark-making techniques to set my work apart from the rest.

If you’re looking to develop your own approach, try these ideas to create your own, personalized gift tags. There’s no need to spend a fortune on commercially made products when you can add a unique touch of your own- using what you already have. Just the extra spark needed for a one-of-a-kind gift!

Here are a few supplies to help get you started:

  • Gelli plate
  • acrylic paints
  • paintbrush
  • brayer
  • white ink pen (for doodling)
  • cardstock / kraft paper
  • stencils (I used Tags & Labels stencil from DecoArt)
  • metal eyelets
  • embroidery floss / twine

Personalized Gift Tags – on the Gelli Plate

1. Create the gelli prints, use prints from your stash, or paint directly onto paper.

Using acrylic paints, use a brayer and roll an even, smooth layer to the Gelli plate. You can also use a round tip paintbrush and paint directly on top of the Gelli plate. Make sure to paint loose brushstrokes, going in various directions. This will give you visual interest.

2. Next, lay down a sheet of cardstock (or your choice of paper) and pull a print.

Creating Personalized Gift Tags

3. Use stencils.

Create a large tag template to use or trace through and cut out the Tags & Labels stencil from DecoArt.

Creating Personalized Gift Tags

Creating Personalized Gift Tags

4. Preserve your work!

It’s important to seal the paintings on your tags, especially if there’s any water soluble media. I like to use a spray varnish first. (Remember to do this in a well-ventilated area, to avoid any irritation.)

For one of my tags, I’ve brushed on a thin layer of Crackle Glaze to give a cracked, eggshell appearance.

After drying for several minutes, I brushed on a layer of Triple Thick Gloss Glaze to keep my colors intensely vibrant and shiny. (Both products are from DecoArt.) 

5. Add the finishing touches. 

Eyelets, embroidery floss and twine makes these tags look more polished and really sets the tone for the special gift inside. I love things that twinkle, so I used Sheer Shimmer Spritz in Sparkle (from Imagine Crafts) for some drama.

Add other embellishments to underscore the theme of your tags and you’re done!

Check out these one-of-a-kind gift tags!

Creating Personalized Gift Tags

Creating Personalized Gift Tags

I’ve used a combination of different elements and techniques, such as:

Acrylic paints and rub-on stickers on Kraft paper, DecoArt’s chalky finish paint (Remembrance), gelli paper scraps on foam dots, threading glass beads, faux stitching, and a cute snowman stamp from RubberMoon

Other ideas to try:

▪   Think about how the tag ‘feels’ in your hands. You may want your tags to have a smooth, velvety feel to them. If so, try Dura Clear – Soft Touch Varnish (from DecoArt). This stuff is really impressive!
▪   Incorporate symbols and doodles.

There’s nothing like the repetition of shapes to add dimension and rhythm to your tags. I’ll be sharing more doodling and intuitive painting techniques in my online, art course ‘Cultivate Your Symbology.

Check out sneak peeks of the lesson I’ll be teaching in the ‘My Color is Beautiful Art’ workshop HERE and HERE

Do you include gift tags on your presents? If so, do you prefer making them yourself or spending a little extra money for the pre-made ones? 

Happy creating!
.

.

Mixed Media Decor Pillow

~*~

This article was written by Melanie Statnick

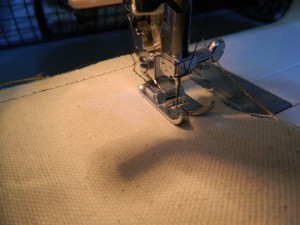
When I go to home décor and craft stores I see an abundance of items for the home that I can create myself with more flare and personal touch. Decor boxes, wall art, candle holders, garden and décor pillows. Sure not all of us can work a sewing machine, believe me it took me a few times to figure out what I learned in Home Studies from high school and that was many moons ago. Thank goodness for instruction books and DVD’s that come with most machines today. I still managed to pop off a needle, (don’t ask).

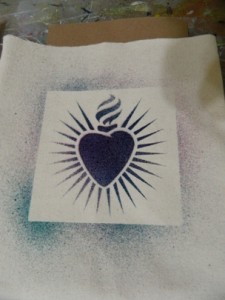
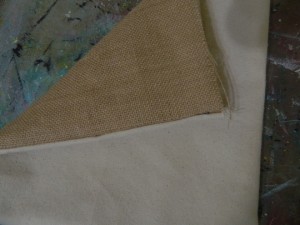
I bought a sheets of burlap and canvas squares. These can be found in the scrapbook paper aisle. To make a small pillow you’ll need one of each or 2 of each depending which fabric you’ll want to play with. I used one sheet of each to make one pillow. The art will be on the canvas side.

using canvas, burlap, ink and stencils to make a décor pillow for your home or gift

: using canvas, burlap, ink and stencils to make a décor pillow for your home or gift

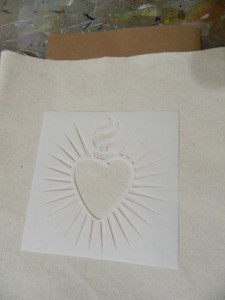
I used a stencil on this pillow. Lay your stencil out in the section you want and I used ink spray for this in pink and blue which gave a purple affect. I thought the speckled boarder from the spray gave it a little character. I also used a light glitter mist over the stenciled design.

using canvas, burlap, ink and stencils to make a décor pillow for your home or gift

using canvas, burlap, ink and stencils to make a décor pillow for your home or gift

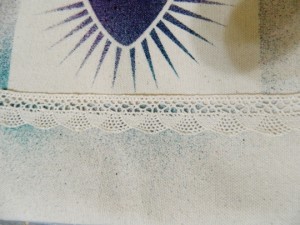
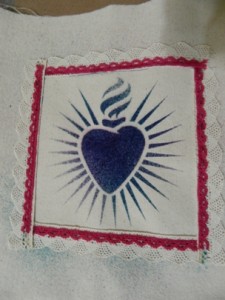
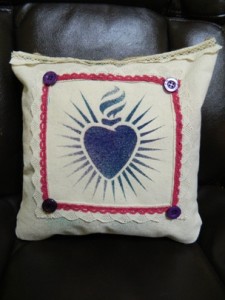
If you do not like the fine mist around the design because it looks messy then cover your edges with scrap paper, but what is Art if not messy?  I then used fabric glue then added a boarder of lace ribbon to fame the design and glued some buttons on the corners. Let dry for 24 hours before adding the stuffing to be sure it’s ready. I sprayed it with a fabric sealer after to avoid any running of ink, should I need to spot clean. Happy Creating!

using canvas, burlap, ink and stencils to make a décor pillow for your home or gift

using canvas, burlap, ink and stencils to make a décor pillow for your home or gift

using canvas, burlap, ink and stencils to make a décor pillow for your home or gift

~*~*~*~*~*~*~*~*~*~*~*~*~*~*~*~*~*~*~*~*~*~*~*~*~

Artist Melanie Statnick is a Published Artist/Writer out of North Carolina who writes and creates art daily from her private studio.

~*~*~*~*~*~*~*~*~*~*~*~*~*~*~*~*~*~*~*~*~*~*~*~*~

.
.