This article is written by Dawn Stegall of FaithfullyYours.net
From crystals, to pearls to rhinestones and beyond, bling is hot in scrapbooking and mixed media art! However, bling can be expensive. In this tutorial, you will learn how to make your own pearlized flourishes for much less. Not only are these less expensive, but quick and easy to create as well as easily customizable.
Supply list:
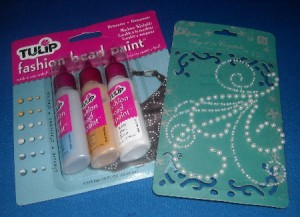
• Bling flourish (you want to copy)
• Pearl paint (Ranger’s liquid pearls, Tulips pearl fabric paint)
• Transparency
• Scanner/copier
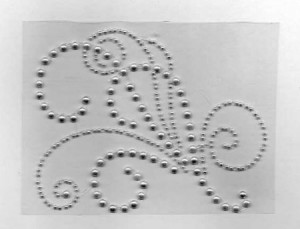
Step 1: Scan/Copy Original Flourish
This step may require some experimenting on your part to get the desired result. I started out scanning with flourish still attached to original backing. Finally, I ended up copying and printing in one step.
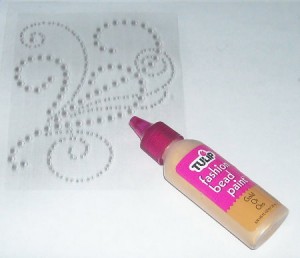
Step 2: Place transparency on top of copied image.
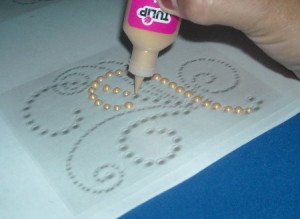
Step 3: Begin Painting
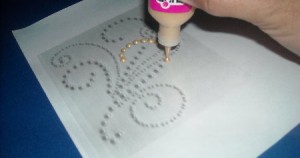
Add dots of paint following copy as your guide. Keep paint bottle straight up for better “beads” of paint.
Continue adding paint.
This copy has multiple flourishes. You can copy “as is” or only use the ones you want.
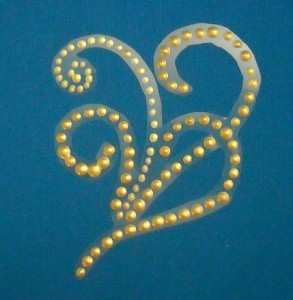
Once you have finished making all your beads, let dry.
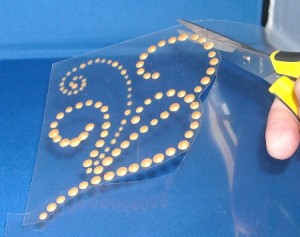
Step 4: Trim Around Flourish
The clear transparency will be barely visible on your finished project.
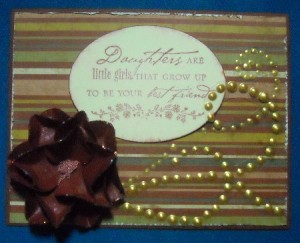
Finished card using handmade pearl flourish.
The flourish didn’t quite fit my card placement, so I cut it apart and placed around the sentiment how I wanted.
A few ideas:
• You can use any type of flourish or pattern. Just follow along lines, making dots of paint.
• Stamps-I have also seen rubber stamps of “dotted” flourishes. Stamp with watermark ink or a light ink and cover each stamped dot with a dot of paint.
• Find a digital image online you can print out and use for your pattern.
Think outside the box! You can use any shape, pattern or design you want. Simply follow along the design placing spaced dots of paint. Good luck and fun!
~*~*~*~*~*~*~*~*~*~*~*~*~*~*~*~*~*~*~*~*~*~*~*~*~
Dawn Stegall strives to be a good steward while remembering God in her scrapbooks.
For a free guide and weekly inspiration visit FaithfullyYours.
~*~*~*~*~*~*~*~*~*~*~*~*~*~*~*~*~*~*~*~*~*~*~*~*~


I have a batch of these paints in a box somewhere. Hadn’t thought about using them in this way. Thank you for the ideas!
You can even make the size you need at any time. Cool!!
Wonderful idea. So cost saving!!
I was something like this on interest. She said that you can’t even see the clear transparency when its in a page protector.