This article is written by Debbie Davis
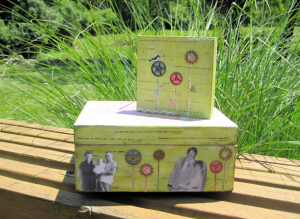
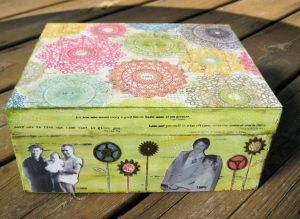
I’ve been reading Marney Makridakis’ new book called Creating Time. I was intrigued by the name of this book because I always find myself saying things like, time goes by so fast, I don’t have enough time, etc. I am hoping it will help me to at least feel like I have more time. I am working on the first “Artsignment” in the book, which is creating a time box.
I wanted to add some quotes on time to the box and needed a quick, simple way to do it. I had recently made my own text rub-ons for another project and thought that would be a great way to add text and dates to the box.
I found the quotes on-line by googling “time quotes” and then copied and pasted them into a word document. I changed the font to a size and style that would fit on my project. Using overhead transparency film, I placed the film into my inkjet printer so that the text would print onto the smooth side.
When creating rub-ons this way, you need to make sure to print text in a mirror image, otherwise it will be backwards when you rub it on your project. Also, be careful not to touch the ink after printing or it will smear. Lay the film, smooth side down, onto your project and, using your fingernail or a wooden craft stick, rub over the text/image you want transferred. You can rub as light or as heavy as you want, depending on how clear you want the text/image to be. I like to print off a string of symbols such as ########## and just randomly rub them on.
After rubbing the quotes, etc, onto my time box, I decided to see if I could re-use any ink that might be left on the film. I was so surprised to find that I could get another print out of most of what was on the transparency. It was very light, but that just added to the look I was going for.
I added some additional text using the rub-ons so that it was darker in some areas.
Please note that the rub-ons will not be permanent and will smear if you brush over them with anything wet such as paint or glue. To set the ink, I took my project outside and lightly sprayed it with a little matt coating before doing any additional “wet” work on it.
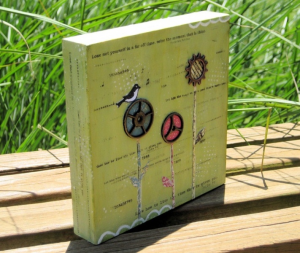
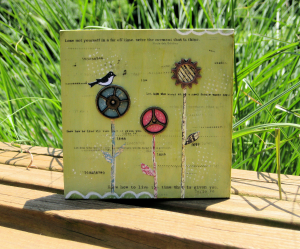
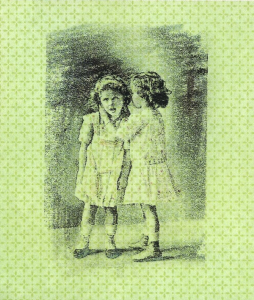
Think of the possibilities with creating your own rub-ons! Here’s an image that I printed onto the film and then rubbed on some scrapbook paper. I found that you don’t need to set the ink when transferring the image to paper, unless the paper has been previously painted on or coated with any type of acrylic medium.
This is a fast and fun way to add text, numbers and even images to your art.
~*~*~*~*~*~*~*~*~*~*~*~*~*~*~*~*~*~*~*~*~*~*~*~*~
My name is Debbie and I live in Morton, Illinois (USA). I’m happily married and have a wonderful family that includes a daughter, son, son-in-law and 2 of the sweetest grandchildren ever!
What I love most about mixed media art is that you don’t have to be an expert at anything to create beautiful art. It is a great way to recycle found objects. Art is such a wonderful stress reliever. I just wish I had more time to play!
I have a shop on Etsy called Artful Explorations where I place some of the art I have created for sale.
~*~*~*~*~*~*~*~*~*~*~*~*~*~*~*~*~*~*~*~*~*~*~*~*~
.
.


Thanks for this article. I am going to try this out myself.