~ * ~
When we sit down to craft, there are times when we need a little creative guidance to get us started. It may be starting a new project and deciding on a theme can also be challenging.
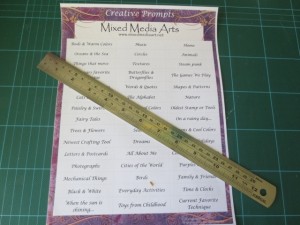
Mixed Media Art has put together this Creative Prompts ephemera sheet – 45 categories and ideas to boost your creativity. These creative prompts can be used to spark an idea, set guidelines for a swap or used as a theme for your art journal. Some of the prompts are quite specific; others give you a general theme to get you started. You can choose to use them however you wish.
Creative Prompts Gift Box
We loved the idea of these creative prompts so much that we wanted to share them with our crafting friends. And what better way to do that than to make a box to store our creative prompts in. Whether you decide to give it to a friend, take it to your crafting group or keep to yourself, it is entirely up to you!
Materials & Tools
- Mixed Media Art Ephemera Sheet 19 – Creative Prompts
- Cereal Box
- Scissors
- Craft knife, steel rule and cutting mat
- Stapler
- Text ephemera sheets – at least 3 different fonts
- PVA glue
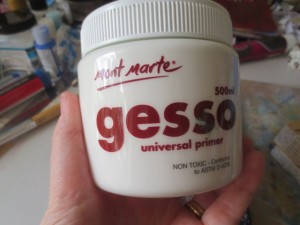
- Gesso
- Acrylic paint of your choice
- Paintbrushes, palette and water pot
- Spray varnish
- Your choice of embellishments
Making your Box
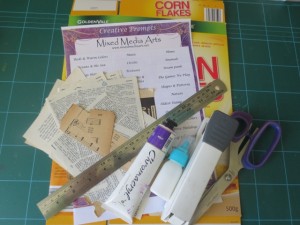
1. Gather up your materials
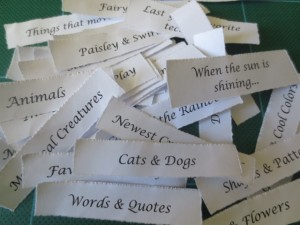
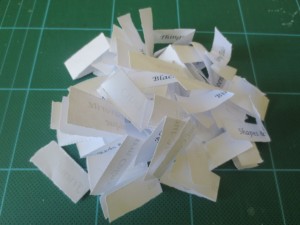
2. Using the steel ruler, tear your creative prompts into individual slips. You could also scissors or a craft knife, but I like the torn edges and find it much quicker.
Then fold the prompts in half
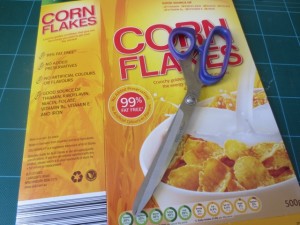
3. Using scissors, cut out the two large panels of your cereal box
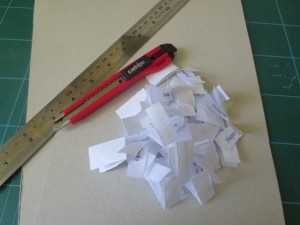
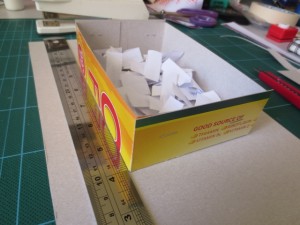
4. Put the folded creative prompts on top of one of the cardboard panels to give us an idea of the size for our box
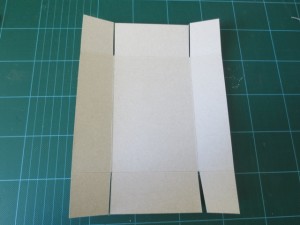
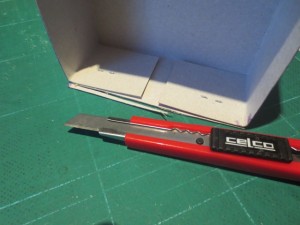
Using the steel ruler and the craft knife, score the box and fold up the edges. A good cutting mat with grids marked on it makes a good reference for getting your scoring and folding straight
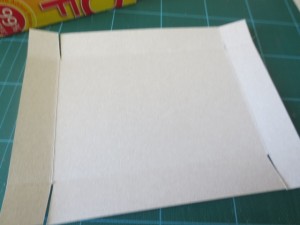
5. Repeat with the two ends of the box. Cut the corner tabs as shown in the picture. This gives us the tabs that will make the ends as well is a little bit of clearance to make sure the box is square.
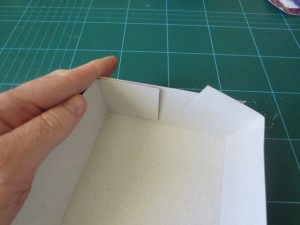
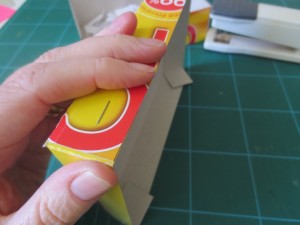
6. Fold in the ends of your box
7. Use the stapler to secure these tabs
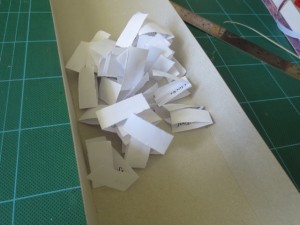
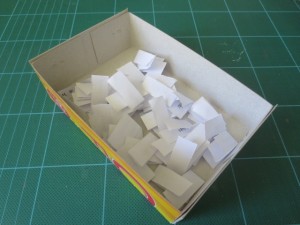
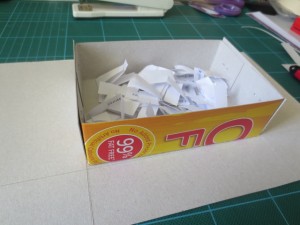
8. The bottom of your box is now complete. Now you can add in your creative prompts to make sure it is the correct size.
9. The top of the box needs to be slightly bigger than the bottom to make sure it fits on. Place the bottom of the box onto the second cardboard panel. We will use this to show us the size rather than measuring the box.
10. Using the steel ruler and craft knife again score around the box, taking care that your lines are at 90° to each other and parallel. Taking care here will make sure we have a nice box when we are finished
11. Cut down the sides of the top of the box – these can be smaller than the bottom sides, to make it easier to open. Then fold all four sides and cut the tabs as shown. I prefer to cut my tabs the opposite way to the bottom so that they sit better when closed.
12. Use your stapler to secure the tabs and complete the top of your box
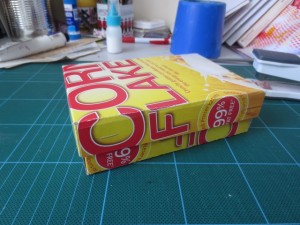
13. Now the structure of your Creative Prompts gift box is complete
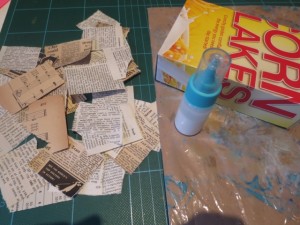
14. Tear your ephemera sheets into 2 inch squares. I prefer to use three different sheets to give a difference of panels as we collage the box.
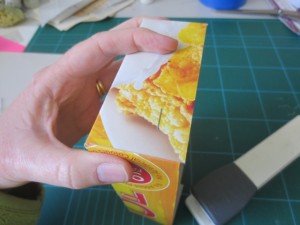
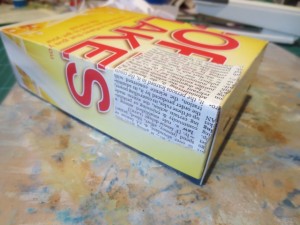
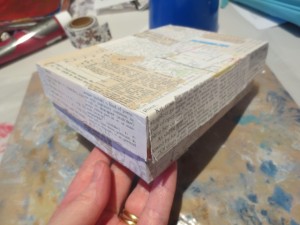
15. Apply some PVA glue to your ephemera square and stick it onto your cardboard up. Remember that the text on the sides of the bottom of the box need to be upside down so when the box the correct way up the writing will be the right way up.
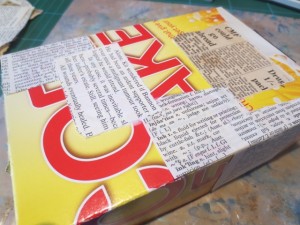
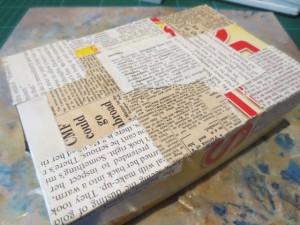
16. Continue adding different ephemera squares until the box is completely covered
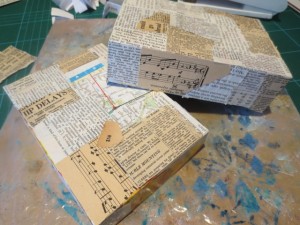
17. Repeat with the lid of the box and allow the glue to completely dry before moving on to the next step.
18. To even out the different colours of the ephemera, add a gesso wash to the top and bottom of the box.
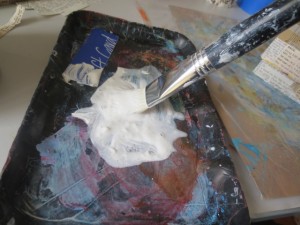
Add a little gesso to paint palette and water it down to create the wash
Apply a light coat across the top and the bottom of the box. As the gesso dries it will become more translucent and the colours of the ephemera become more uniform
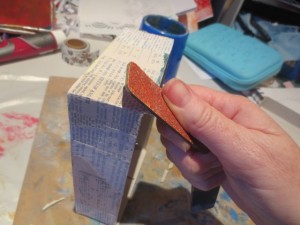
19. Trim up the edges of the ephemera pieces to the box edge using some emery paper. This tidies up the edges.
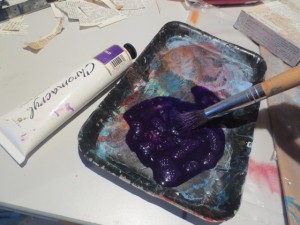
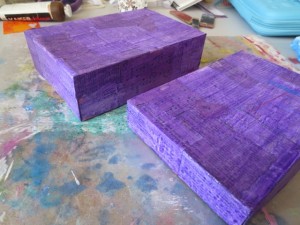
20. Now ready to add some colour to our box. Add a little acrylic paint in the colour of your choice to your paint palette. Add some water to create a wash
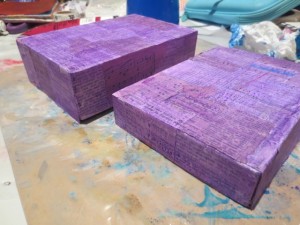
Apply the paint to the top and the bottom of your box and leave it to dry
21. Use your craft knife to clean any edges that may be uneven
22. Add a coat of spray varnish to seal the collage ephemera and paint wash. Leave overnight to dry thoroughly
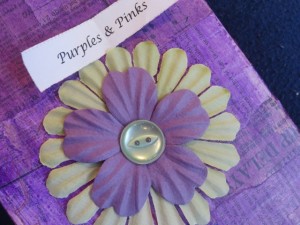
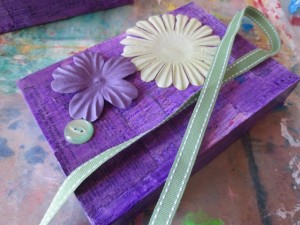
23. Now it’s time to add decoration to your box. Pull out a variety of ephemera that fits your colour scheme. Here I have chosen some paper and silk flowers, a button and some ribbon to go around the edge of the top of the box.
The ribbon and the flowers were adhered with a hot glue gun
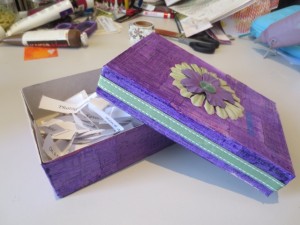
24. At your creative prompts into your box and in your project is complete.
Now it is ready to give as a personalised gift to a crafting friend or to have on hand when you need that kickstart to spark your creativity.
~*~*~*~*~*~*~*~*~*~*~*~*~*~*~*~*~*~*~*~*~*~*~*~*~


I love this idea…So going to do this! :O)
Cute idea but spell check is also our friend.
It is! Did I miss something?
Thanks Julie – share a photo with us when you do!