Jump rings are those round metal findings that are used to connect all sorts of elements together in your mixed media artwork and jewellery projects. They come in a huge variety of colours and sizes.
The key to using jump rings is how to open them; the skills for using a jump ring are easily learnt and make your life much easier when adding jewellery elements to your work.
~*~*~*~*~*~*~*~*~*~*~*~*~*~*~*~*~*~*~*~*~*~*~*~*~*~*~
1. To easily open, insert and close jump rings, we need both flat nosed pliers and pointy nosed pliers.
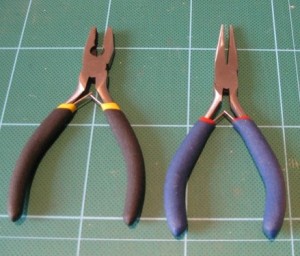
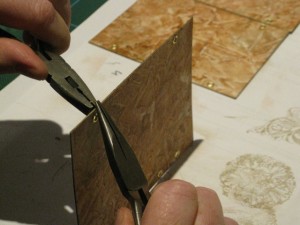
2. Hold jump ring with flat nosed pliers, with split close to end on pliers
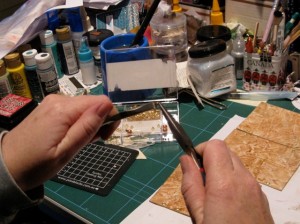 Use pointy nose pliers to hold other side of ring. Look closely; the ring tends to already be slightly open, to one side. Twist ring open in this direction.
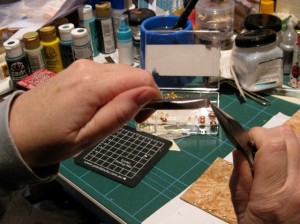
We are opening the ring with a sideways motion; NOT opening up the ring – it must be sideways; this gives us the best chance to being able to close the ring again and not deform the ring out of shape.
3. Now ring is open, you can thread it through eyelet.
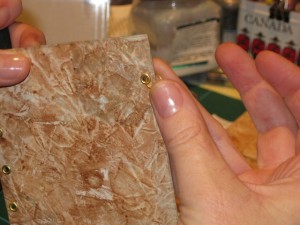
4. To close the jump ring, take hold with flat nosed pliers again. Use the pointy nosed pliers to bend the ring back the way it came. You may need to over bend the ring to allow for the springback in the metal. Check the ring; if is still isn’t closed, bend a little further and check again.
I hope this helps you to get started with playing with jump rings and jewellery elements. We will be featuring a project soon that will bring together all you have learnt about using jewellery elements in your mixed media art.
Happy creating!
.
.
.


We would love to hear from you