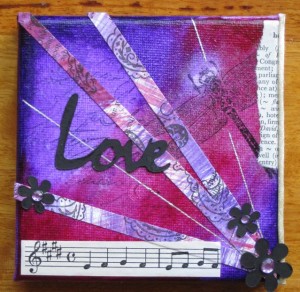
Here is a step by step guide to creating the background used on this Mixed Media Collage on a 4″ x 4″ mini canvas.
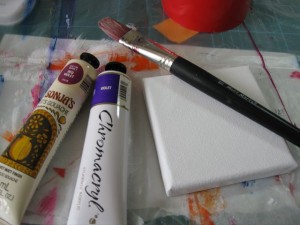
The mini canvas was bought from an arts supply store for less than $1. The two paints chosen are a purple and a bright maroon (Chromacryl Students Acrylic – Violet and Jo Sonjas Artist Gouache – Red Violet).
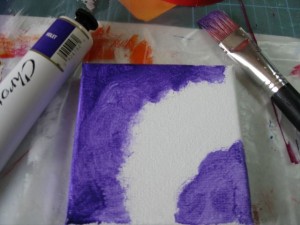
The purple paint was used first, starting from the top left hand corner and the bottom right corner, slowly working with a barely damp brush and moving the paint inwards.
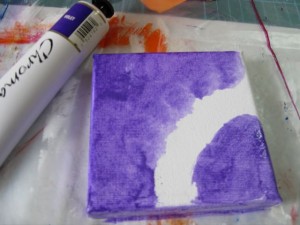
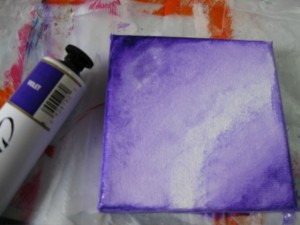
To further fade the paint, a slight amount of water was added to the brush and the paint was watered down along the middle. Then with some paper towel, a small amount of paint was blotted off. Repeating this process improved the fading of the paint. When you are happy with the effect, allow that layer of paint to dry (a heat gun helps to speed the process along).
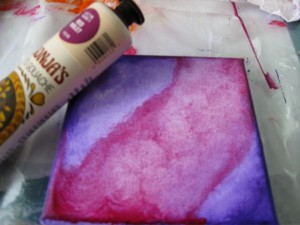
The maroon paint was then added in a similar way – apply the paint along the middle, the add a wetter brush to thin it out and blend it back into the purple paint. Blot with paper towel. Allow to dry.
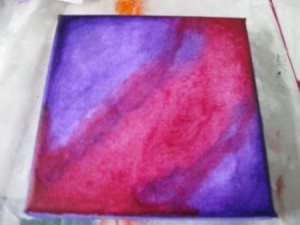
Now we are ready to add some visual texture to the canvas. As this surface is tricky to stamp onto directly, the stamping is done onto tissue paper, then added to the canvas. Stamping needs to be done with an ink that won’t run when wet. Staz-On is a great ink to use in this application (Tsukineko StazOn Solvent Inkpad, Jet Black) Pigment inks are water based and will not work for this technique.
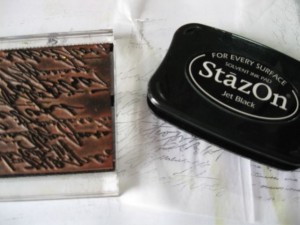
Take the stamped tissue paper and tear out the piece you want to add. Tearing the edges gives a feathered edge that blends into the background better than straight, cut edges. A vanish was used to adhere the tissue paper to the canvas. Gel medium or a runny glue will also work. Carefully apply the glue or vanish onto the back of the tissue paper and give it a few moments to soak in. Also apply a layer of glue onto the canvas. Very carefully lay the wet tissue paper onto the canvas. Smooth out the tissue paper with your finger nail, to remove any bubbles or excessive glue. Be very careful here or the tissue paper will tear. This does add an interesting effect and won’t completely ruin your canvas,but it is very annoying. Set aside to fully dry. Allow to air dry and resist the temptation to use your heat gun.
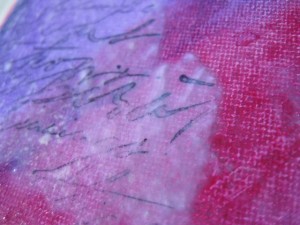
Now your canvas is ready to decorate.
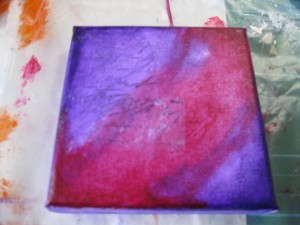
Happy creating!
.


Hi Michelle
You make some wonderful tutorials Thank you for visiting my site. I hope you found the resource I sent to you of use.
I see your blog is beginning to be noticed. All the best for the future of it!
Susan
great idea and looks effective, have u any more using sand and past.
June
Wonderful blog! I genuinely love how it is easy on my eyes and the facts are well written. I am wondering how I might be notified whenever a new post has been made. I have subscribed to your rss feed which should do the trick! Have a nice day!
Yeehaw!!! More fun, what wonderful ” cards” these would make for any old occassion. I love things like this. Thank you so much.