~ * ~
This article is written by Tamara Dinius 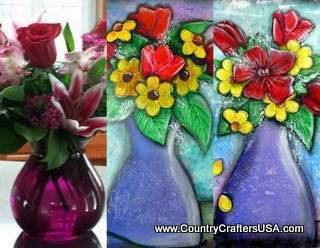
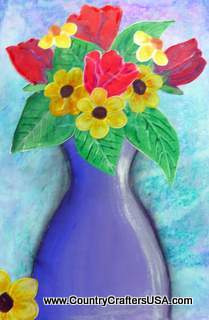
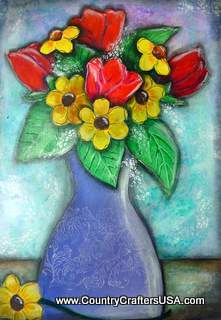
Inspiration comes in many forms, shapes, and sizes. The inspiration for this artwork came from a floral delivery I received. You will notice that the original floral bouquet is quite different from my finished floral still-life piece, but I think that is what art is all about. We take something we like, use it to inspire us, and turn it into our own individual art style. I completed two pieces at the same time, with quite different results. We will be focusing our attention on the vase in the middle of the above photo for this step-by-step process.
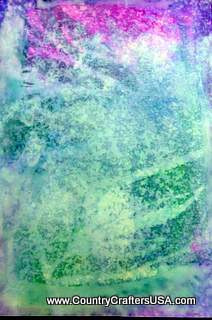
Start with watercolor paper (any brand will work) cut to approximately 8×10 inches. I used Dylusion sprays in Vibrant Turquoise, London Blue, and Crushed Grape. I sprayed the Dylusion sprays randomly on the paper and then rolled my paper towel roll over them. The imprint on the paper is from the design on my paper towels.
To set the Dylusion sprays I used a Krylon clear satin spray, Next, I applied a thin coat of Liquitex Matte Medium.
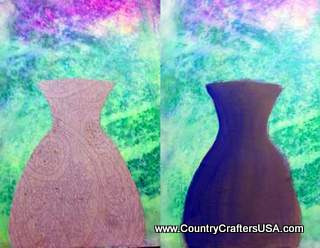
Pick out a piece of paper for the vase. Cut out your shape and adhere it to the paper (I used Golden Heavy Gel Matte Medium). Apply a thin coat of lavender/purple in three different hues. Concentrate the darkest hue on one side moving to the lightest on the opposite side.
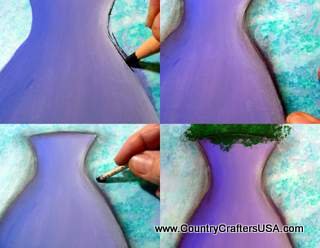
In this step we will be adding some shadows with charcoal pencil. I first lay in the shadow with the pencil. I soften the edges by using my fingers or a blending stump. At this point, we will also add some green foliage to lay our flowers and leaves on. Be loose with this process, as most of the foliage will be covered up.
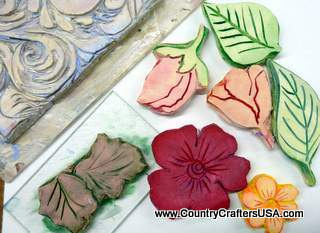
These are the hand-carved stamps I used for my project. Any leaf or flower stamps you have will work for this project. You can also freehand your designs if you prefer.
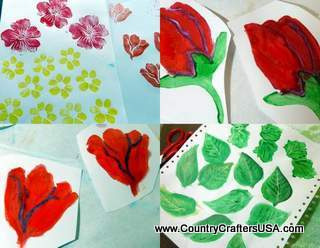
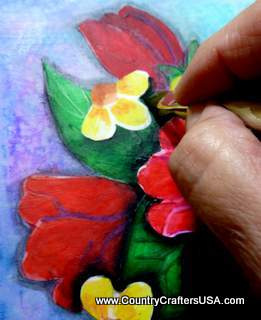
Once stamped (in your desired colors) I used Derwent Inktense Pencils and Derwent Inktense Blocks to color in the leaves and flowers. Use varying hues of your colors to add depth to the flowers and leaves.
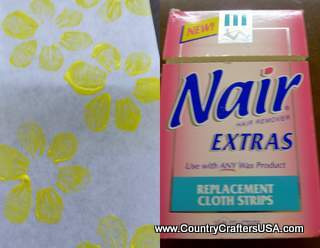
I recently cleaned out the bathroom cupboard and found Nair Cloth Strips. I thought I would be adventurous and use them in this project. I wanted to see how they would hold up to paint, ink, and various medium. I really like how velvety they were and how they brought out the intensity of the colors.
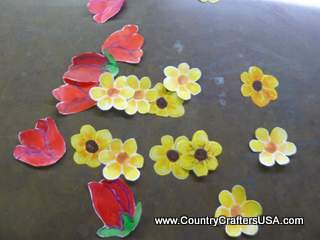
Cut out the leaves and flowers.
Adhere your flowers and leaves onto the foliage (I used Golden Heavy Gel Matte Medium).
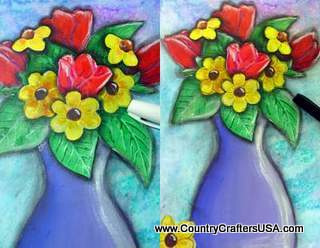
Add a dark shade (I used Delta Black/Green Acrylic) to indicate items that lie in front of another. You will notice that the daisy lies in front of the leaf and the rose. This is indicated by adding a shadow to the outside edge of the daisy.
Add highlights using a water-based Sharpie white paint pen or similar pen. Add an outline using a black Sharpie Ultra-fine or similar pen.
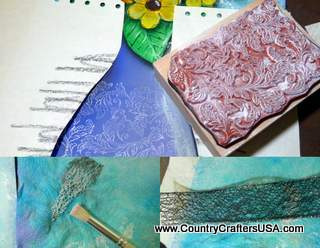
Using paper, create a mask for your project so only the vase is visible. Add a design of your choice in a light lavender. You can also add baby’s breath by using a stencil or sponge. I used a piece of ribbon as a stencil. I cut my shape out of the wired ribbon shown in the photo.
Add a horizontal line with a dark color wash to indicate a table or counter top. I used Derwent Inktense Blocks.
Congratulations! You have created a wonderful mixed media spring bouquet suitable for framing.
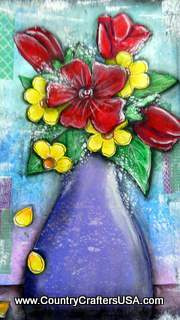
This is the second version I created using the same techniques. I added Washi Tape and white paint to the background. Although the two pieces are similar, they are also quite different. I like both of them equally and will be making prints from them to sell on my website.
~*~*~*~*~*~*~*~*~*~*~*~*~*~*~*~*~*~*~*~*~*~*~*~*~
Tamara Dinius lives in the Pacific Northwest with her husband and chocolate lab. She has two grown daughters who make her life meaningful. They support her, ground her, embrace her, and are amazing people in their own right.
Her love for mixed media has taken over most aspects of her creative journey. She believes mixed media allows for a broad range of styles and anyone can find success in this form of artistic expression.
You can find more of Tamara’s work, and on her website www.countrycraftersusa.com or via her Facebook www.facebook.com/countrycraftersUSA
~*~*~*~*~*~*~*~*~*~*~*~*~*~*~*~*~*~*~*~*~*~*~*~*~
.
.


Nair, now that’s getting creative. Great tutorial Tami.
So pretty! Love the little details on the leaves and flowers!