Celebrating the Year as it Draws to a Close

~ * ~

Before we head into the New Year, I like to use this time to reflect on the events and achievements of the past 12 months. The week between Christmas day and the New Year always seems like a no-mans-land time, where one event is finished and the next, yet to begin. So it becomes a time of reflection and planning. There are many creative ways we can celebrate and reflect and measure how we’ve grown.

Using our art journal to celebrate our creative successes and explorations

We can look back over our art journal pages or look over photos that we accumulate on our computers or devices (remember when we used to go and get them printed from the film?!)

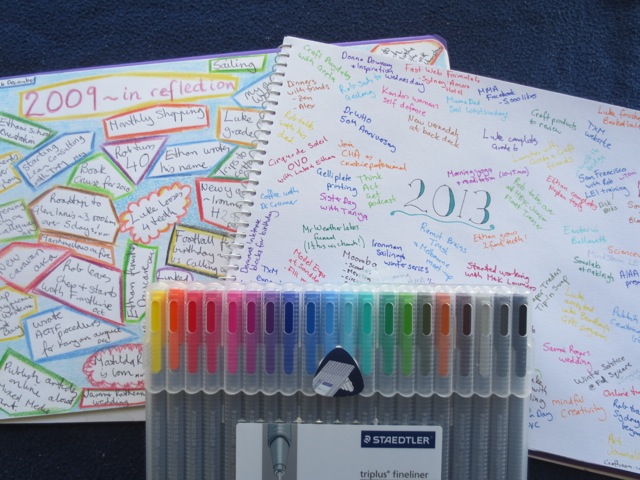
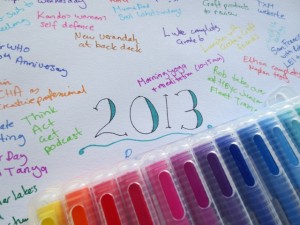
My favourite way is to create a word cloud, like a mind map of all of the events, activities, highlights and even the low-lights we have enjoyed as a family over the last 12 months. We have done this with input from everyone, as well as looking through photos and referring back to my a-day-a-square diary. I love hearing about our year from my two boys as they always remember different things to the ones at the forefront of my mind.

I do these reflection mind maps in my general sketch book and use my favourite pens or markers – here I’ve used my Staedtler triplus fineliner markers. I record the school grades of the boys and their sporting achievements. The different jobs my husband or I have had. Movies or television shows or books I have read will often feature. Family vacations and day trips. Sometimes it gets added to over a few days – a memory will crop up in the middle of the night. I will also add a note at the bottom of where I was as I created the mind map

It’s lovely to have these pages to look back over – my first one was in 2009, using a simple blue pen and coloured pencils to add shapes.

Art Journal reflections

I hope I can encourage you to pause at this time of year and reflect and document the wonderful year you have had. Even if it hasn’t been the “perfect year” (whatever that means!) use the time to note what did work – then you can work on getting more of that in your life! I like to think that energy flows to where we give our attention, so let’s reflect and then focus on a creative 2014.

Happy creating,
Michelle


~ * ~
All-Purpose Inks by Tsukineko

~ * ~

Imagine Crafts distribute craft products across the USA and when I was approach to review some of their products, I was very excited.

Artist inks and ready to use applicators

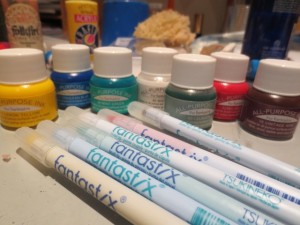
At first, I did not know what to make of these 7 little ink bottles – what was I going to DO with them? I had seen Donna Downey use inks in her art journal layouts, so that was a starting point, but when I realised that the Fantastix, which I also had a packet of, were made to go with the inks (says so on the bottle – note to self: always read the labels!!) a bunch of ideas jumpers out at me!

These All-purpose inks actually come in a range of colors, which you can see over on the Tsukineko website

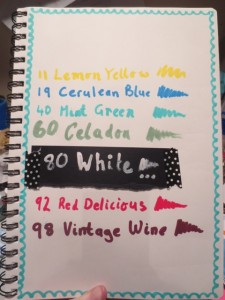
First things first, I needed to test the colors, so out came my handy art journal

Watercolored paper is a great surface for Tsukineko All-purpose Inks and Fantastix applicators

The inks are quick drying on the art journal pages and didn’t run.  The white ink is opaque on the place paper when applied thickly.

The Fantastix applicators are perfect for using with the inks; it almost turns them into pens and allows me to control the application of the inks easily.

“Life” Art Journal Layout

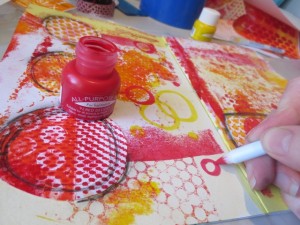
The art journal spread already had a bright background of reds and yellows, so it was a good fit for those colours

Add colour with All-Purpose inks to mixed media art journals

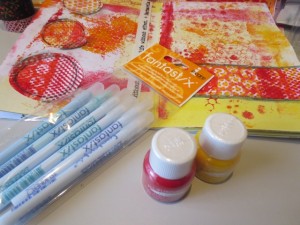
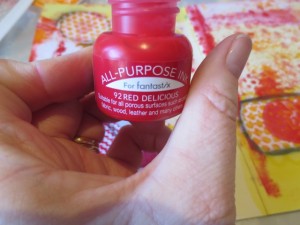
I used the 92 Red Delicious ink to draw circles straight onto the water coloured paper

Add colour with All-Purpose inks to mixed media art journals

Add colour with All-Purpose inks to mixed media art journals

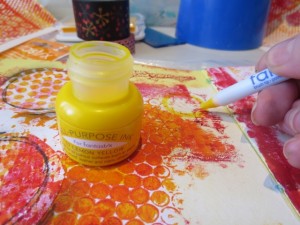
I used the 11 Lemon Yellow to add more circles

Add colour with All-Purpose inks to mixed media art journals

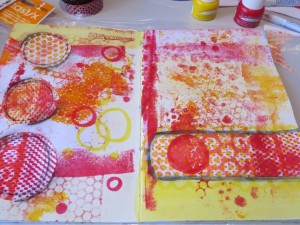
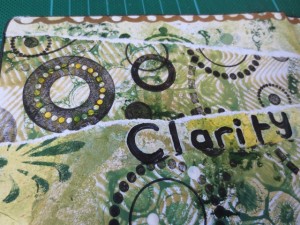
Looking good so far – the circles on the left hand side and the bar across the right were torn from Gelli printed papers and then highlighted with charcoal pencil

Add colour with All-Purpose inks to mixed media art journals

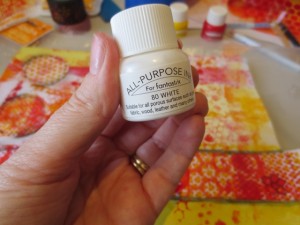
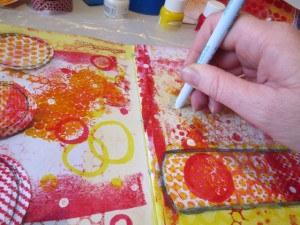
Then I added some 80 White ink

Add colour with All-Purpose inks to mixed media art journals

I was trying to go for the Donna Downey ink spatter here but the Fantastix isn’t the tool for that, so I added some random white dots. Some of the ink dots were thick and needed to be left overnight to dry completely.

Add colour with All-Purpose inks to mixed media art journals

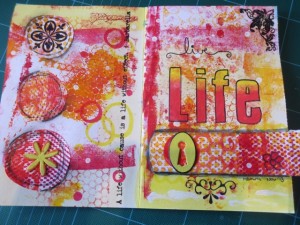
I finished the page with rub-ons, painted chipboard keyhole and flowers and lettering. The “live” text was written in with charcoal pencil. The “life” lettering was done with the technique shown in the “Create” art journal layout instructions

Add colour with All-Purpose inks to mixed media art journals

~ * ~ * ~ * ~ * ~ * ~ * ~ * ~ * ~ * ~ * ~ * ~ * ~

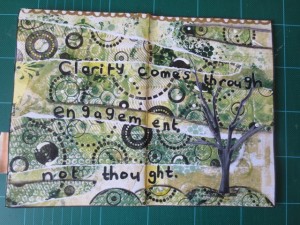
“Engagement” Art Journal Layout

This art journal page also began with some acrylic paints added into a water-colour paper art journal.

Use All-Purpose inks to add highlights and writing to mixed media art journals

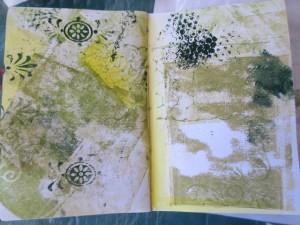
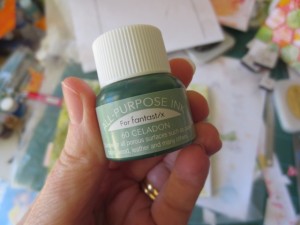
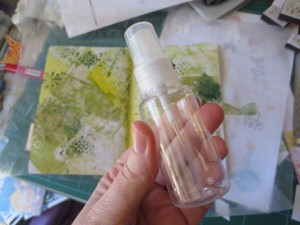
Here I decided to use the 60 Celadon, a dark green and wanted to apply it with a spray bottle

Use All-Purpose inks to add highlights and writing to mixed media art journals

Use All-Purpose inks to add highlights and writing to mixed media art journals

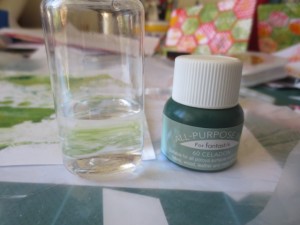
So I filled the spray bottle with some water

Use All-Purpose inks to add highlights and writing to mixed media art journals

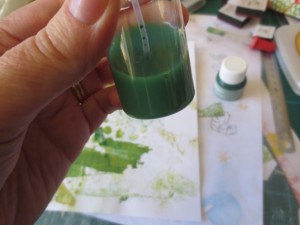
and added some green ink.

Use All-Purpose inks to add highlights and writing to mixed media art journals

This was WAY too watery – You don’t need to dilute think ink when using it with a spray bottle *learning an important lesson* so I tipped the diluted solution out and just added the green ink. I sprayed the ink over sequence scrap, of varying sizes

Use All-Purpose inks to add highlights and writing to mixed media art journals

I also removed the pump from the spray bottle and dripping bits off the end of the tube.

Use All-Purpose inks to add highlights and writing to mixed media art journals

I finished off this art journal layout with matching gelli print paper and wrote the quote (from Marie Forleo) with a paint marker.

Use All-Purpose inks to add highlights and writing to mixed media art journals

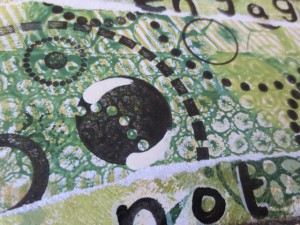
I used the white and yellow inks to highlight some of the stamped shapes

Use All-Purpose inks to add highlights and writing to mixed media art journals

Use All-Purpose inks to add highlights and writing to mixed media art journals

~ * ~ * ~ * ~ * ~ * ~ * ~ * ~ * ~ * ~ * ~ * ~ * ~

Gelli Prints and Ink Stencilling

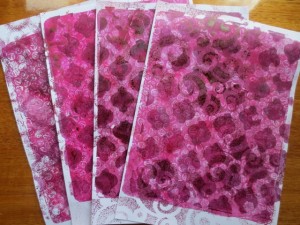
To add a third layer to these gelli plate prints, I added the 98 Vintage Wine ink into another spray bottle (undiluted) and used my Cosmic Swirl stencil, by The Crafters Workshop, to add to create a pattern with the ink.

Ann’s Arts and Crafts

I really liked how these pages came out!

What I liked about the products:

Especially when used with the Fantastix these inks re a great way to add another element of colour and design to our mixed media artwork. The fantastic come with individual lids and while they have dried to from their initial ink application, they are still pliable and more ink can easily be re-applied for subsequent use.

What I didn’t like about the products:

Initially I thought the colour pallette was limited but have found our since that these All-Purpose inks are available in many other colours

For more information:
..

~ * ~ * ~ * ~ * ~ * ~ * ~ * ~ * ~ * ~ * ~ * ~ * ~

Disclosure: These products have been provided by ImagineCrafts for the purpose of review. All opinions are that of the MixedMediaArt team. The links on this page are affiliate links and any purchases help to support the ongoing work by MixedMediaArt.

.

.

My Top 3 Art Journaling Videos

Whenever I need some inspiration or just general arty cheering up – I head over to my reliable favorite videos. It’s not just the art journaling of these three mixed media artists that cheers me up; I love their openness and honesty of their creative process.

Pam Carriker in art journalling mode

There is also something about actually watching the process of the art journalling unfold! Seeing how the paint moves around the page – watching as the layers are built up. It really does bring art journalling to life and makes my fingers itch to get messy and get creating!

Pam Carriker and her “Hear” page

*


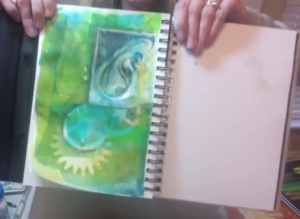
In the bluey-green art journal layout, Pam uses Gelli plate printed deli paper to build up the collage layers and her hand carved prints. Pam then adds detail  with water resistance Faber-Castell artist crayons. The colours are then added with the Derwent Inktense blocks – this video was the inspiration for me buying my own set of Intense blocks!

You can see more of Pam’s work per at her blog – Living Art at the Speed of Life

~ * ~ * ~ * ~ * ~ * ~ * ~ * ~ * ~ * ~ * ~ * ~ * ~ * ~ * ~
Traci Bautista

*


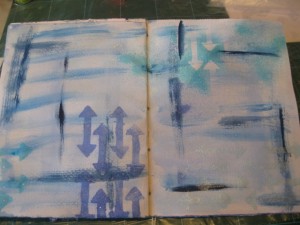
I love Traci’s use of bright colors and stencils to create the base of this vibrant art journal page. This background is then collaged over to create the foundation for quick sketching with a charcoal pencil and then highlighted with acrylic paints and various markers – all of the ingredient for a fabulous mixed media art journal page!

You can see more of Traci’s work per at her blog – Kollaj

~ * ~ * ~ * ~ * ~ * ~ * ~ * ~ * ~ * ~ * ~ * ~ * ~ * ~ * ~

Donna Downey with “Imperfection is a Form of Freedom”

*


Donna never shows fear in the face of colour – here she uses orange and turquoise to create this fun art journal layout. Again, it’s great to see the layers being built up with all of the different coloured paints, as there are spots of colors that aren’t as noticeable when looking at the finished picture, but once I’ve seen them added during the process, I notice them. donna finished this layout off with charcoal pencil lines and some stencilling.

You can see Donna’s weekly videos over here at Inspirational Wednesday

.

.

Fireworks by Imagine Crafts

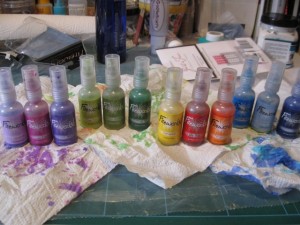
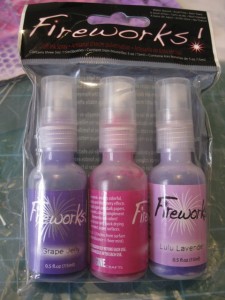
Imagine Crafts distribute craft products and the Tsukineko products across the USA and when I was approach to review some of their products, I jumped at the chance! The first products put to use are the Fireworks sparkly sprays.

sparkly spray inks

Each set of three comes in a range of colours that work well together. The purples and pinks fought my eye first; this is called the “Juicy Purples” set.

lilac posies, grape jelly and lulu lavender

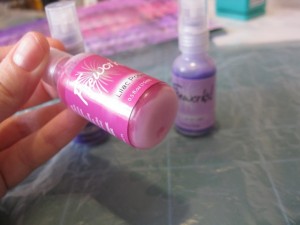
The sparkle settle in the bottom of the bottles, so they need a good shake to get them mixed properly.

Imagine crafts spray need shaking before use

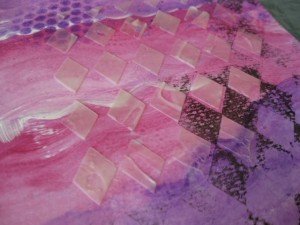
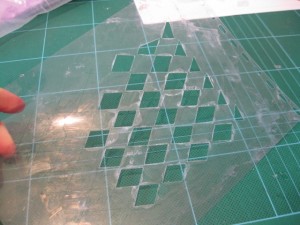
I had an art journal layout already prepared in pinks and purples (with left over paints from the Creating Layers tutorial canvases). I added some stamping in Jet Black Stazon and impasto medium through a handmade stencil.

art journal painted with acrylic paints

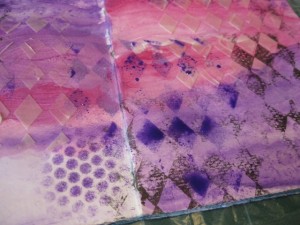
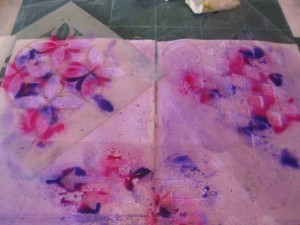
Firstly I sprayed the dark purple, then the light purple and then the pink. I lifted the stencil carefully and let the spray dry. I “mopped” the extra ink from the stencil onto a sheet of watercolour paper.

first layer with grape jelly

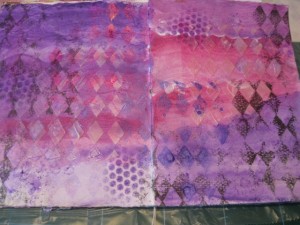
Here is the final  art journal background, with the three colours used separately.

Art journal spread

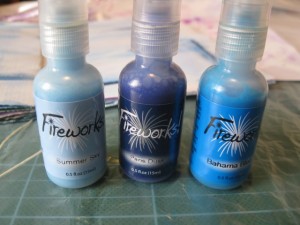
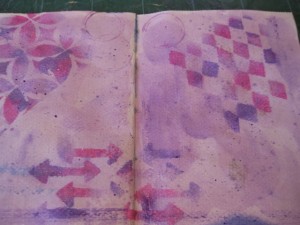
Next I got out the blues from the Ocean set and used another handmade stencil with arrows, on a prepainted art journal layout.

fireworks sprays also come in a range of blues

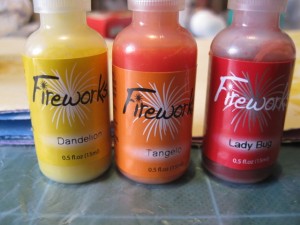
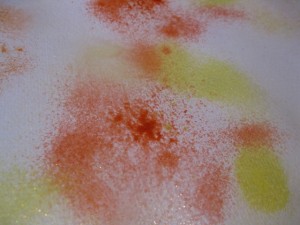
The warm colours got sprayed randomly on a sheet of water colour paper

Dandelion, Tangelo and Lady bug fireworks sprays

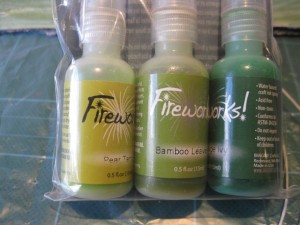
By this time I had lots of messy stencils and art journal, open and drying, and I still hadn’t tried the greens.

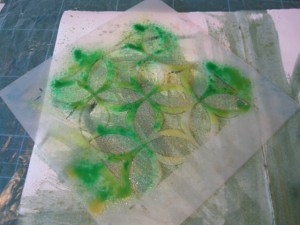
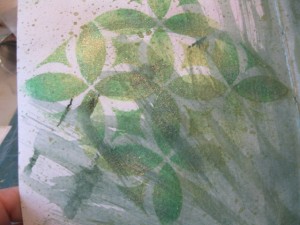
I wasn’t really happy with the spray results so far; a little glitter goes a long way in my books. So I decided to go all out and use all three colours together over a bought stencil.

And guess what!!! I really liked the results!

It brought back memories from the GPP Street Crusade days, when Michelle Ward helped us realise that one colour is boring! You think I would remember such a simple lesson like that, but I am always so cautious when it comes to mixing colours that I often forget until I “accidentally” do something like this and see the results really come to life!

So now my enthusiasm was renewed and I returned to another art journal page with the purples to see what I could create with more abandon than originally used.

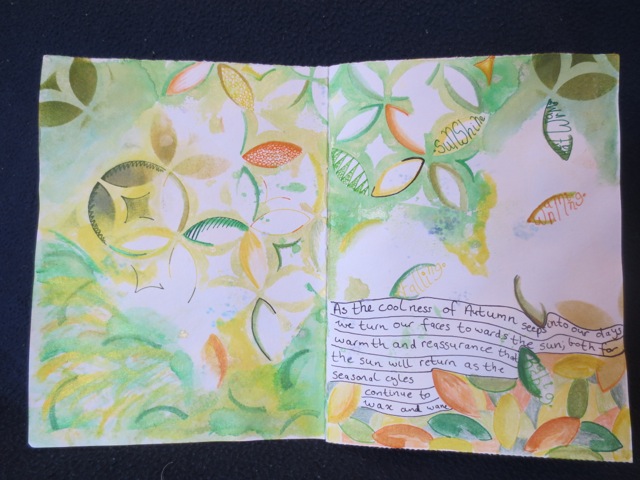
With the “mopped” water colour paper sheets, I made them into another art journal. On one page I coloured over the sprays with Twinkling H2Os and the colour didn’t run or loose it’s sparkle. I added shapes and words with markers, as well.

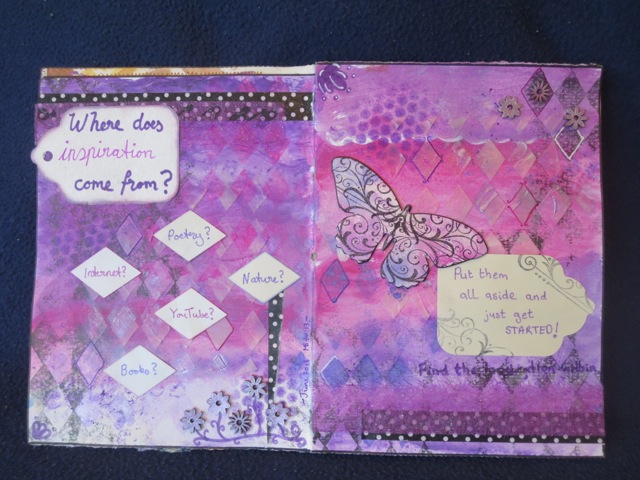
Here’s what I did with the original purples layout

mixed media art journal layout

I had a chipboard butterfly that I then sprayed with the purples, as well as some raw chipboard flowers.

What I liked about the products:

Loved the colour sets and their ease of use, especially with stencils. They dried within a few minutes and dried on impasto medium and varnish. Once they were dry, they could be written on with markers or coloured over with pencils or Twinkling H2Os.

What I didn’t like about the products:

As with most sprays, it tends to cover a big area, so make sure you mask any area you don’t want to get sparkles on. Also the packet said to “clean the nozzle” but I didn’t want to run the whole bottle under water and I could’t remove the top bit,so I hope they don’t clog!

I also sprayed samples into my Art Journal and they went through the paper, onto the page underneath, so take care with that. Some scrap paper underneath would have helped!

~ * ~ * ~ * ~ * ~ * ~ * ~ * ~ * ~ * ~ * ~ * ~ * ~

Disclosure: These products have been provided by Imagine Crafts  for the purpose of review. All opinions are that of the MixedMediaArt team. The links on this page are affiliate links and any purchases help to support the ongoing work by MixedMediaArt.