Elena Lishchenko’s Christmas Cards

~*~

This article is written by Elena Lishchenko

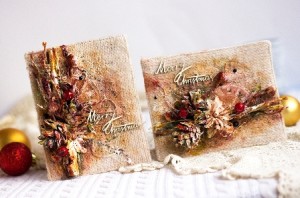
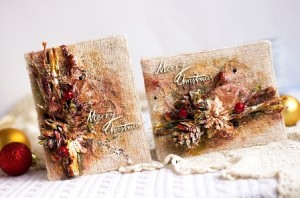
Hello everyone! Today I would like to show you my new Christmas cards.

Elena Lishchenko's Christmas Cards

Supply list of ColourArte products:

  • Primary Elements Artists Pigments:
  • PE-167 Golden Nugget
  • Single-Jar-Pigment “Emperor’s Gold”
  • PE-175 Honey Amber
  • PM-006 Pure Mica Minerals Indian Copper
  • PE-591 Lucky Apple

Silks Acrylic Glaze:

  • SLK-104 Emperor’s Gold
  • SLK-179 Jasper Red
  • SLK-120 Spicy Tomato

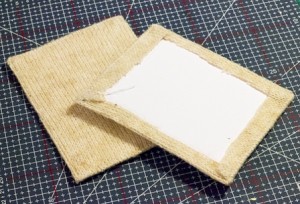
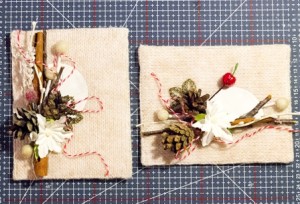
I started with two pieces of cardstock. I cut two pieces from my old sweaters and sew them.

Elena Lishchenko's Christmas Cards

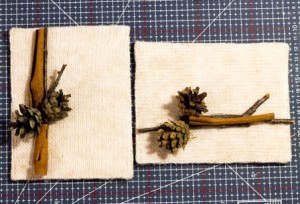
For my Christmas composition I use cinnamon and beautiful embellishments from the forest.

Elena Lishchenko's Christmas Cards

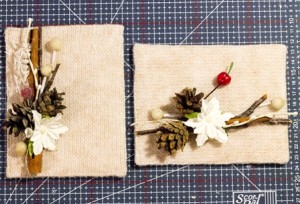
Next two steps – add traditional scrapbook embellishments from my stash.

Elena Lishchenko's Christmas Cards

Elena Lishchenko's Christmas Cards

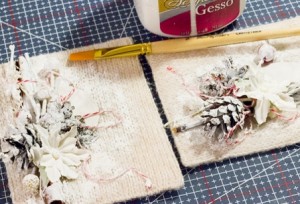
Cover them with white gesso.

Elena Lishchenko's Christmas Cards

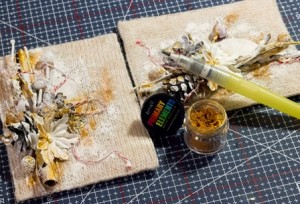
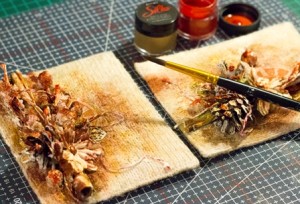
Now it’s time to playing with amazing “Primary elements”. First I lay on Pigment “Emperor’s Gold” with wet brush.

Elena Lishchenko's Christmas Cards

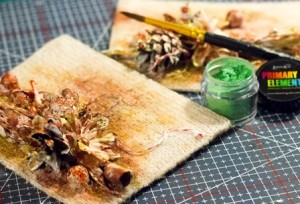
Apply  PE-167 Golden Nugget, PE-175 Honey Amber, PM-006 Pure Mica Minerals Indian Copper with dry brush.

Elena Lishchenko's Christmas Cards

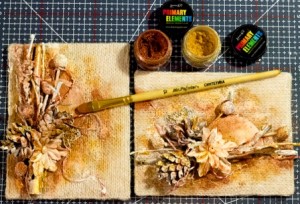
Add SLK-104 Emperor’s Gold, SLK-179 Jasper Red, SLK-120 Spicy Tomato with dry brush. I want just add some accents, so I add a little touches.

Elena Lishchenko's Christmas Cards

I can’t stop and I decide to use PE-591 Lucky Apple, because it’s one of traditional colors of Christmas.

Elena Lishchenko's Christmas Cards

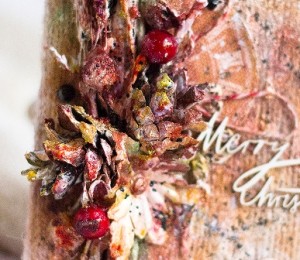
Finally I add some more Christmas decorations.

Elena Lishchenko's Christmas Cards

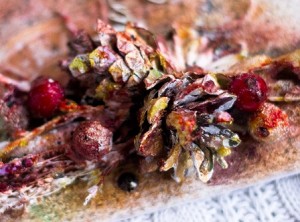
Close-ups:

Elena Lishchenko's Christmas Cards

Elena Lishchenko's Christmas Cards
.

.

DIY Business Cards

This article was written by Jean Mullins

Supplies required

Computer and printer

Laminator (optional)

Coloured Card stock A4 size. This will give you approx. 10 cards depending   on the size.

Water colour paper or thin card A4 size or larger, not printer paper as this is too thin.

Glue, acrylic paint or inks, stencils, stamps etc.

Creating back of cards

Step 1.

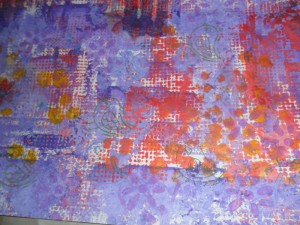
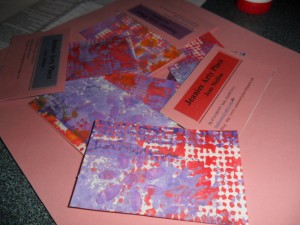
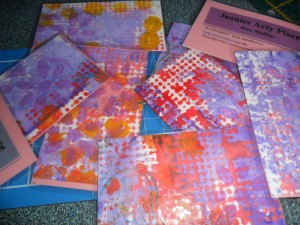
Paint, stencil, and stamp the paper or thin cardboard.  I used Jo Sonjas paints, simply because I have a lot, I love Cad red light, Norwegian orange, French blue, white, touch of yellow, and violet, I used stencils, then stamps.

I made 2 separate backing papers so some cards have the orangey back and some the violet shades.

Create unique business cards

TIP>If your painted paper is lumpy and bumpy, for example if you use texture paste, buttons or similar, it will be harder to laminate, creates wrinkles, air pockets etc.

Step 2.

While your painted paper is drying, create your business card.

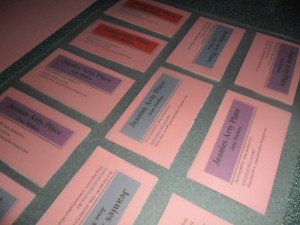
I used an Avery template, 10 cards to the page.Type the wording you want on your cards, name address, webpage, what you do etc.Save,and then print them out on the card stock, use a colour that will blend with the paper you have just painted. Cut each card out.

Step 3.

When the painted paper is dry, use a cut out card as a template on the back of the paper draw around it, this will give you the right size to cut for each card. Cut them out.

Create unique business cards

Step 4.

Now you require one of each, using a glue stick, dab a bit of glue on each card as you stick the front to the back take care to have them back to back. Trim if required.

TIP. Use just a dab of glue and press the 2 pieces together firmly.

Step 5.

The fun bit Laminating.

Get your laminator ready, turn it on to warm up.

Lay a laminating pouch on a flat surface, open it, then dab the glue stick on each card as you position it on the laminating sheet. Leave a little space between so that they each seal. (Approx. 10/11 per sheet). When the laminator is ready carefully lift and feed through.

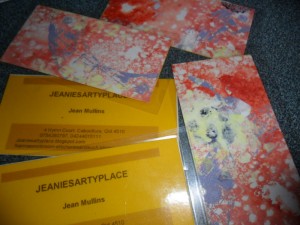
Now cut and separate each of your beautiful, unique business cards and say wow. Trim excess laminate off each card.

For those of you who don’t have access to a laminator, office supplies or similar place will laminate them for you.

Alternatively after glueing the 2 pieces together, use a brad in opposite corners or eyelet in one corner then tie with string cord etc.

~*~*~*~*~*~*~*~*~*~*~*~*~*~*~*~*~*~*~*~*~*~*~*~*~

Jean Mullins (Stevenson) lives at Caboolture Queensland with 2 little dogs.

Mother and grandmother, Jean is passionate about teaching and passing her knowledge on to everyone she can. Author, pattern designer, magazine contributor for many years, Jean loves to create and play with paint, as well as tutor at U3A.

You can see more of my work at:

www.nannasworkroom-stitcheriesandsuch.blogspot.com

www.jeaniesartyplace.blogspot.com

~*~*~*~*~*~*~*~*~*~*~*~*~*~*~*~*~*~*~*~*~*~*~*~*~

.

.