It’s that time of year again when we love to create handmade gifts. Here is a simple way to make cute little Christmas ornaments using your mixed media materials.
~ ~ ~ ~ ~ ~ ~ ~ ~ ~ ~ ~ ~ ~ ~ ~ ~ ~ ~ ~ ~ ~ ~ ~ ~ ~ ~ ~ ~ ~ ~ ~ ~ ~ ~ ~
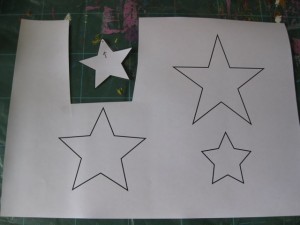
Using MS Word, draw a few start shapes in different sizes to make your template.
Print it out and cut it out.
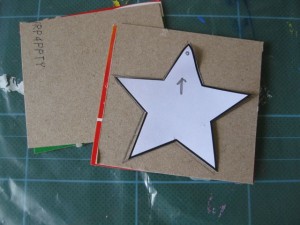
Cut two pieces of cereal box cardboard to fit your template.
Glue the two pieces together and allow to dry.
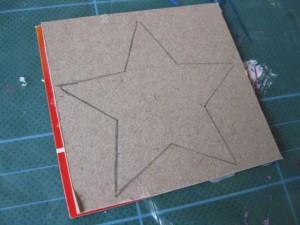
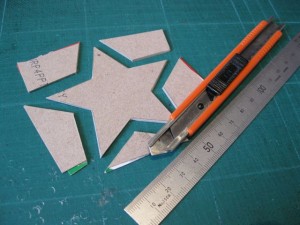
Trace out the star template.
Cut out
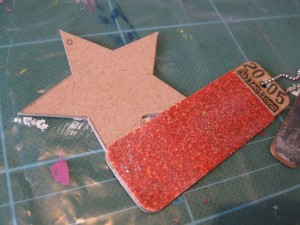
Using an emery board, remove the sharp edges of the cardboard.
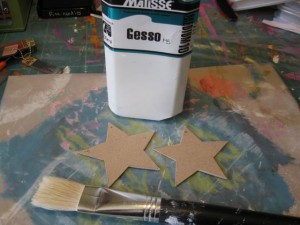
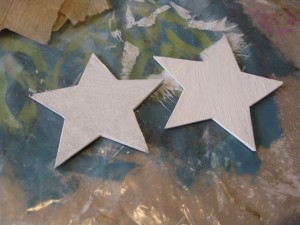
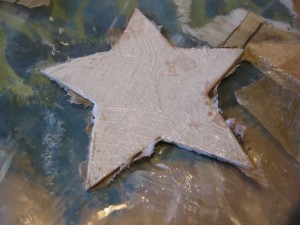
Cover with a layer of gesso, both sides
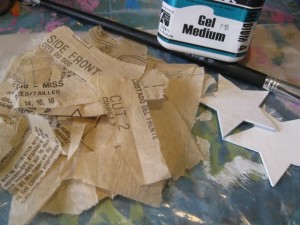
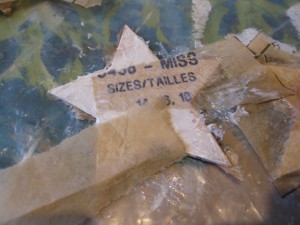
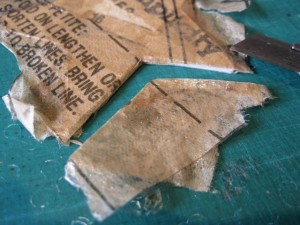
Tear up an old dress pattern and cover your crafting table with cereal box
plastic or another protective surface.
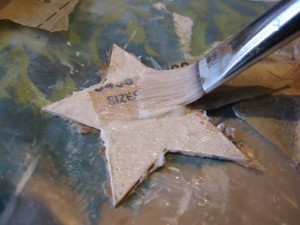
Cover cardboard star with a layer of gel medium
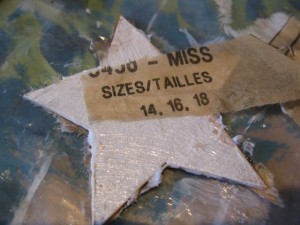
Put your first piece of tissue paper onto the start.
Run a layer of gel medium over the tissue.
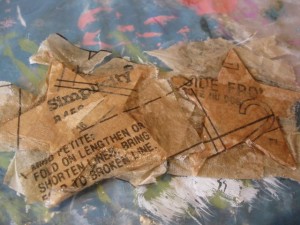
Add another piece
Continue adding pieces, covering with gel medium until your base shape is fully covered.
Overlapping pieces will give you an interesting finish. Each layer will show through.
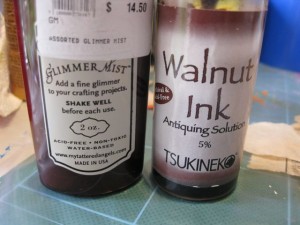
Create a blend of gel medium, walnut ink and a little glimmer mist. Add this layer on
top of the wet gel medium. This will give your ornament a lovely deep colour.
Allow to dry. Gel medium is slow drying so leave it overnight.
Repeat with the other side of the cardboard shape.
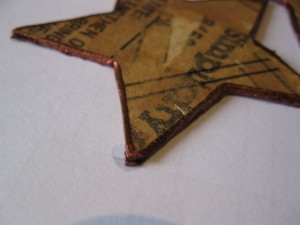
Carefully cut away the excess tissue paper, back to the cardboard shape.
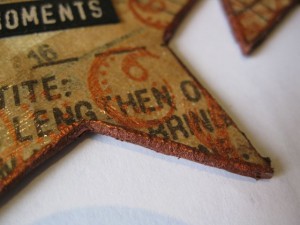
Carefully sand the edges again. Edge with metallic leafing pen.
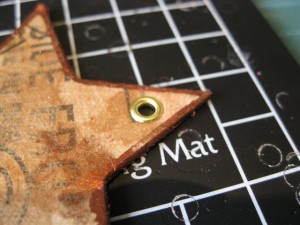
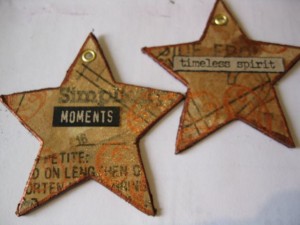
At the top of the ornament, punch a hole and add an eyelet
[see here for details on eyelet setting]
Now it’s time to add the finishing touches.
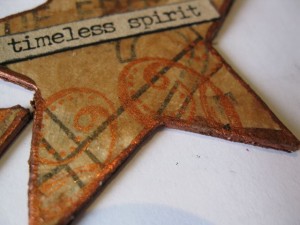
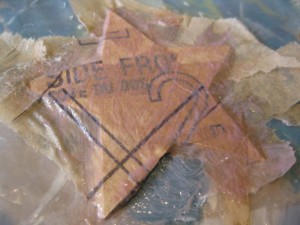
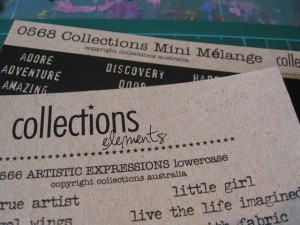
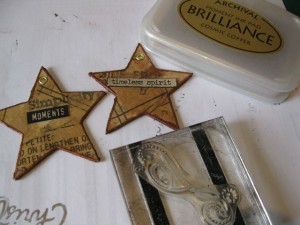
Here I’ve added Collections pre-printed words and some stamped swirls
in bronze Brilliance Ink.
Now your ornaments are ready to run some cotton or ribbon through and ready to give.
Happy Holiday creating!
~ ~ ~ ~ ~ ~ ~ ~ ~ ~ ~ ~ ~ ~ ~ ~ ~ ~ ~ ~ ~ ~ ~ ~ ~ ~ ~ ~ ~ ~ ~ ~ ~ ~ ~ ~
.
.
.


Recent Comments