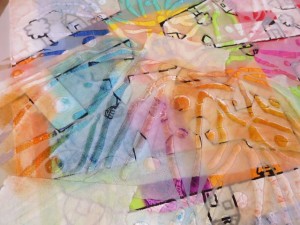
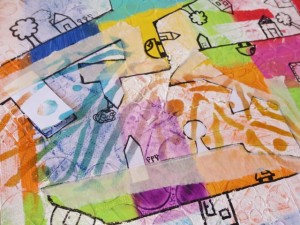
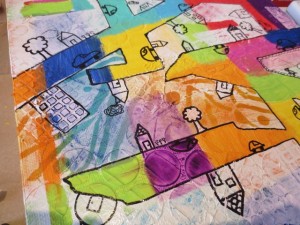
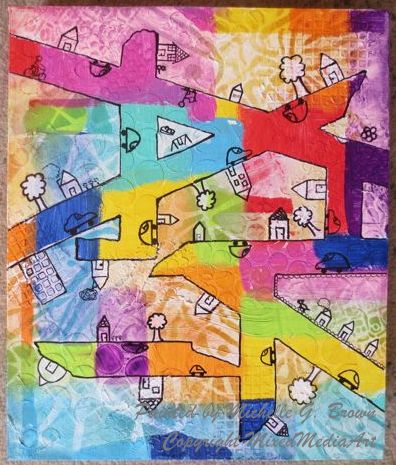
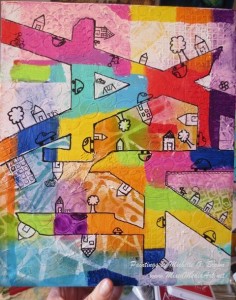
Dina Wakely Paints – Michelle Style!

~ * ~

This article is written by Michelle G. Brown

I had so much fun reviewing the Dina Wakely Paints and you can read the article here: Painting with Dina Wakely Paints

mixed media artist Michelle G. Brown

Now here is the detailed tutorial for painting with these paints, Michelle style.

Painting Michelle Style

Materials and tools

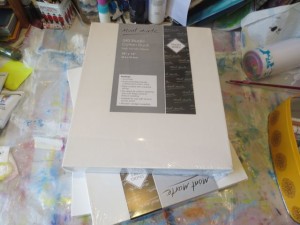
10” x 12” canvas

Dina Wakely Paints

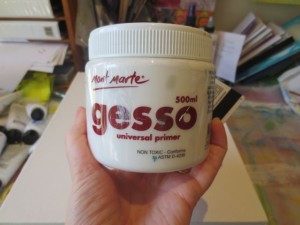
Gesso

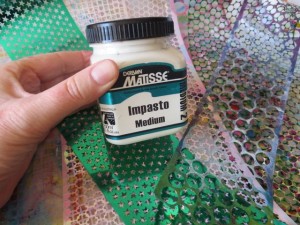
Impasto Medium

Sequence Scrap

Masking tape

Stencil Girl Stencils

Scrap paper

Removable Adhesive

Black Markers i.e. Golden Black pen Montana Marker with Golden Fluid Acrylic

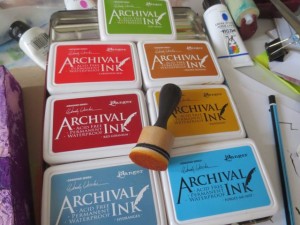
Archival Inks – Wendy Vechi Range

Mini ink blending tool

Mixed Media Painting Process

1. Gather up your blank canvas or art journal

mixed media paints by Ranger

2. Prime with Gesso and leave to dry

mixed media paints by Ranger

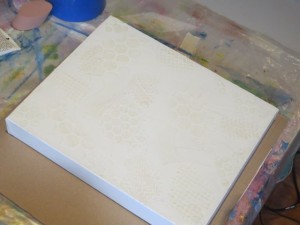
3. Add texture with Impasto medium and Sequence Scrap

mixed media paints by Ranger

4. Leave overnight to dry

mixed media paints by Ranger

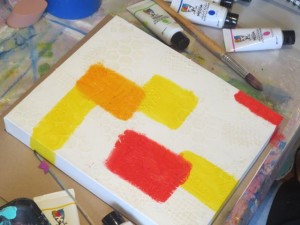
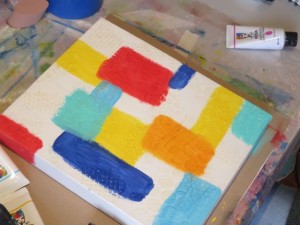
5. Add colour with the acrylic paints. I took a fancy to painting squares and rectangles

mixed media paints by Ranger

mixed media paints by Ranger

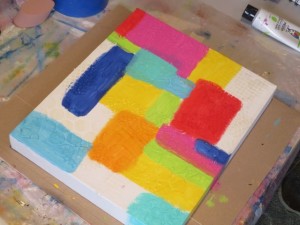
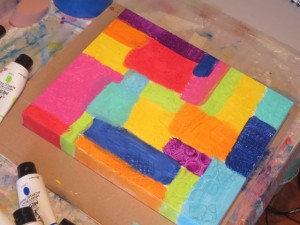
Continue to build up colours

mixed media paints by Ranger

mixed media paints by Ranger

Leave to fully dry

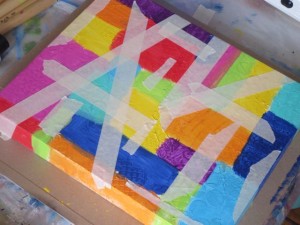
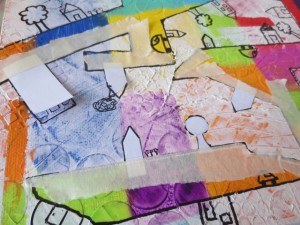
6. Use the Masking tape to add masked lines to the painted canvas. Here I added angles and torn ends and edges to add interest

mixed media paints by Ranger

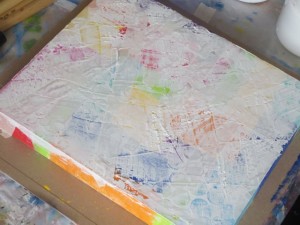
7. Add a layer of Gesso,applied with an old credit card

mixed media paints by Ranger

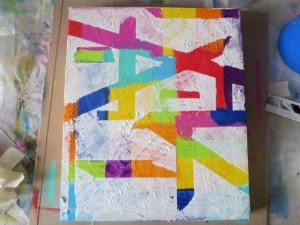
8. While gesso is still wet, carefully remove the masking tape. Take care with this step; it can get a bit messy!

mixed media paints by Ranger

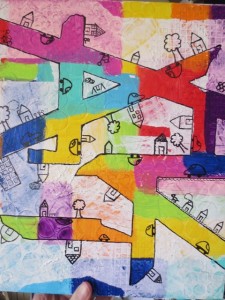
9. Using your range of black markers, outline “roads” and add other features.

mixed media paints by Ranger

Take care with your “good” markers; the gesso seems to ruin some of them! My favourite (xxx0 was the best but I also needed a thinner line.

Also, if you want to do lots of doodling, I’d suggest (next time) to use less impasto medium! While I loved the effect, I was annoyed with the bumpy surface while trying to draw straight lines!

10. Now to fill in the areas between the roads. Each sea was masked sperately, using masking tape and scrap paper with removable adhesive to help hold them in place.

(Again, next time, I may use bigger or less doodles; there was LOTS of masking here!!)

mixed media paints by Ranger

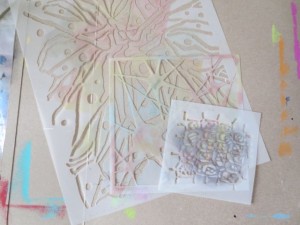
11. Gather your stencils – here I used the August Stencil Club stencils

mixed media paints by Ranger

12. Then I stencilled with the Archival inks, using two shades to add more depth. I tried to use similar colours to those of the painted background, underneath the gesso.

mixed media paints by Ranger

13. Put the stencil in place and add a little masking tape to hold it.

mixed media paints by Ranger

14. Add ink

mixed media paints by Ranger

15. Remove Stencil

mixed media paints by Ranger

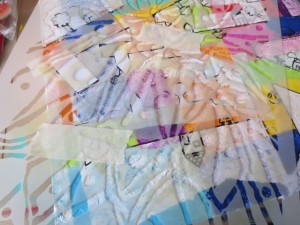
16. Remove the masks and admire your work.

mixed media paints by Ranger

17. Repeat steps 10 to 16 for each area you have. For this size of canvas, I found three different stencil designs was a good number to ensure consistency of pattern but not having too much repetition or the same pattern “touching”.

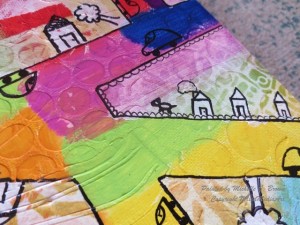
18. Add a few finishing touches and admire your work. I feel this one still needs some words, but the right ones haven’t come to me yet!

mixed media artist Michelle G. Brown

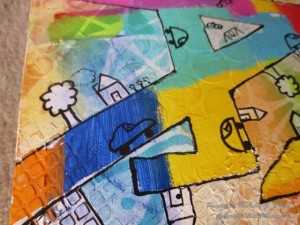
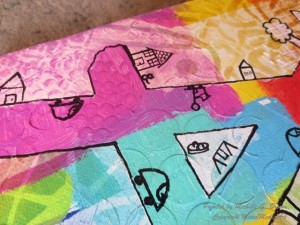
And a few close ups

mixed media artist Michelle G. Brown

mixed media artist Michelle G. Brown

I hope you have enjoyed following along as much as I enjoyed created this piece!

You are welcome to leave a comment below, especially if you’ve made it to the end!!

Happy creating!

~*~*~*~*~*~*~*~*~*~*~*~*~*~*~*~*~*~*~*~*~*~*~*~*~

Michelle G. Brown is passionate about mixed media art and enjoys sharing her knowledge and techniques with you to allow you to express your own creativity. Michelle understands that many of us have an inner need to create. By learning a few basic techniques the amazing world of mixed media art is accessible to everyone!

Michelle lives with her husband and two boys in Melbourne, Australia.

~*~*~*~*~*~*~*~*~*~*~*~*~*~*~*~*~*~*~*~*~*~*~*~*~

Disclosure: These paints were bought with our own money.  All opinions are that of the MixedMediaArt team. Some links on this page may be affiliate links and any purchases help to support the ongoing work by MixedMediaArt.
.

.
Painting with Dina Wakely Paints

~ * ~

This article is written by Michelle G. Brown 

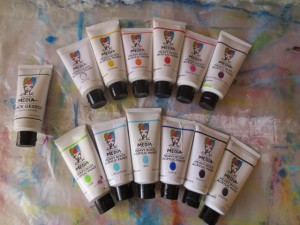
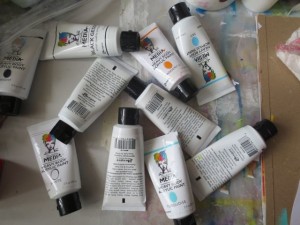
I was SO excited to get my hands on a full set of Ranger’s Dina Wakely paints – all 12 of them, plus her black gesso. I just love seeing all of the colours together! Pretty as a rainbow.

Set of 12 Dina Wakely Paints

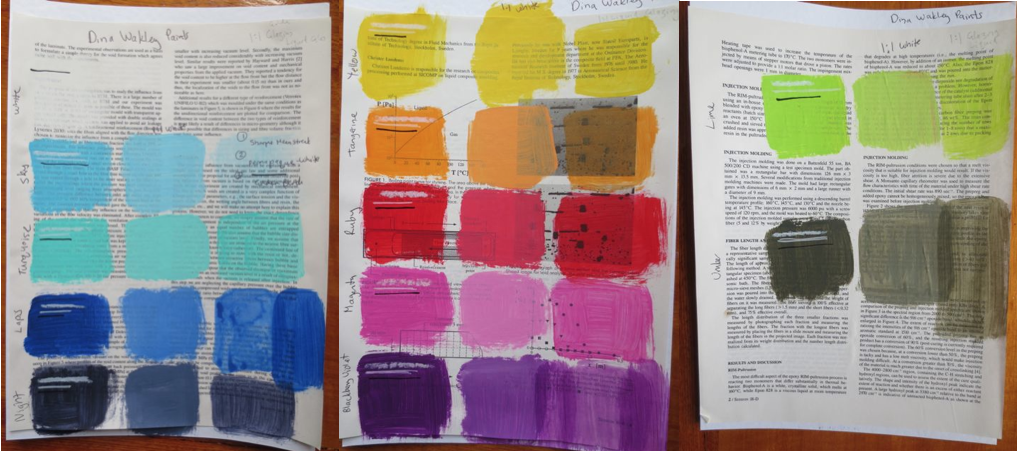
I made sample swatches to see the colour and how opaque the paints are. Then I mixed each colour with the white from the range (about 1:1 ratio) and also with an acrylic glazing medium (also about 1:1 ratio) and added those to the swatch pages.

Set of 12 Dina Wakely Paints on ephemera

The names of the colours are:

Page One: White, Sky, Turquoise, Lapis and Night

Page Two: Yellow, Tangerine, Ruby, Magenta, Blackberry Violet

Page Three: Lime and Umber

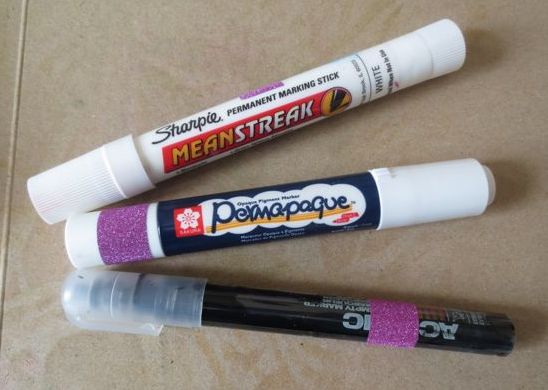
As I knew I would most likely be drawing and writing over the paints (it IS “mixed media”, after all!) I tested three markers on the swatches:

The Sharpie Meanstreak,

– the Sakura Permapaque White and

– my “Julie Prichard” Golden Black pen {Montana Marker with Golden Fluid Acrylic}

Mixed media markers

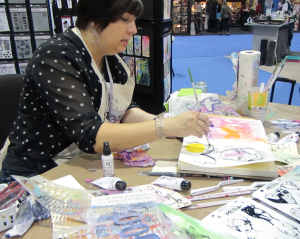
Most colours are fairly opaque and thick and luscious. When I was watching Dina playing with these paints at CHA 2014, she described them as “creamy” and I would have to agree.

Mixed media artist Dina Wakely

Dina talked about choosing her favourite colours; some bright and some serious. And about the importance for having her paints in tubes to make them easier to apply and close the lids with one hand, as Dina lives in Arizona, where it gets HOT and paints dry out!!

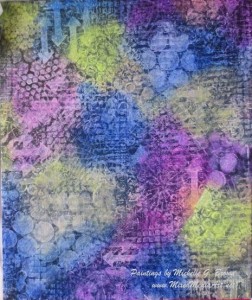
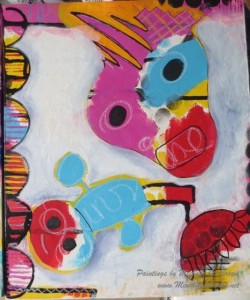
In the wake of my inspiring week at Art Is You Melbourne, I wanted to continue to play my new Dina Wakely paints in the styles of the two artists I had taken classes with; two artist with two very styles styles.  And then I wanted to have a play in my own style. Here are the three canvases to show you the diversity of these paints.

Seth Apter Style

Set of 12 Dina Wakely Paints on ephemera

If you would like to learn more about Seth Apter’s painting, you can find him at The Altered Page.

Kecia Deveney Style

Kecia Deveney mixed media artist

To learn more about Kecia, you’ll find her at Lemoncholoy’s Flight of Fancy.

Michelle’s Style

Mixed media artist Michelle G Brown

My full tutorial for this piece will be available soon!

What I like about the Dina Wakely paints:

– love the range of colours

– love their thickness and “open time” (longer drying time to allow blending)

What I don’t like about the Dina Wakely paints:

– my only gripe is not about the paints but the packaging: when these paints lie on the table, the back side of the label don’t show what colour it is. I found it frustrating to have to pick up a few tubes before I found the colour I was looking for. I’m sure this could be fixed by continuing the band of colour on the front of the label onto the back, making it easier to see which colour is which when they are all spread out.

Set of 12 Dina Wakely Paints

– also I’d like a few more colour, especially a medium shade of green; the LIME is divine but I need a darker green too! And maybe a “nice” brown and beige!

Overall conclusion:

*LOVE* these paints and will continue to play with them, and most likely buy some more. I hope there will be more colours out too. They are a great quality paint for a reasonable price – I have bought [italic] them AND used [italic] them, so that’s a great endorsement from me! (Who will often buy expensive materials and then not use them for fear of “wasting” or “ruining” them!)

Happy creating,

Michelle

~*~*~*~*~*~*~*~*~*~*~*~*~*~*~*~*~*~*~*~*~*~*~*~*~

Michelle G. Brown is passionate about mixed media art and enjoys sharing her knowledge and techniques with you to allow you to express your own creativity. Michelle understands that many of us have an inner need to create. By learning a few basic techniques the amazing world of mixed media art is accessible to everyone!

Michelle lives with her husband and two boys in Melbourne, Australia.

~*~*~*~*~*~*~*~*~*~*~*~*~*~*~*~*~*~*~*~*~*~*~*~*~

.

.
Painted Background on Canvas

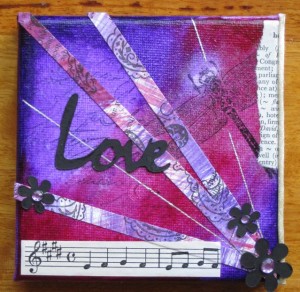
Here is a step by step guide to creating the background used on this Mixed Media Collage on a 4″ x 4″ mini canvas.
IMG_0408

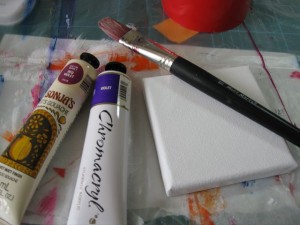
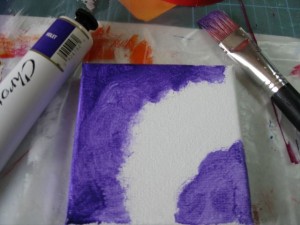
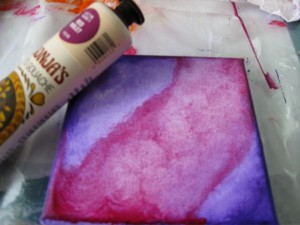
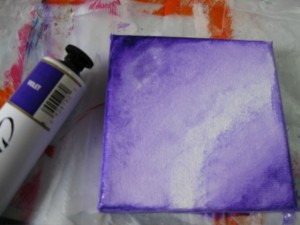
The mini canvas was bought from an arts supply store for less than $1. The two paints chosen are a purple and a bright maroon (Chromacryl Students Acrylic – Violet and Jo Sonjas Artist Gouache – Red Violet).

IMG_0347

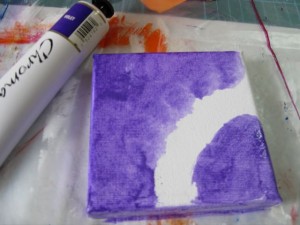
The purple paint was used first, starting from the top left hand corner and the bottom right corner, slowly working with a barely damp brush and moving the paint inwards.

IMG_0348IMG_0349IMG_0351

To further fade the paint, a slight amount of water was added to the brush and the paint was watered down along the middle. Then with some paper towel, a small amount of paint was blotted off. Repeating this process improved the fading of the paint. When you are happy with the effect, allow that layer of paint to dry (a heat gun helps to speed the process along).

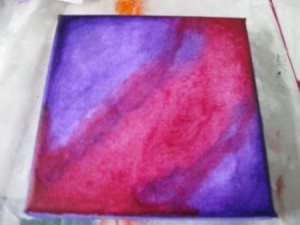
The maroon paint was then added in a similar way – apply the paint along the middle, the add a wetter brush to thin it out and blend it back into the purple paint. Blot with paper towel. Allow to dry.

IMG_0359IMG_0362

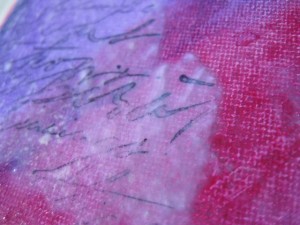
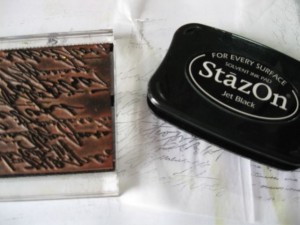
Now we are ready to add some visual texture to the canvas. As this surface is tricky to stamp onto directly, the stamping is done onto tissue paper, then added to the canvas. Stamping needs to be done with an ink that won’t run when wet. Staz-On is a great ink to use in this application (Tsukineko StazOn Solvent Inkpad, Jet Black) Pigment inks are water based and will not work for this technique.

IMG_0361

Take the stamped tissue paper and tear out the piece you want to add. Tearing the edges gives a feathered edge that blends into the background better than straight, cut edges. A vanish was used to adhere the tissue paper to the canvas. Gel medium or a runny glue will also work. Carefully apply the glue or vanish onto the back of the tissue paper and give it a few moments to soak in. Also apply a layer of glue onto the canvas. Very carefully lay the wet tissue paper onto the canvas. Smooth out the tissue paper with your finger nail, to remove any bubbles or excessive glue. Be very careful here or the tissue paper will tear. This does add an interesting effect and won’t completely ruin your canvas,but it is very annoying. Set aside to fully dry. Allow to air dry and resist the temptation to use your heat gun.

IMG_0368

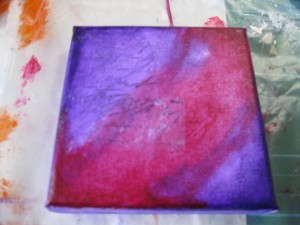
Now your canvas is ready to decorate.

IMG_0369

Happy creating!

.