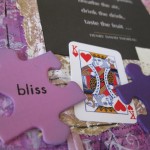
 This cute little canvas was made using pieces from Mixed Media Art Ephemera kits, available from our Esty store.
Materials needed, that are not included in the ephemera kits, include 5″ x 7″ canvas panel, paints, an old credit card, a paint brush, PVA glue and a few other embellishments.
.
.
Here are the detailed instructions on how it was put together:
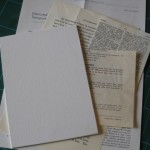
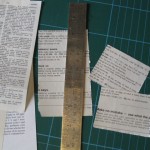
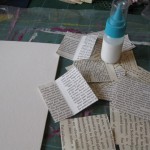
1. Take four of the text pages from the kit and use a ruler to tear into squares, approximately 2″ in size.
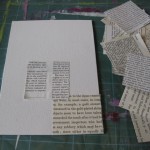
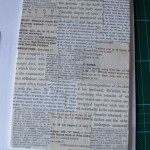
Glue these randomly over the canvas board. Make sure they overlap. I used PVA glue as I wanted to make sure it was properly stuck to the board. Smooth out any wrinkles. Leave overnight to dry.
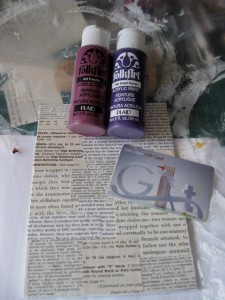
2. Gather violet, fuchsia and white paints and an old credit card.
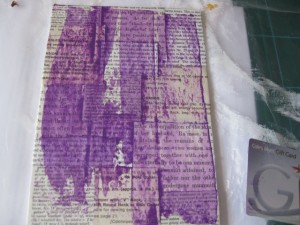
Apply a little onto on old credit card (or store card) and spread paint down canvas.
Here I used violet
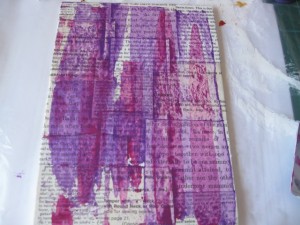
Then fuchsia
Then white
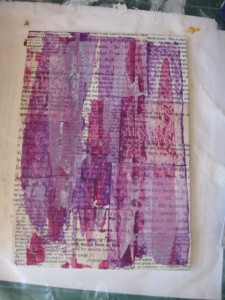
Then mixed white and fuchsia (about 1:1) to get a lighter pink and added it to some areas of canvas
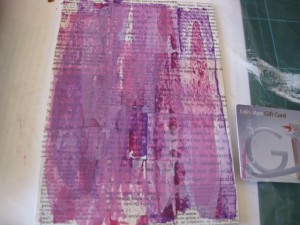
Finally, I added more violet to take away some of the pink. I created very thin wash to add a violet tinge to blank areas of canvas and around edges.
By using a little paint at a time, it dries quickly, making it easier to add the next colour without muddying the outcome. Also by adding a little at a time it is much easier to add more than to try and take it off (speaking from experience here – I am like a bull at the gate most of the time)
3. With the two jigsaw pieces from kit; paint one in violet and one in light pink mix
4. Add white paint to the violet on the pallet and stamp flower image down left-hand third of canvas. Use a paint brush to add paint to stamp and apply lightly. You may need to stamp onto scrap paper first to get a feel for how much paint you need to apply.
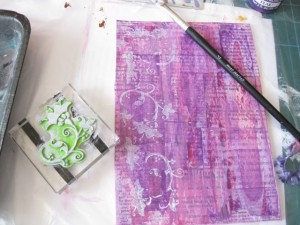
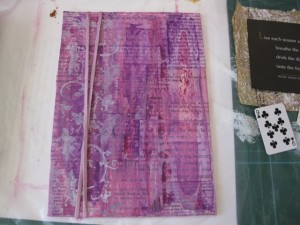
5. Add purple chord, cutting into two and taping to the back of the canvas – I would usually have left this step until after I had finished the background, but I decided it needed a little more finishing after sticking it on.
6. To increase depth and add some darker features, stamp music and text with Staz-on jet black
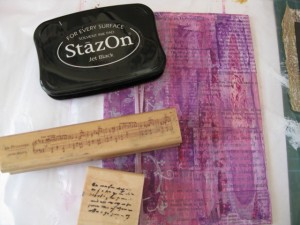
7. Using the edge of the credit card, add random lines to corners with black paint – add a little at a time
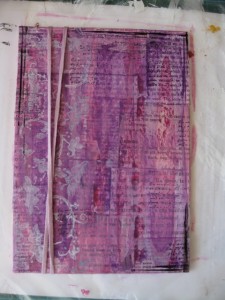
Now the background is complete.
8. Tear rectangle of tissue, crumble and add white paint with a dry brush. Add to canvas with double sided tape. Take quote, trim to size and edge white edges with black ink. Stick on top of tissue.
9. Add embellishments with PVA glue. Pink jigsaw piece was edged with purple ink and a rub-on was added.
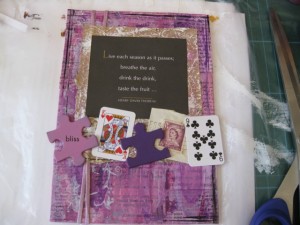
10. Add other fibres
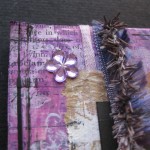
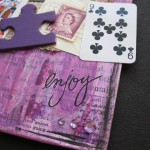
11. Finish with final touches – this needed some sparkly bits, so I added the rhinestones to the bottom right corner and the small flower to the top left hand side, plus added “enjoy” rub on.
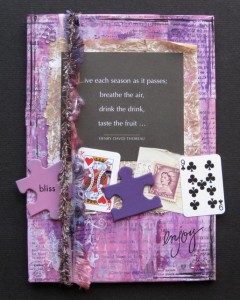
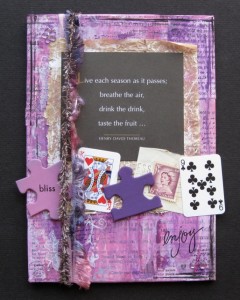
And the final piece.
Thanks for getting to the bottom of this post – sometimes I feel like I have added in too much detail and too many photos, but I want to make sure you understand each step – I hate it when I can’t figure out some parts of the instructions when bits are missing!
Now that you have the inspiration, you have no excuses for not buying your very own MMA Ephemera kit!
Happy creating! We would love to see your own creations too!
.
.
.


Recent Comments