This article is written by Roger Adell
Here are my first attempts and the basic process. Actually I was pretty pleased with both the process and outcome. I followed the website instructions-
-blew up a balloon, cut strips of paper, mixed the paper mache paste I purchased from Dick Blick (Elmers Glue Paste), and put a layer of paste paper on the balloon. I placed 4 layers on the balloon letting each layer dry separately.
– I cut the balloon in 1/2 using a straight razor and now had 2 faces on which to work.
– cut holes for the eyes and mouth – build a nose out of aluminum foil ( I use that a lot) – paper mached the nose and stuck it on the face with my glue gun (Hobby Lobby).
– I then added more paper mache building up the face to show character.
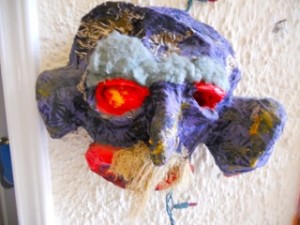
– I then added all sorts of things- twigs for eye brows, larger lips, big ears out of aluminum foil and paper mache, earrings, a rolled up cigarette in his mouth, a beard from drier lint.
– I then painted it with acrylic paint–done.
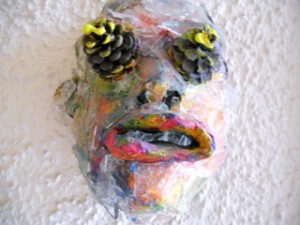
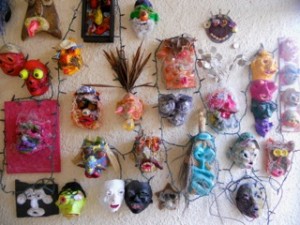
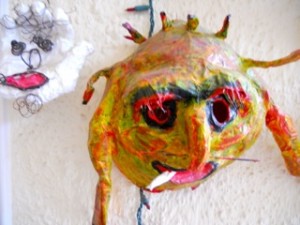 Since my first mask I have made at least 100 more- all using found objects once I have the basic form from paper mache. I incorporate masks of all sizes on boards with other found objects and paintings and collages.
Materials-
– anything and everything I can find including-
– broken glass, bottles, shells from nuts, coins, fabric, used fabric softener sheets from the drier, plant leaves, party favors from tables, nails, screws, nuts and bolts, wire, hats, keys, yarn, found pieces of animal skulls, egg shells wrapped in paper mache used as eye balls, palm fonds, candle wax, drift wood from beaches, shells, tequila bottle stoppers, crepe paper, grapefruit and orange pits, stuffing from old pillows used for beards and hair, milk cartons as forms for heads, packing material, flattened soda cans for noses, found metal pieces from junk yards, spoons, knives and forks used for noses and ears.
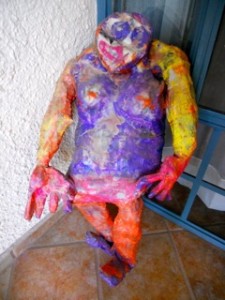
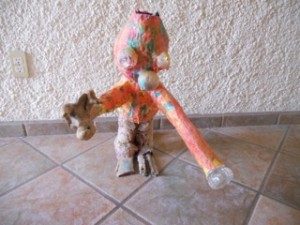
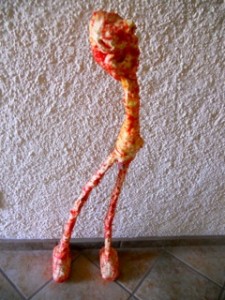
Where the journey has taken me since-
– Once I got comfortable experimenting with paper mache I started to make life size figures which started looking like ET invaded my studio- I covered up all sorts of life-size materials such as discarded pinyatas, used paper towel rolls, large wadded up rolls of newspapers and Walmart bags, etc.
– Once I have the figure made I go back to my roots and cover it in paper mache and found objects and a new process I am enjoying- melted candle wax from old candles just lying around. I have also been known to “borrow” old candles from friend’s houses when I notice the wick gone. I save every broken glass from every dinner party my wife and I give or attend. Mas Tequila sometimes does that. I have also applied melted candle wax (with old brushes) to boards mounted with painted masks and the effect is wonderful.
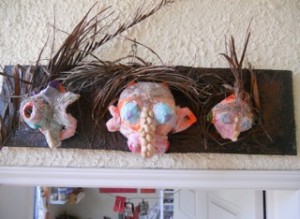
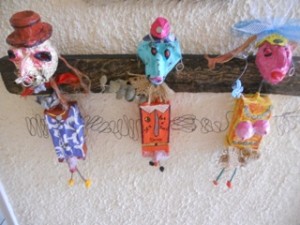
– I have started making large mixed media pieces on wooden boards I get from the Carpenteria across the street- Much cheaper than canvass and just as effective- the boards also handle candle wax very well. I use an inexpensive electric hot plate to melt the candles (outside in ventilation is best). Candle wax for my purposes is fine and much less expensive than an encaustic process, which I still wish to learn.
~*~*~*~*~*~*~*~*~*~*~*~*~*~*~*~*~*~*~*~*~*~*~*~*~
Roger Adell has been a B and W film photographer for 40 years (until now) and wanted to try some other types of expression. Roger loves faces and one day he checked out a book on mask making at the Santa Fe public library (He is residing in Mexico for the past 2 years). When he saw some of the mask creations he thought it would be fun to make some of his own. Not knowing what to do. He “googled” mask making and a lot appeared including how to make paper mache masks with directions and materials. That day, 4 years ago, he started creating masks.
~*~*~*~*~*~*~*~*~*~*~*~*~*~*~*~*~*~*~*~*~*~*~*~*~
.
.


Recent Comments