Mini ArtBooks: Matchbook-styled!

This article was written by Martice Smith II 

Create Mini ArtBooks: Matchbook-Styled!

No-sew, mini artbooks…matchbook-styled!

Martice Smith II shows us a fun twist on the classic matchbook style design. Follow along as we create beautiful, miniature artbooks with a variety of decorative cardstock, sketchbook papers and a stapler. At least half a dozen in less than 30 minutes!

Gather supplies


Gather supplies and tools for Mini ArtBooks project

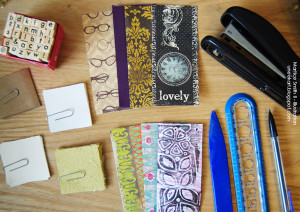
  • cardstock or decorative papers (for this project, I’m using paper from The Paper Studio®, Prima Marketing, Inc., and Crate Paper, Inc.)
  • blank sketchbook paper
  • ruler
  • pencil
  • bone folder
  • stapler
  • scissors (optional)
  • variety of stamps (optional) (I’m using the alphabet stamp set from Studio G and my own, handmade stamp)

Cut the cardstock and sketchbook papers, to size

Measurement for artbook cover (cardstock): 4.5 inches long by 2 inches wide

Measurement for blank sketchbook paper: 2 inches by 2 inches

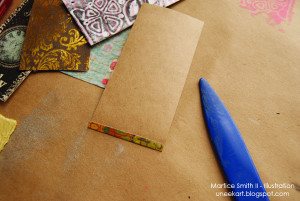
Fold up one edge


Fold up one edge of cardstock paper. Crease fold.

Decorative side facing down, fold up one of the edges about 1/2-inch.

Crease with bone folder.

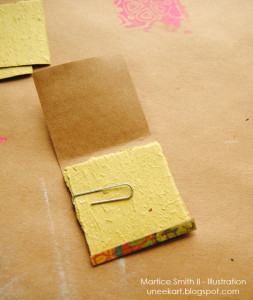
Add paper


Add sketchbook paper. Use paper clip to hold paper in place.

Gather the pieces of blank sketchbook paper and tuck them inside the fold. (Tip: to keep the papers nestled together, use a paper clip.)

I used a variety of paper types. For example, some of my mini artbooks contain handmade paper, charcoal and regular sketchbook papers. I was able to fit 6-7 sheets of paper in each matchbook-style mini artbook.

Lightweight paper works best for this project. If you decide to use heavier paper, you will need to add less paper; maybe 3-4 sheets instead of 7.

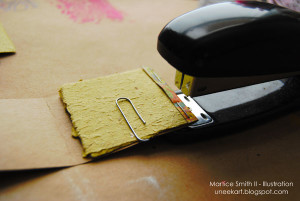
Staple the fold


Staple the folded edge

Staple the fold 1/4-inch up from the folded edge.

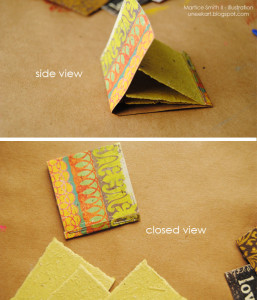
Fold the center


Fold opposite end of cardstock cover to finish the mini artbook.

Take the other end of the cover over the blank sketchbook paper and line it up with the bottom edge of the fold. Crease with bone folder.

Tuck this same edge under the 1/2-inch piece of stapled cardstock to form the matchbook-styled artbook.

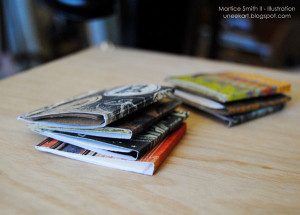
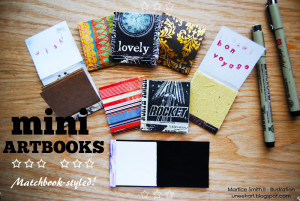
Since these are so easy and quick to make, why not make a dozen of ’em?! They look really nice in a big pile, ready to share with friends! Give them away as small gifts or make some out of collage papers and add them to your art journal when you’re on the go.

Stack of Mini ArtBooks with variety of cardstock covers

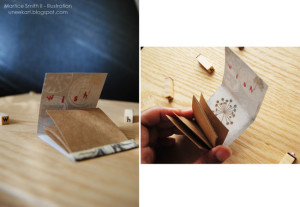
*Optional: use alphabet stamps to add a personal sentiment, rub-on stickers for contrast and distress inks to create a worn-out look. The possibilities for these mini artbooks are endless! Use your imagination to make them uniquely yours. Have fun!

Add embellishments to your Mini ArtBook for a more unique look

~*~*~*~*~*~*~*~*~*~*~*~*~*~*~*~*~*~*~*~*~*~*~*~*~

Author bio:
Mixed media artist and designer, Martice Smith IIMartice Smith II is creative director of Martice Smith II – Illustration & Design Studio, based in Kansas City, Missouri and owner of Uneek Art Boutique. She established herself as a freelance Illustrator and graphic designer after receiving her Bachelor of Arts Degree. Her stunning illustrations reveals her love for fashion, typography and wildlife- using a combination of analog and digital techniques.

Martice also contributes as an article writer for the Creating Mixed Media Art website.

You can see more of her work via her Facebook page or her blog. She invites you to join her monthly newsletter, Uneek Art Letter, for art biz tips, advice and free digital goodies!

~*~*~*~*~*~*~*~*~*~*~*~*~*~*~*~*~*~*~*~*~*~*~*~*~

.

.
Designer Block Puzzle

~ * ~

This article was written by Martice Smith II

Remember those little A-B-C blocks you may have played with as a child? This tutorial is a spin on that very concept, although, this one is the “grown-up” version! (Well, if you have a baby Einstein on your hands, that’s a different story…) Each side of the wooden block will have a different design. I will demonstrate how to use various techniques from stamping, cut-outs, stenciling and masking to create a beautiful designer block puzzle. Let’s get started!

Create a Designer Block Puzzle

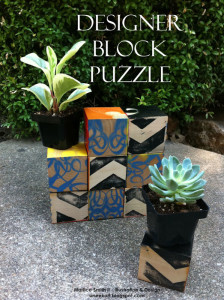
Need to add a bit of visual interest in a corner of your living room, craft space or maybe even a coffee table, this designer block puzzle packs some major punch of creativity! It may look challenging- given that there are 10,077,696 different combinations – but don’t let it fool you. This puzzle is very easy to create yourself.

Gather supplies

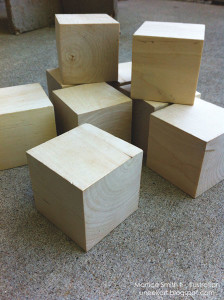
Gather supplies; wooden blocks

Any size blocks will work. For this tutorial, I used nine 7.5 inch wooden blocks.

Gather supplies; stencils and stamps

Stencils, stamps

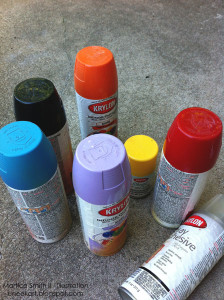
Spray paints (various colors) and a face mask

Masking tape

Prepare the wooden blocks

I love the natural look and feel of the wood, so I let them remain that way.

(Other options to consider: use a clear gesso or wood stain on all six sides of the wooden blocks. This will need to be done in stages to ensure that each side is dry before doing the next side.)

Set up the blocks

Set up the blocks and mask off sides

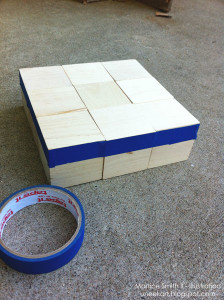
Working on an even surface, set up the blocks three wide by three long.

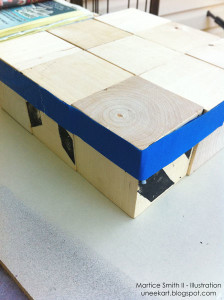
Use low-tack masking tape around the sides to secure them together, leaving six surfaces facing up together to make a 7.5 inch diameter square surface. (The tape prevents any over-spray from the spray paint.)

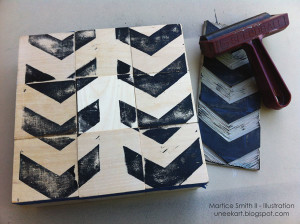
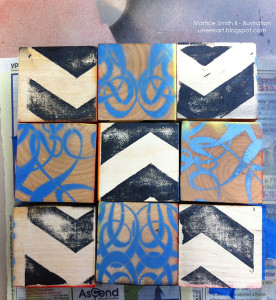
Use a stamp to design SIDE 1 

Use a stamp to design SIDE 1

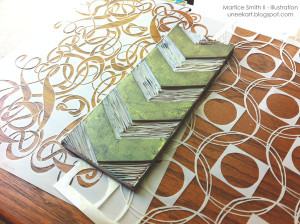
SIDE 1 is designed with my popular chevron stamp (tutorial on how to make your own)

* Let dry and turn each wooden cube to a random side, so that there are 6 blank surfaces on top again. (I will call this step: “Reset the blocks“)

* Re-tape the sides to prevent any over-spray.

Let dry and turn each wooden block to a random side. (Reset the blocks)

Spray paint the cardboard cut-outs and stencils for the remaining sides

Spray paint the cardboard cut-outs and stencils for the remaining sides

Wearing a face mask and working in a well-ventilated area, spray the first color of spray paint over the cut-outs using a steady, consistent motion.

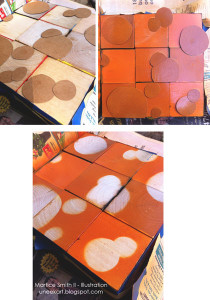
Design SIDE 2 with lightweight cardboard

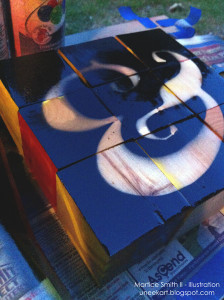
Here’s how cardboard stencils and masks can be used as well. I’ve used circular, hand-cut shapes as masks and my custom made ampersand cardboard as a stencil. (Side note: The ampersand is on SIDE 6).

SIDE 2 shows how I arranged my circular, hand-cut shapes in an interesting pattern. Kind of looks like bokeh from photographs!

Design SIDE 2 with lightweight cardboard using circular, hand-cut shapes

* Apply spray paint. (Note: Spray paint can remain tacky for up to 30 minutes depending on the humidity.)

* Remove the shapes.

* Once the spray paint is completely dry, reset the blocks

Design SIDES 3 and 4 with commercial stencils

A couple of my favorite commercial stencils from StencilGirl!

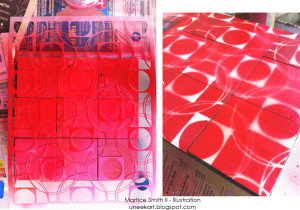
SIDE 3 is designed with Square Dance.

Design SIDE 3 with commercial stencil; Square Dancing by StencilGirl

* Spray the stencil; let dry

* Reset the blocks

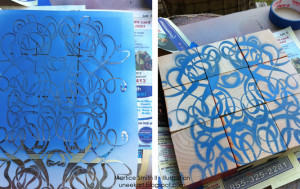
For SIDE 4, I used the Art Nouveau stencil.

Design SIDE 4 with commercial stencil; Art Nouveau by StencilGirl

Design SIDE 5 and 6 with handmade stencils

Add more of your own flair to this project! Here are two handmade stencils that I cut out by hand. This one has a tribal and primitive feel, displaying the triangle and rectangular patterns.

Design SIDE 5 with handmade stencil for personalized touch.

Reset the blocks

Finally, for SIDE 6, I took a more bold and graphic approach by using the “and” symbol (technically called, the ampersand. Look how much style this has!)

Design SIDE 6 with lightweight cardboard using the "and" symbol.

Now that all sides have been designed, you can create different looks for your visual pleasure! This will keep your imagination fresh and give you a good challenge to recreate your own, unique combinations.

I will use my designer block puzzle as props and a cool backdrop for my product photo shoots!

01Aug_MFS_DesignerBlockPuzzle-Pic12

Try utilizing this puzzle in unexpected ways. Add visual interest in a corner of your living room, craft space or maybe even place them on a coffee table. It’s your choice!

How will you use your Designer Block Puzzle?

~*~*~*~*~*~*~*~*~*~*~*~*~*~*~*~*~*~*~*~*~*~*~*~*~

Author bio:

Mixed-media illustrator and designer Martice Smith II

Martice Smith II is creative director of Martice Smith II – Illustration & Design Studio, based in Kansas City, Missouri and owner of Uneek Art Boutique. She established herself as a freelance Illustrator and graphic designer after receiving her Bachelor of Arts Degree. Her stunning illustrations reveals her love for fashion, typography and wildlife- using a combination of analog and digital techniques.

Martice also contributes as an article writer for the Creating Mixed Media Art website.

You can see more of her work via her Facebook page or her blog. She invites you to join her monthly newsletter, Uneek Art Letter, for art biz tips, advice and free digital goodies!

~*~*~*~*~*~*~*~*~*~*~*~*~*~*~*~*~*~*~*~*~*~*~*~*~

.

.
Mixed Media Postcard Art Tutorial

~ * ~

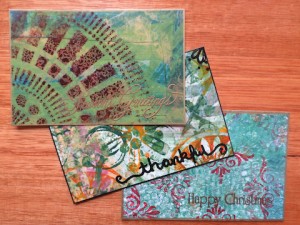
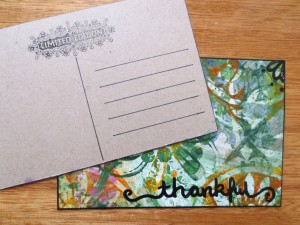
To celebrate our 4th birthday, Michelle hosted a crafty online tutorial to create mixed media postcard art along with give-aways (now closed), a challenge and blog link swaps, all thrown into one action packed tutorial!

Together we will review our favorite mixed media techniques and put them together to create postcards that we can share with our friends and family. Regardless of your current skill level or preferred style, you will come away inspired to get creating for the Holiday season, as well as “meeting” member of our Mixed Media community.

Using gesso and acrylic paints to create postcard art

~ * ~

Postcard Tutorial

Thanks for coming along and playing with us. If you missed our tutorial, here is the recording

Our competition to win one of our fabulous postcards is now closed! The winners are (16 in total!):

  • Jasmine – Ottawa
  • Lucille – British Columbia
  • Carol – Winnipeg
  • Meredith – Calgary
  • Marsha – Des Moines
  • June – England
  • Jean – Australia
  • Karen – Virginia
  • Jan – Ohio
  • Marilyn – Alabama
  • Clemencia – Florida
  • Sue – Pennsylvania
  • Virginia – Texas
  • Janet – Missouri
  • Dana – Ontario
  • Marion – Germany

~ * ~

Why Postcard Art?

And WHY postcard art? you ask. We will play with many mixed media techniques that can be as simple, or as complex as you like. Regardless of your preferred style, you can create wonderful backgrounds that can then be turned into postcards, ATCs, bookmarks or greeting cards. We’ll look at postcards that are easy to make and easier to post to our global mixed media community.

mixed media art on cereal box cardboard

~ * ~

For more inspiration:

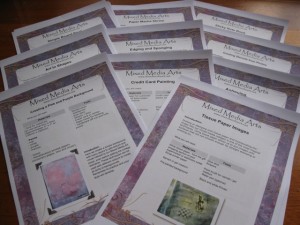
our Mixed Media Art Technique Sheets ~10 projects and techniques available for immediate download ~ are here

Mixed Media Art Technique Sheets

or buy them individually here ~ just scroll down and choose the one you want NOW!


or our Creating Layers in Mixed Media Art book

~ * ~


 Share your Postcards

Whatever has inspired you in this months online tutorial, whether it’s to create your own postcards or something else, we would love to see what you’ve created.

Create Your Own Original Backgrounds While You Play

This article is written by Linda Giese

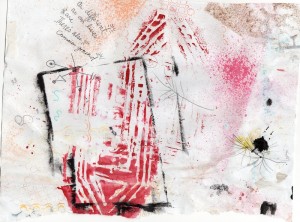
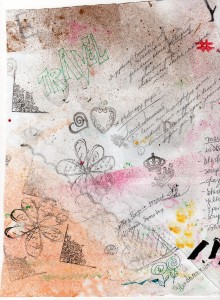
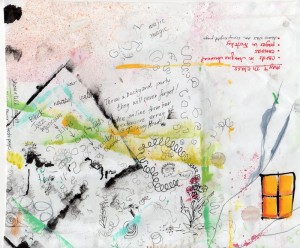
For the past year I’ve been putting papers over my plastic covered workspace. It began when I found a roll of thermofax for a dollar at a thrift store.  I put it on my workspace and soon it filled up with random stamps, paint splatters, doodles and notes.  I tore off another sheet and saved the first for collage fodder. I progressed to large sheets of newsprint that came as packing material in boxes.  A friend even gave me old architectural plans she was going to throw away.

making backgrounds while you play

This is an easy way of making original collage papers to make your art unlike anyone else, and it won’t even take extra time!  Now I glory in messing up my surface papers with ideas and oversprays.  Since I teach at my dining room table, there are class notes and ideas for what my students want to learn next.  I test out new stamps and “stamp off” ones I’m using.  There are scribbles trying to get a pen to write or see what color it is.  Sometimes there is even a random fruit label!

making backgrounds while you play

I’m not likely to run out of clean papers to mess up, but thought of an idea if I did.  I’d take sheets of junk mail with clean backs and tape them together.  Or as I’ve done, use sheets of scrapbook paper I don’t like that perhaps came in a stack of paper.  If you take a class, perhaps you can mess up newspapers under your work there too!  Good luck and happy splatters!making backgrounds while you play

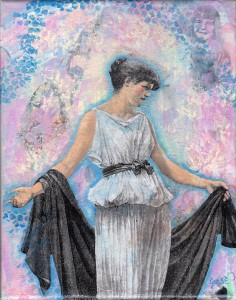
Materials I used for my canvas:
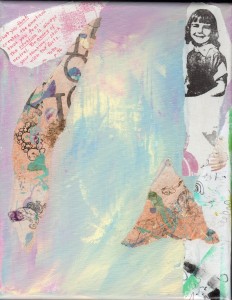
Underpainting is blended background of Americana orchid, butter and baby blue
I applied the torn collage papers with Americana DecouPage as well as the Dover clip art woman image
I used the above paints plus Americana cad red, bright yellow(to make the flesh color) and true blue for shading

making backgrounds to add to your mixed media art collage

use backgrounds to create layers to mixed media art

using backgrounds to create layers in mixed media art


~*~*~*~*~*~*~*~*~*~*~*~*~*~*~*~*~*~*~*~*~*~*~*~*~*~*~*~*~*~*

Linda Giese encourages comments, questions, and sharing your art journey at linda.giese@yahoo.com

She teaches classes privately and at a local scrapbook store, The Stamp Addict

~*~*~*~*~*~*~*~*~*~*~*~*~*~*~*~*~*~*~*~*~*~*~*~*~*~*~*~*~*~*