Playing with the Irresistible Pico Embellisher

~ * ~

This article was written by Melanie Statnick

using Pico embellisher in mixed media art and on cards

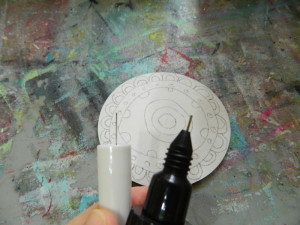
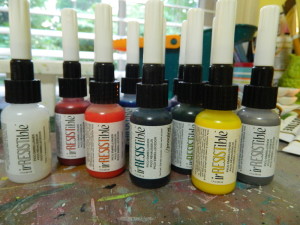
I really enjoy working with a new product. When I saw the Imagine Craft irresistible Pico embellisher I wasn’t sure what to expect with its precise tip applicator and the needle that inserts into it. It was foreign and I wanted to try it.

using Pico embellisher in mixed media art and on cards

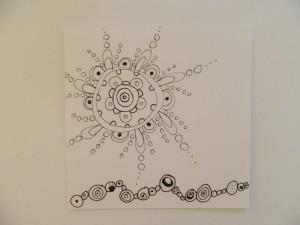
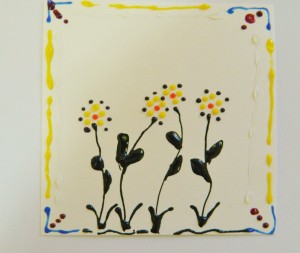
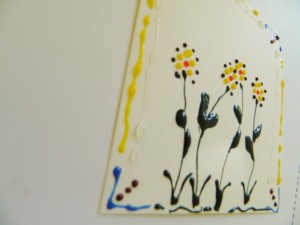
As a visual artist I could see numerous ways to add this texture into art pieces. I love to add details into my art and the Pico embellisher tip is perfect for this. On a piece of Bristol paper I drew up a doodle and gave it a go.

using Pico embellisher in mixed media art and on cards

using Pico embellisher in mixed media art and on cards

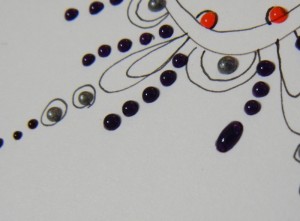
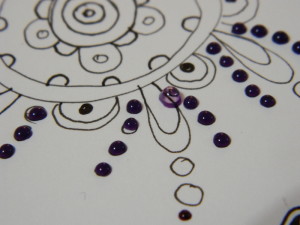
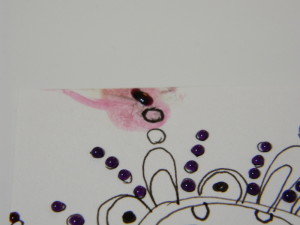
There is allowance for control with the tip the embellisher has, making lines and dots thick or thin depending on the pressure of how you squeeze. I did notice that the embellisher will suck some air creating bubbles on the next release.

using Pico embellisher in mixed media art and on cards

using Pico embellisher in mixed media art and on cards

I dabbed the bubble with a napkin and it broke leaving a ring. Another time I wiped it away and it left a mess. Please take care cleaning up any bubbles that may happen. This could have been something that happens with a first time user. I also wanted to try the embellisher freehand. I think it gives the drawing a needle point look.

using Pico embellisher in mixed media art and on cards

using Pico embellisher in mixed media art and on cards

Overall I think the irresistible Pico embellisher by imagine craft is an excellent tool for texture and more. With the verity of colors who know what your imagination will create.

~*~*~*~*~*~*~*~*~*~*~*~*~*~*~*~*~*~*~*~*~*~*~*~*~

Author bio: Melanie Statnick is a published artist/writer out of North Carolina. Melanie creates art daily from her private studio. Her style is happy and whimsy. Statnick’s artwork can be found in art galleries and shops extensively in NC with international private collections. Learn more about Melanie view her website at: www.melaniestatnickart.com

~*~*~*~*~*~*~*~*~*~*~*~*~*~*~*~*~*~*~*~*~*~*~*~*~

Disclosure: These products have been provided by Imagine Crafts  for the purpose of review. All opinions are that of the MixedMediaArt team.
.

.
Creating Mixed Media Hair Tutorial

~ * ~

This article is written by Kate Palmer

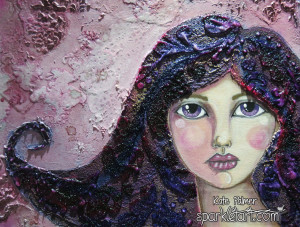
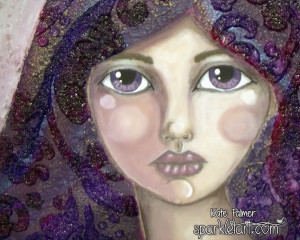
Today I’m going to show you how to create interesting Mixed Media hair with depth and texture.  You can use this technique on canvas or paper and it results in a project that you want to reach out and touch – to run your fingers over the pattern and surface (well I do any how!)

Mixed Media Hair

What I used:

  • Lindy’s Stamp Gang Products:
  • Magicals mixed with Gesso for pastel background – Cheshire Cat Cherry and Tea Pot Purple
  • Magicals mixed with Gel Medium for hair base – Cheshire Cat Cherry and Tea Pot Purple
  • Magicals mixed with water as ink – Cheshire Cat Cherry, Tweedle Dee Denim and Tea Pot Purple
  • Starburst sprayed over background for subtle shimmer – Cheshire Cat Cherry and Down the Rabbit Hole
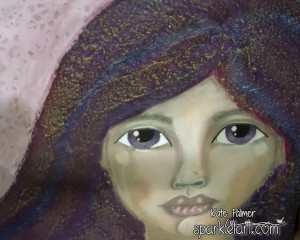
  • Magicals mixed with acrylic paint for face – Cheshire Cat Cherry and Tea Pot Purple

Other Products:

  • Martha Stewart Gesso – white
  • Golden Mediums – Glass Bead Gel and Fiber Paste
  • Stencil Magic Stencil – Floral Accent
  • White pre-gessoed canvas

To Create the Mixed Media Hair:
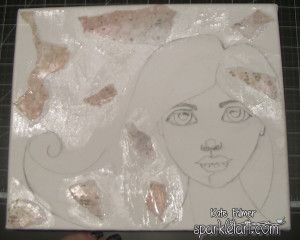
Sketch image onto your canvas
Mixed Media Hair

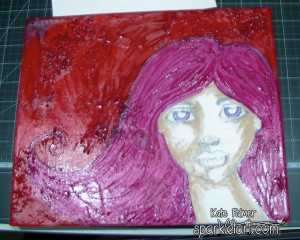
Colour the hair using Magicals (Cheshire Cat Cherry and Tweedle Dee Denim) mixed with Gel Medium to create a base layer.

Mixed Media Hair

I applied the cherry all over the hair and then added the denim to darken.

Mixed Media Hair

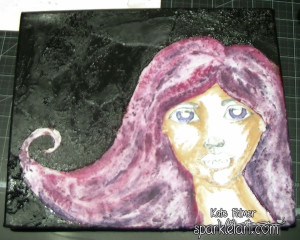
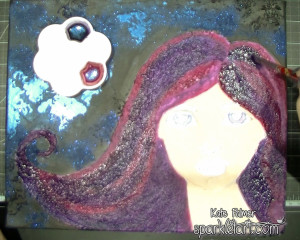
Once the base layer is dry, cover hair with texture paste, making sure to create loads of peaks and valleys as these will catch the colour and shimmer of subsequent layers.

Mixed Media Hair

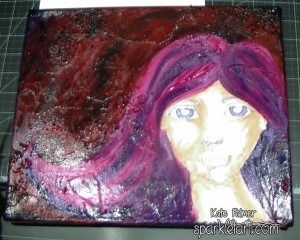
Once the texture paste is dry, mix Magicals (Cheshire Cat Cherry and Tea Pot Purple) with water to create a sparkly ink and apply over the hair, make sure to be heavy handed and allow the mica to settle into the valleys in the texture paste and allow to dry thoroughly.

Mixed Media Hair

Using your finger apply a light layer of Inka Gold to the high points created by the texture paste, this picks up the texture and breaks up the colours underneath a little.

Mixed Media Hair

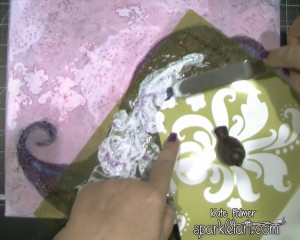
For the final step, you will need some Glass Bead Gel and a bold stencil.  Protect the face and apply the bead gel through the stencil onto the hair.

Mixed Media Hair

You will need to allow each section of bead gel to dry before applying the next.

Mixed Media Hair

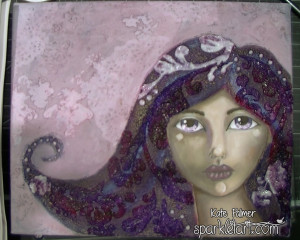
Once dry, the bead gel takes on a wonderful glossy appearance and the clear beads pick up the colours from underneath and enhance the sparkle.

Mixed Media Hair

I really adore how this turned out, the hair in real life is truly a show stopper!
Kate

~*~*~*~*~*~*~*~*~*~*~*~*~*~*~*~*~*~*~*~*~*~*~*~*~

Kate Palmer though perhaps better known as Sparkle Tart loved playing with mixed media and techniques.  Most of her work incorporates sparkly media of some sort, which is used on journal pages, canvases, scrapbooks or hand made cards.

You can see more of Kate’s work at Sparkle Tart or via Facebook – Keep It Simply Sparkly

~*~*~*~*~*~*~*~*~*~*~*~*~*~*~*~*~*~*~*~*~*~*~*~*~

.

.