~ * ~
This article is written by Michelle G. Brown
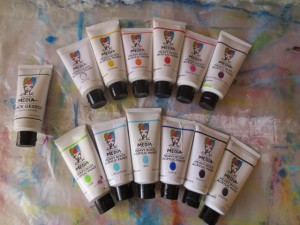
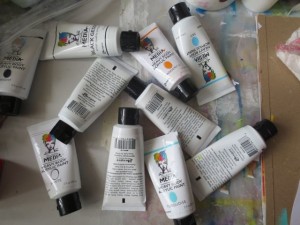
I had so much fun reviewing the Dina Wakely Paints and you can read the article here: Painting with Dina Wakely Paints
Now here is the detailed tutorial for painting with these paints, Michelle style.
Painting Michelle Style
Materials and tools
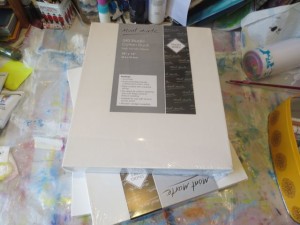
10” x 12” canvas
Sequence Scrap
Scrap paper
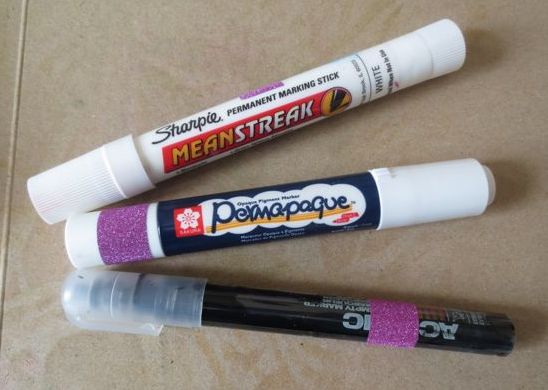
Black Markers i.e. Golden Black pen Montana Marker with Golden Fluid Acrylic
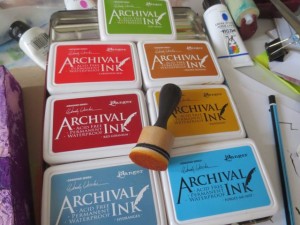
Archival Inks – Wendy Vechi Range
Mixed Media Painting Process
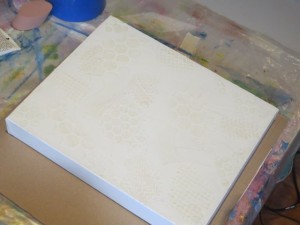
1. Gather up your blank canvas or art journal
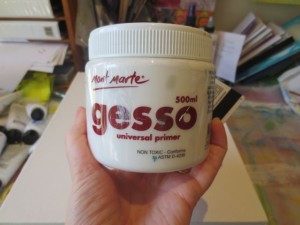
2. Prime with Gesso and leave to dry
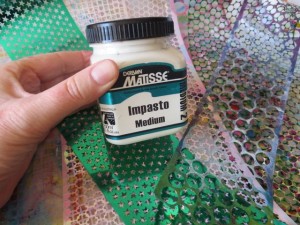
3. Add texture with Impasto medium and Sequence Scrap
4. Leave overnight to dry
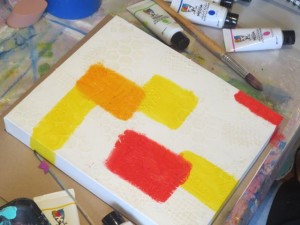
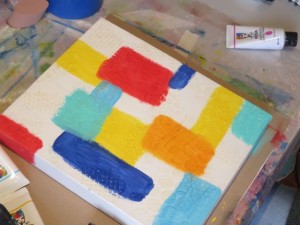
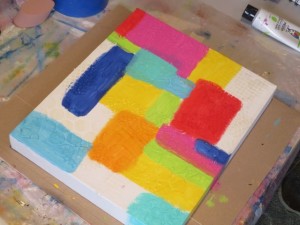
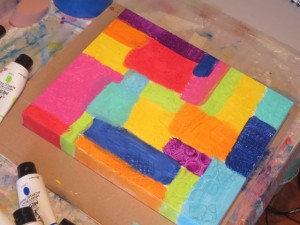
5. Add colour with the acrylic paints. I took a fancy to painting squares and rectangles
Continue to build up colours
Leave to fully dry
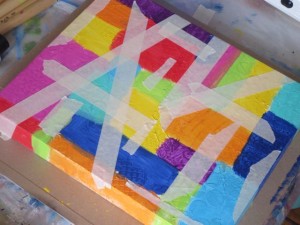
6. Use the Masking tape to add masked lines to the painted canvas. Here I added angles and torn ends and edges to add interest
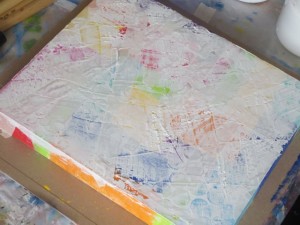
7. Add a layer of Gesso,applied with an old credit card
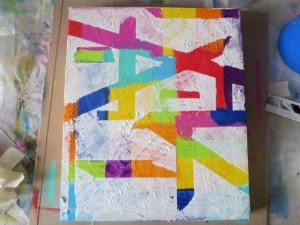
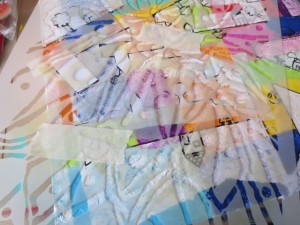
8. While gesso is still wet, carefully remove the masking tape. Take care with this step; it can get a bit messy!
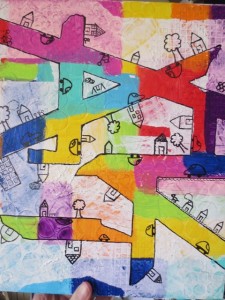
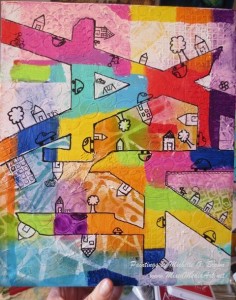
9. Using your range of black markers, outline “roads” and add other features.
Take care with your “good” markers; the gesso seems to ruin some of them! My favourite (xxx0 was the best but I also needed a thinner line.
Also, if you want to do lots of doodling, I’d suggest (next time) to use less impasto medium! While I loved the effect, I was annoyed with the bumpy surface while trying to draw straight lines!
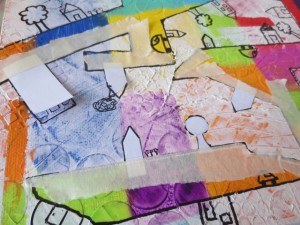
10. Now to fill in the areas between the roads. Each sea was masked sperately, using masking tape and scrap paper with removable adhesive to help hold them in place.
(Again, next time, I may use bigger or less doodles; there was LOTS of masking here!!)
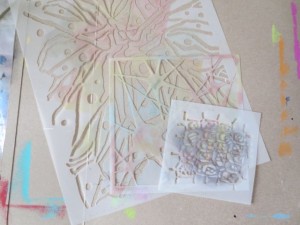
11. Gather your stencils – here I used the August Stencil Club stencils
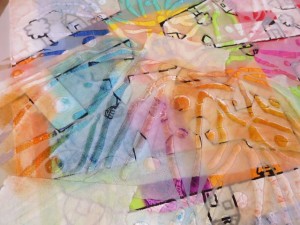
12. Then I stencilled with the Archival inks, using two shades to add more depth. I tried to use similar colours to those of the painted background, underneath the gesso.
13. Put the stencil in place and add a little masking tape to hold it.
14. Add ink
15. Remove Stencil
16. Remove the masks and admire your work.
17. Repeat steps 10 to 16 for each area you have. For this size of canvas, I found three different stencil designs was a good number to ensure consistency of pattern but not having too much repetition or the same pattern “touching”.
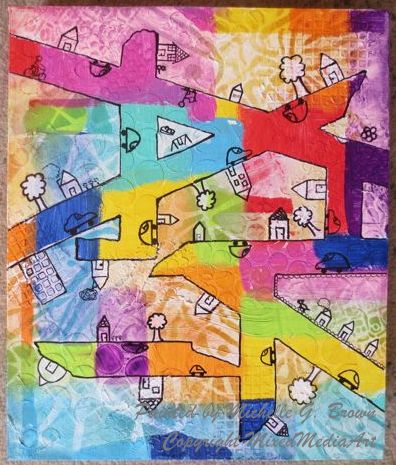
18. Add a few finishing touches and admire your work. I feel this one still needs some words, but the right ones haven’t come to me yet!
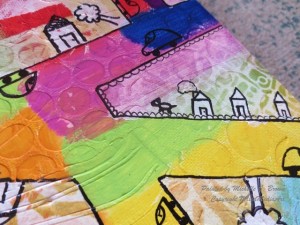
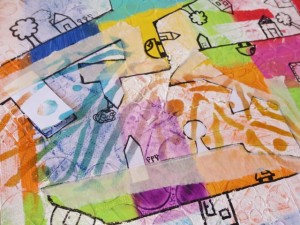
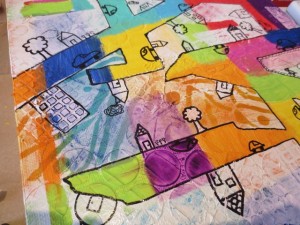
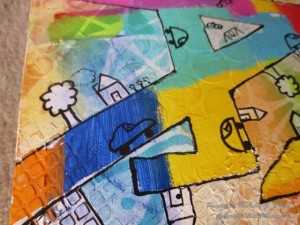
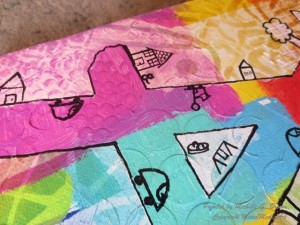
And a few close ups
I hope you have enjoyed following along as much as I enjoyed created this piece!
You are welcome to leave a comment below, especially if you’ve made it to the end!!
Happy creating!
~*~*~*~*~*~*~*~*~*~*~*~*~*~*~*~*~*~*~*~*~*~*~*~*~
Michelle G. Brown is passionate about mixed media art and enjoys sharing her knowledge and techniques with you to allow you to express your own creativity. Michelle understands that many of us have an inner need to create. By learning a few basic techniques the amazing world of mixed media art is accessible to everyone!
Michelle lives with her husband and two boys in Melbourne, Australia.
~*~*~*~*~*~*~*~*~*~*~*~*~*~*~*~*~*~*~*~*~*~*~*~*~
Disclosure: These paints were bought with our own money. All opinions are that of the MixedMediaArt team. Some links on this page may be affiliate links and any purchases help to support the ongoing work by MixedMediaArt.
.
.




Recent Comments